
This is Part 1 of God-Only-Knows How Many.
I finally got around to working on the easy button – I found a decent (not great, just decent) tutorial on the web that discusses sending the status of a button attached to an Arduino to an Android device. I’ve been making changes and learning about bitmasks and bit shifting (something they never teach traffic engineers!).
The initial (key word!) Arduino and Android code is written and up on Github. Right now, I am writing a test routine that will eventually morph into a functional program. I’ve really only spent time on the Arduino
I took the code from the tutorial link above and made quite a few changes.
Before being able to compile the code, you need the microbridge Arduino headers. Then, you have to fix some of the source files – in usb.cpp, max3421.h, and Adb.h, there is an #include “wiring.h” which needs to be changed to “wiring_private.h”. Once you’ve installed the library (copy the files to the Arduino libraries folder in it’s own folder), the following should (key word!) compile and send a binary output string to the serial monitor based on the buttons that are pressed.
The binary strings on the screen represent the buttons that are pressed in the arrangement of 1abc1 where a is 1 if button 1 (pin 4) is pressed, and 0 if it is not, b is button 2 (pin 5), and c is button 3 (pin 6). So…
10001 = no buttons pressed
11001 = button 1 pressed (pin 4 high)
10101 = button 2 pressed (pin 5 high)
10011 = button 3 pressed (pin 6 high)
11101 = buttons 1 & 2 pressed
11011 = buttons 1 & 3 pressed
10111 = buttons 2 & 3 pressed
11111 = buttons 1, 2, & 3 pressed
IN THEORY, this will all be sent to the Android device and the Android will display what buttons are pressed on the screen. I have that designed, but I haven’t tested it and my Android code won’t compile yet. With luck, that’ll be next week’s blog post.
REVISION: Note the fact that the preceding paragraph says “IN THEORY” in all caps. That means that it really doesn’t work at all so don’t use my code… yet. 🙂
On the todo list for this is using interrupts to listen for the button as opposed to listening for a change every 100 milliseconds.
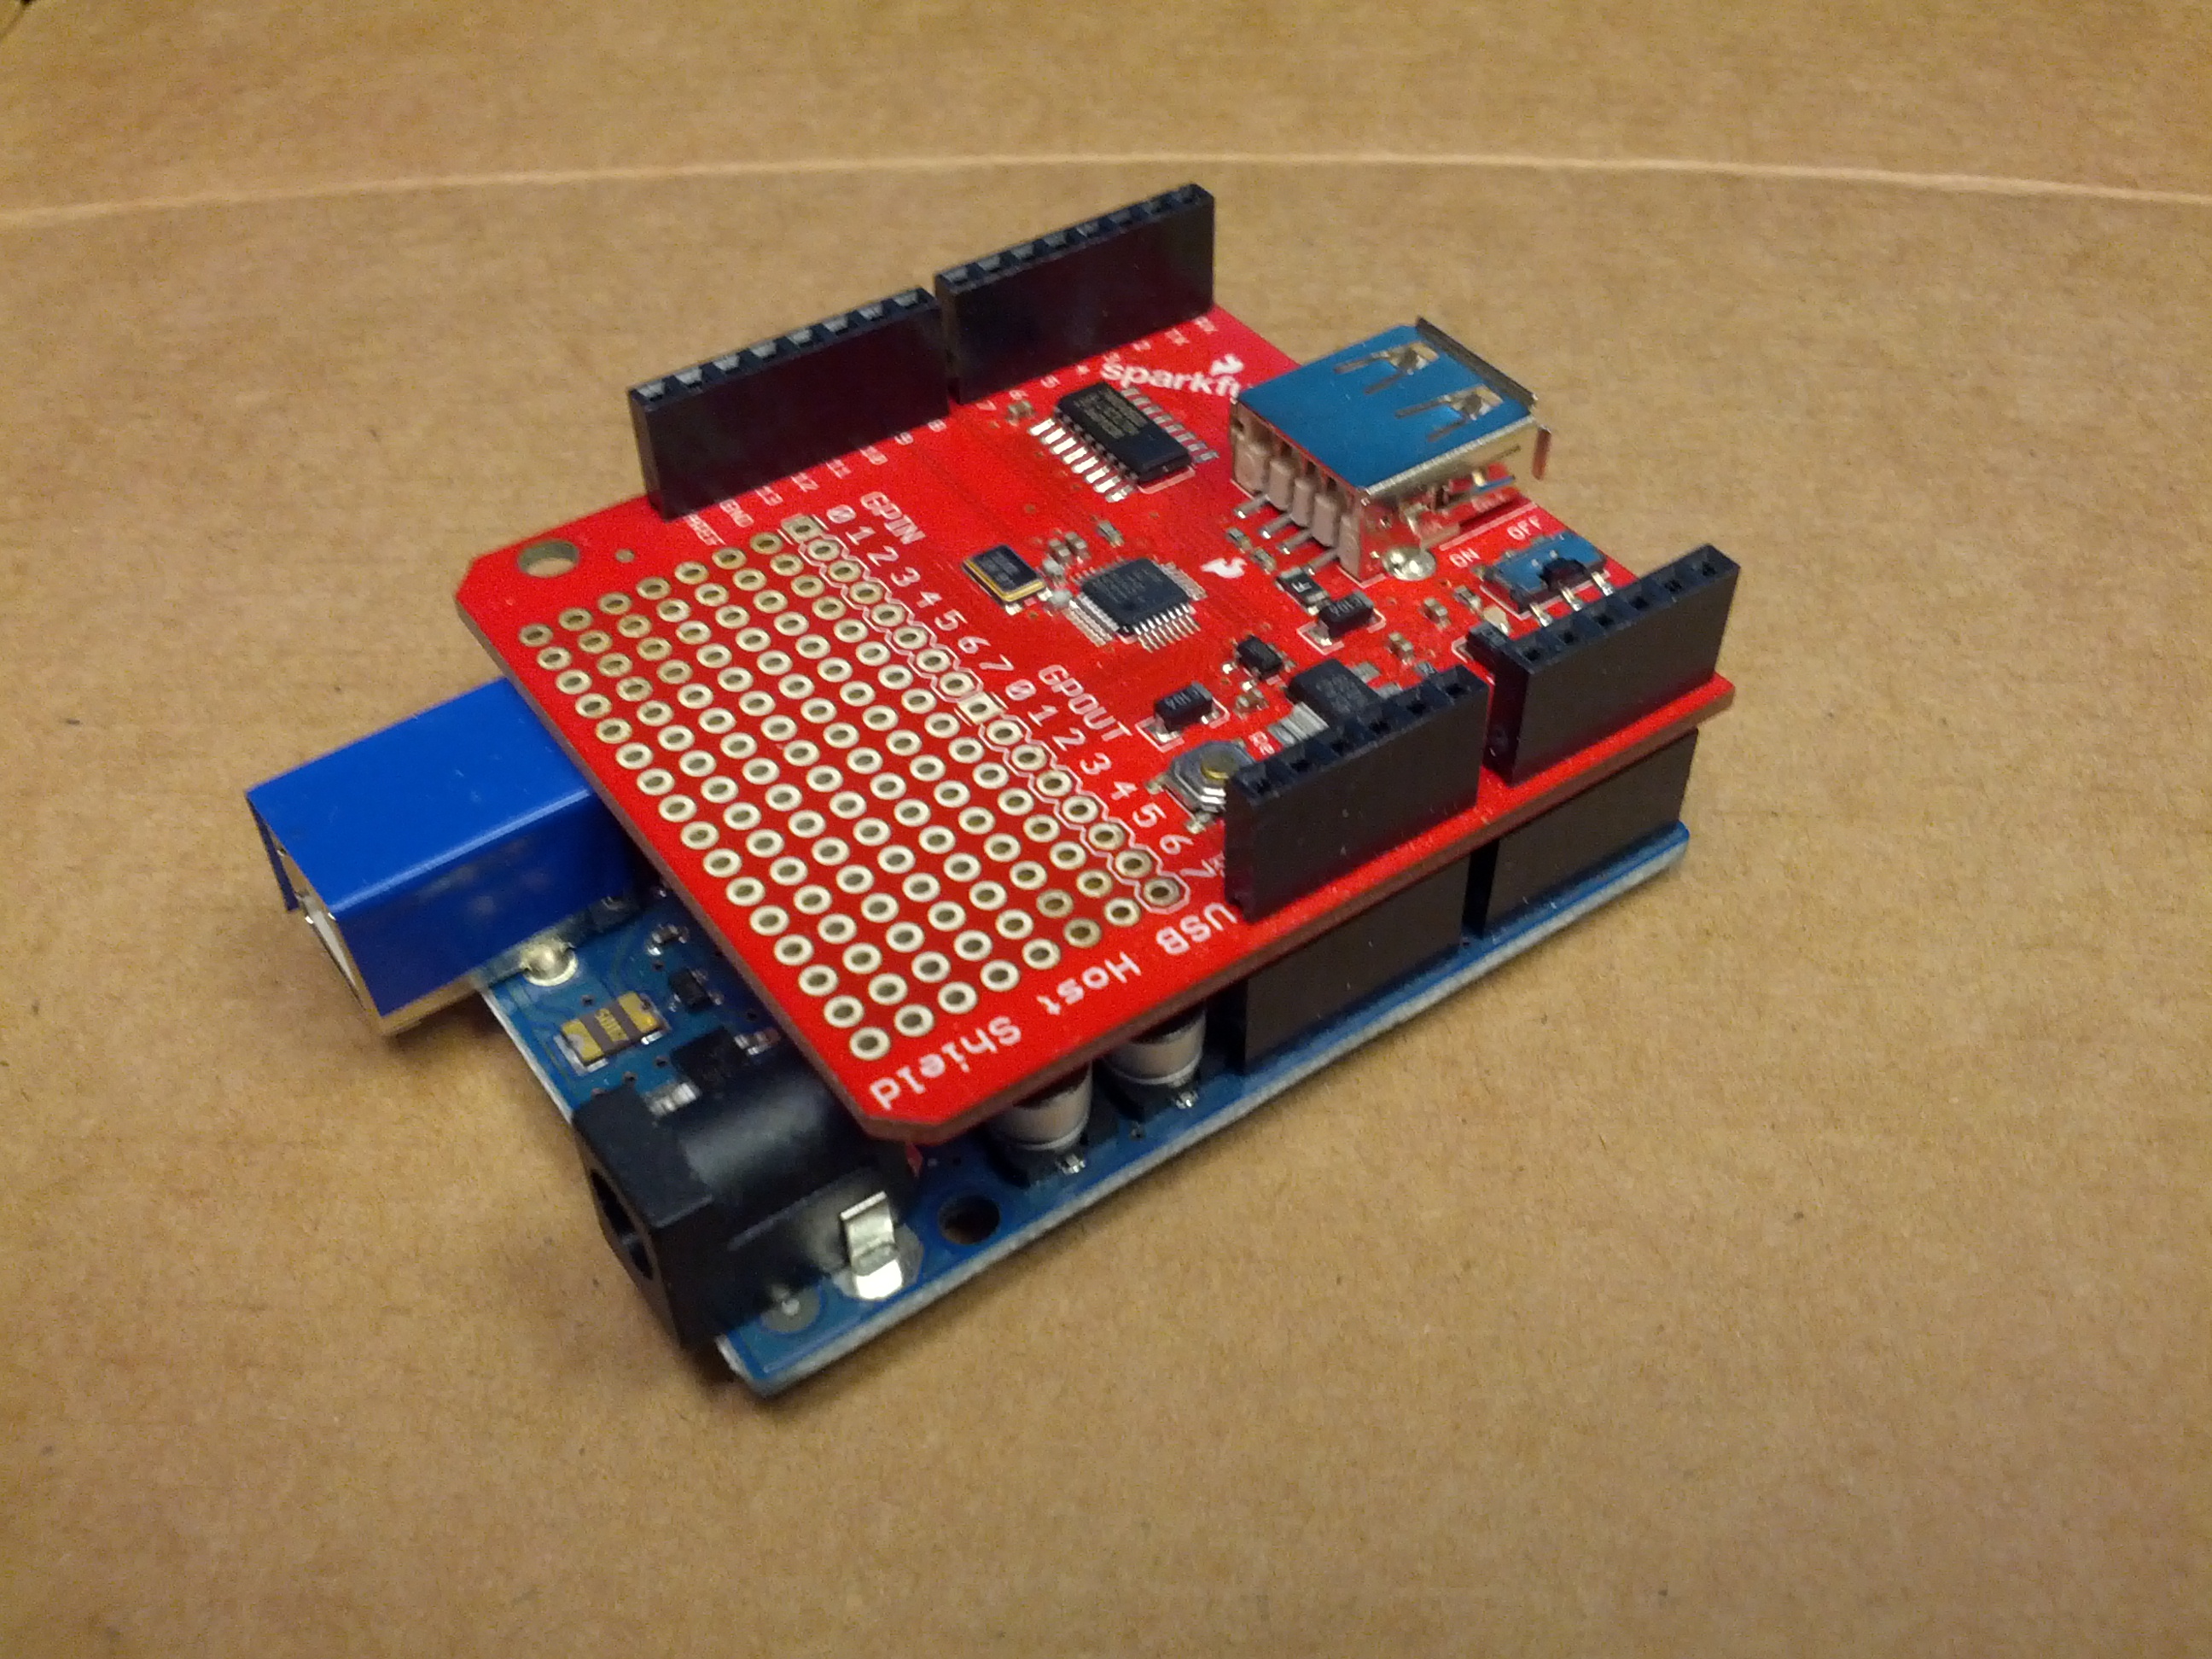
This is – so far – the development device. An Arduino Uno and a USB Host Shield from Sparkfun.
-73-