
Backstory
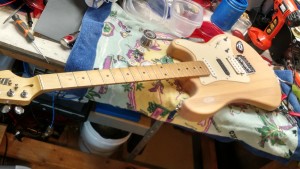
Many months ago, my brother-in-law brought over a guitar with the thought of “you fix it, I’ll cover the costs, and we’ll split the profits”. It wasn’t a bad deal, so I started fixing it. A month later, after I preceded to remove a large part of the partially-damaged finish, he called and told me that he got another guitar and he was no longer interested in pursuing it.
So it sat for many weeks.
And it sat for a few more weeks.
Finally, the same brother-in-law brought over a Marshall head that blew a fuse and a few diodes to repair. I needed a guitar to test it with, so I finished stripping it and ended up with something that looked decent and actually played (which I ultimately used to test the amp).
Guitar
Around the same time, Hack-A-Day posted about the 1Wamp, a small, battery powered amp. The schematic looked like an easy build, and I was fairly certain I had all the parts lying around.
Amp Build Part 1: The Preamp
The preamp is very simple: 3 resistors and a JFET.
Yeah, pretty simple.
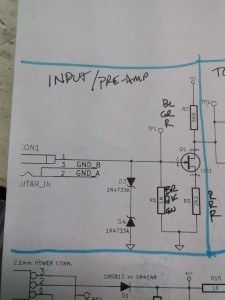
Simple Schematic (well, this part is, anyway)
I skipped the Zener diodes, which are there for static protection. I’ll probably add them in at some point in the near future.
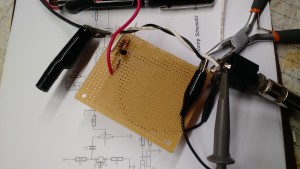
It does work. I hooked it up to a 12V linear power supply and took a video of the input (from the guitar) trace and the output trace from the preamp.
The input is about 0.6 – 0.8 Vp-p. The output is about 1.6 – 2.0 Vp-p. That puts it somewhere in the range of 6-8 dBV. That’s a little over spec, but I’m also feeding it 13.8V instead of 9.0 – 9.5V.
Next up: the Tone Control. zOMG 6 components!
73!