
Tag Archives: mobilehf
This is Part 2 of God-Only-Knows How Many. Part 1 is here.
A little progress. My weekend was busy with website design for another site I run, the CQWW contest (I spent only around 45 minutes, only 20 QSOs between interruptions of keeping an eye on my kids and some minor radio difficulties), yard work, and taking a cat to a emergency care center (she’ll be fine, but my finances will not be).
Arduino Code: Minor Fixable Frustrations
The Arduino code is in the repository. I’m not going to copy it here, since it is still not working correctly. Over the past week, I’ve tried three different libraries and I think I’ve settled on using adk.h from http://www.circuitsathome.com/ (you can get it from here). What I DO have is an Arduino that once plugged into my Nexus 7, it will tell the Nexus to open the correct app. That’s pretty darn cool. What I do not have (yet) is the intelligence built into the program to initialize the USB and send data. Possibly related to this, it seems like the Arduino only wants to send data when it has a serial connection open (from the Serial Monitor in the Arduino Dev Kit). I have more work to do.
Android Code: Logging, Logging, and More Logging
I have been writing and rewriting the code trying to get something pop into aLogcat or on the app screen with little luck. I have many lines with Log.d and Log.v to see what is going on. The best I’ve had is a “Data recieved” message*. I have more to do here. And as I indicated above, I ONLY see that message if I open the Serial Monitor.
* = The misspelling was intentional. I can’t seem to spell ‘receive’ correctly to save my life, and there is no spell check in Eclipse.
Stay tuned for next week’s episode.
-73-
This is Part 1 of God-Only-Knows How Many.
I finally got around to working on the easy button – I found a decent (not great, just decent) tutorial on the web that discusses sending the status of a button attached to an Arduino to an Android device. I’ve been making changes and learning about bitmasks and bit shifting (something they never teach traffic engineers!).
The initial (key word!) Arduino and Android code is written and up on Github. Right now, I am writing a test routine that will eventually morph into a functional program. I’ve really only spent time on the Arduino
I took the code from the tutorial link above and made quite a few changes.
Before being able to compile the code, you need the microbridge Arduino headers. Then, you have to fix some of the source files – in usb.cpp, max3421.h, and Adb.h, there is an #include “wiring.h” which needs to be changed to “wiring_private.h”. Once you’ve installed the library (copy the files to the Arduino libraries folder in it’s own folder), the following should (key word!) compile and send a binary output string to the serial monitor based on the buttons that are pressed.
The binary strings on the screen represent the buttons that are pressed in the arrangement of 1abc1 where a is 1 if button 1 (pin 4) is pressed, and 0 if it is not, b is button 2 (pin 5), and c is button 3 (pin 6). So…
10001 = no buttons pressed
11001 = button 1 pressed (pin 4 high)
10101 = button 2 pressed (pin 5 high)
10011 = button 3 pressed (pin 6 high)
11101 = buttons 1 & 2 pressed
11011 = buttons 1 & 3 pressed
10111 = buttons 2 & 3 pressed
11111 = buttons 1, 2, & 3 pressed
IN THEORY, this will all be sent to the Android device and the Android will display what buttons are pressed on the screen. I have that designed, but I haven’t tested it and my Android code won’t compile yet. With luck, that’ll be next week’s blog post.
REVISION: Note the fact that the preceding paragraph says “IN THEORY” in all caps. That means that it really doesn’t work at all so don’t use my code… yet. 🙂
On the todo list for this is using interrupts to listen for the button as opposed to listening for a change every 100 milliseconds.
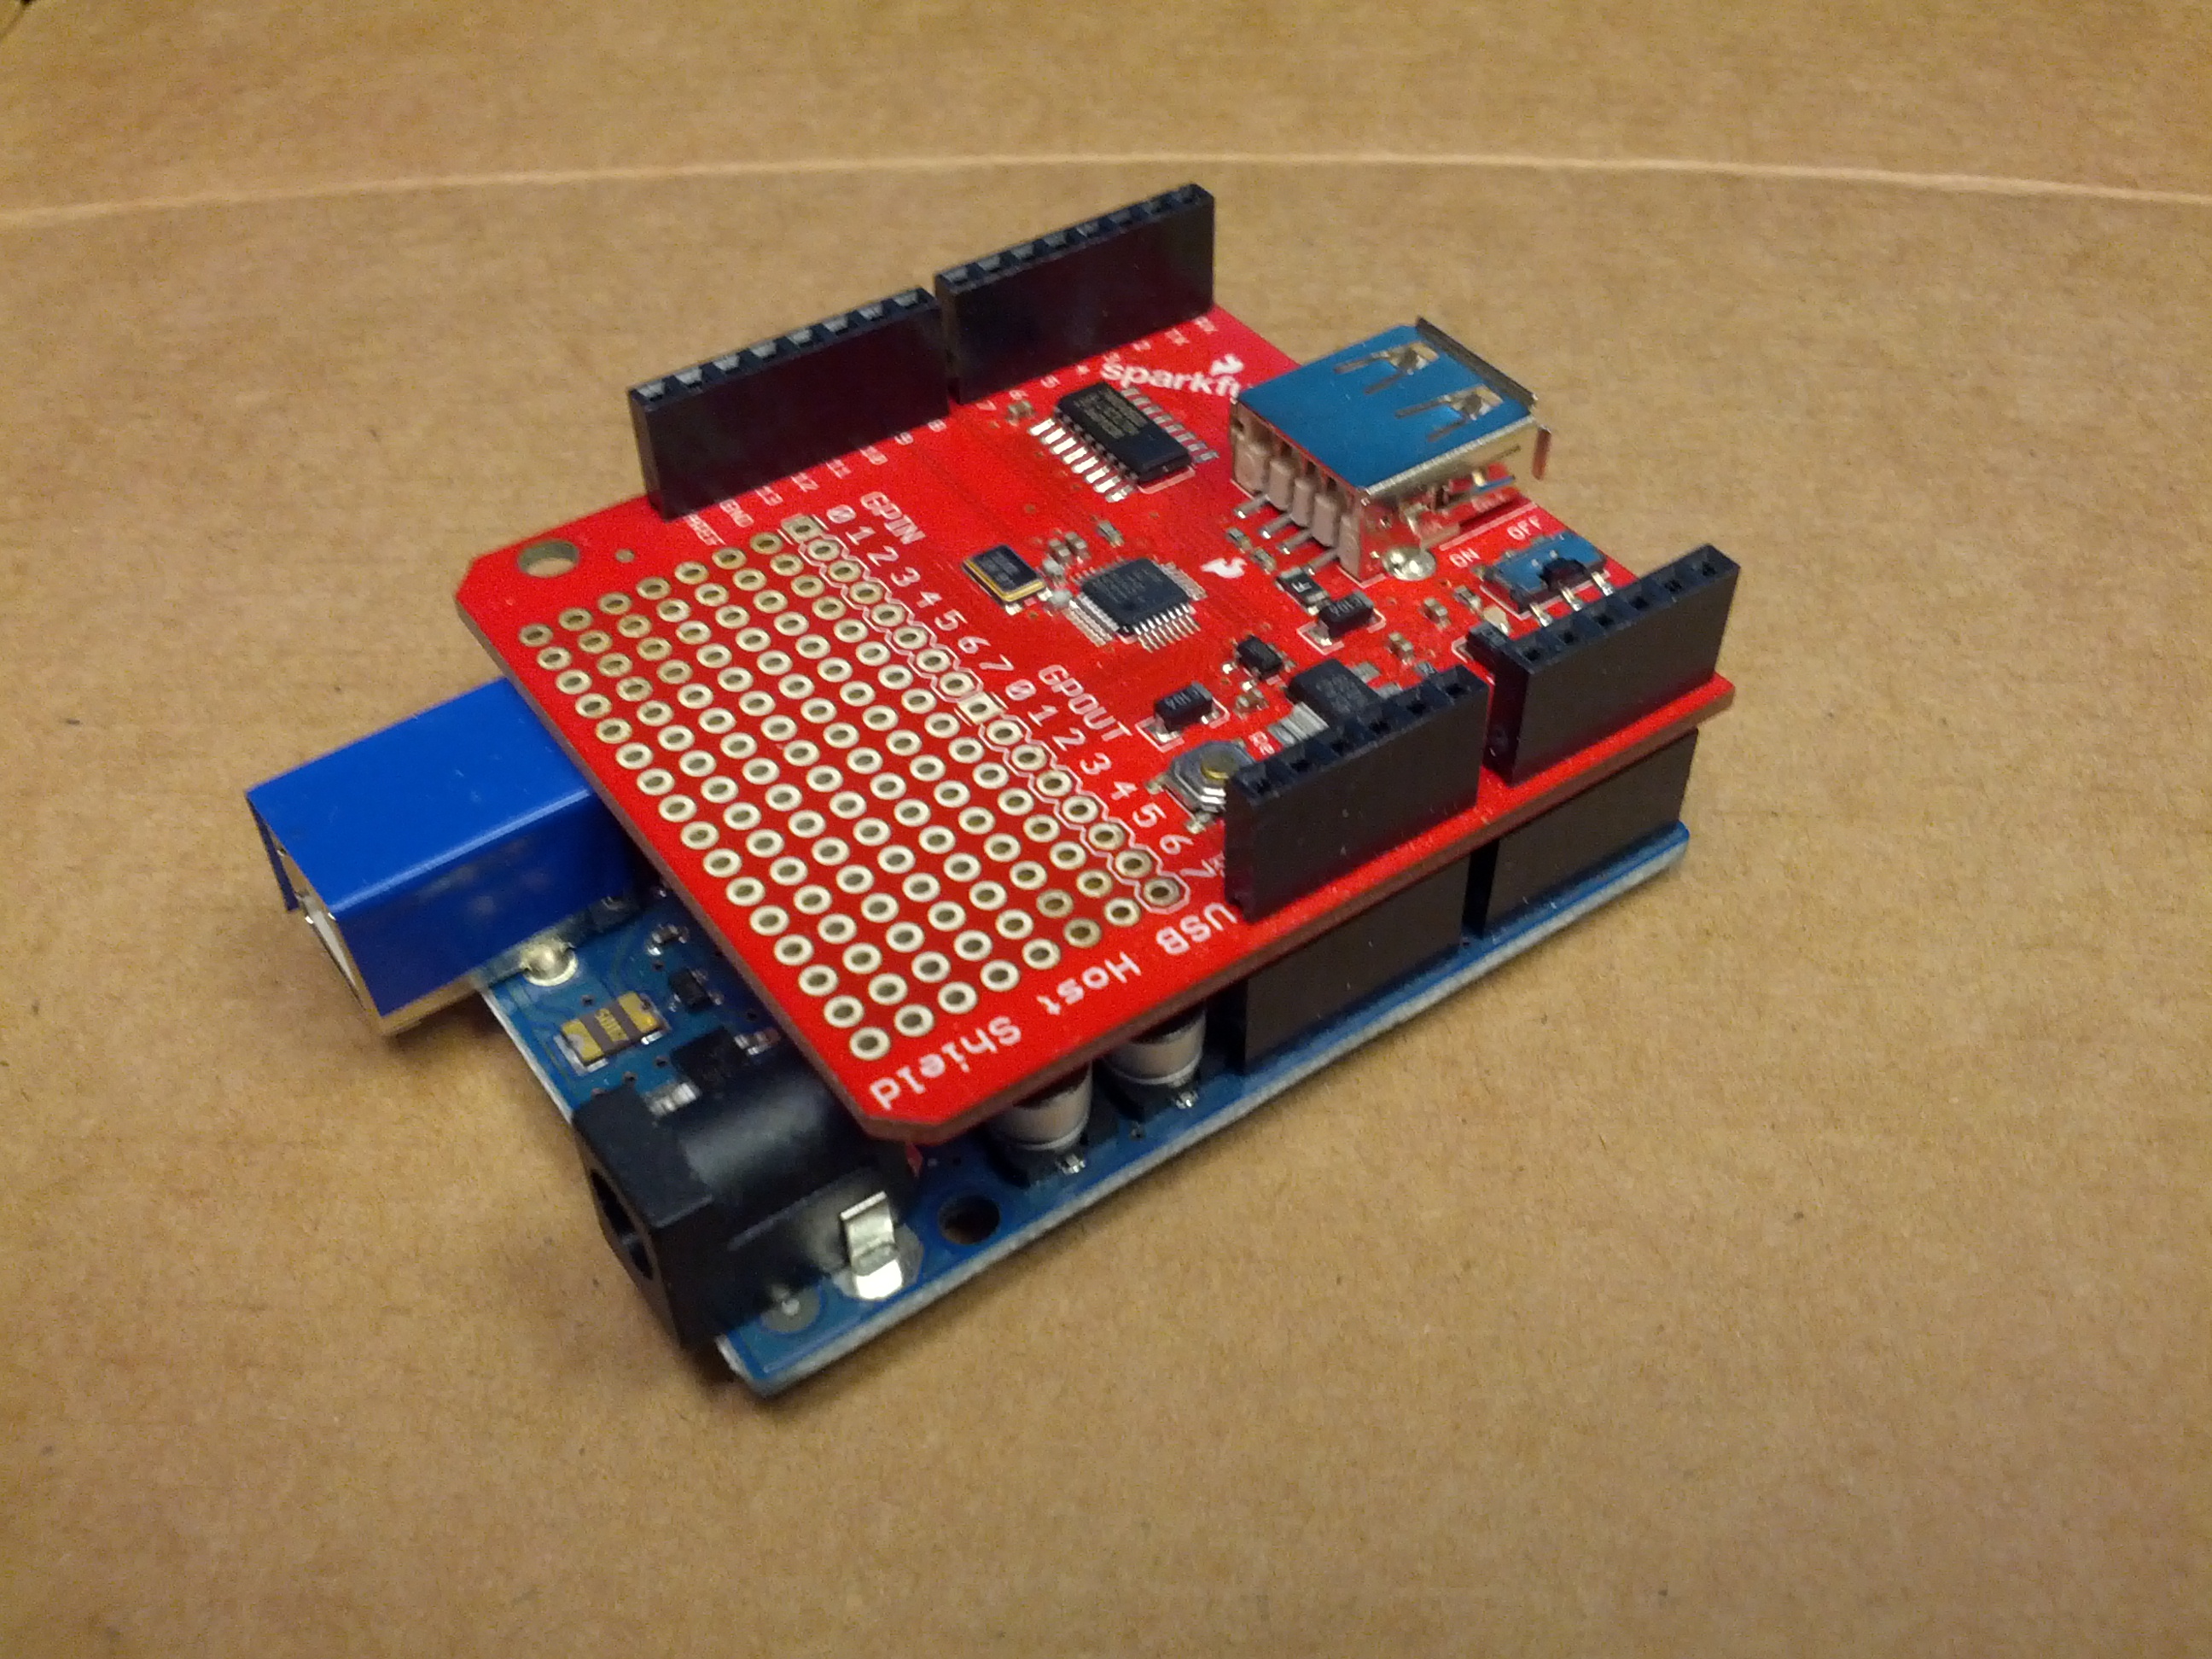
This is – so far – the development device. An Arduino Uno and a USB Host Shield from Sparkfun.
-73-
This past Saturday, I went to the Columbus hamfest and ARRL Great Lakes Section Conference. It was a disappointingly small hamfest for being on the NE side of the second-largest city in Ohio (full disclosure: that’s CITY population, regional population puts them third, behind both Cleveland and Cincinnati). I think I spent one hour there and about $40, including admission.
On my way out, I stuck my 10m hamstick on the truck. I knew there was a QSO party on 10, so I thought I’d jump on while driving. I figured I’d check the antenna (which I’ve never tuned). I set the rig to low power and CW and pushed the mic button. SWR was great.
Fearing that such a good SWR for a never-tested antenna was too good to be true and not hearing a CW tone, I set the rig to AM on low power to check. Same SWR reading. So I set the power to 2 (out of 10) and checked again. SWR through the roof. I contemplated going back in to buy another hamstick to get the small Allen wrench to adjust the stick, but decided that spending more money without a full understanding of the issue (and wondering if the problem was tuning or common mode current), I figured I would have been putting good money after bad and decided to leave and just listen on 10 on my way home until I got in the area of the repeater.
When I returned home (well, several hours after I returned home), I did a little bit of reading on the mobile HF oracle (k0bg’s website) and it confirmed my common mode suspicions. Looks like I need to get an order in for some mix 31 ferrite beads. I need to do some vehicle maintenance, so I may try to do all of it next weekend.
Additionally, I spoke with another local ham on the following Monday that gave me a few pointers courtesy of a friend with a 706, including to put a ferrite on the power leads and to make sure the bonding is done well – he had to strip paint to get a good bond.
So in the immortal words of K5PO from the Noise Blankers (who ironically has an Icom right in front of him and his name is eerily similar to mine)…

-73-
After reading Russ’s comment on last week’s post, I decided that he’s right. There’s no good reason to keep the FT-7800 in the truck when I’m installing a better, more capable radio. So it came out. Below are the gory details, all in pictures.
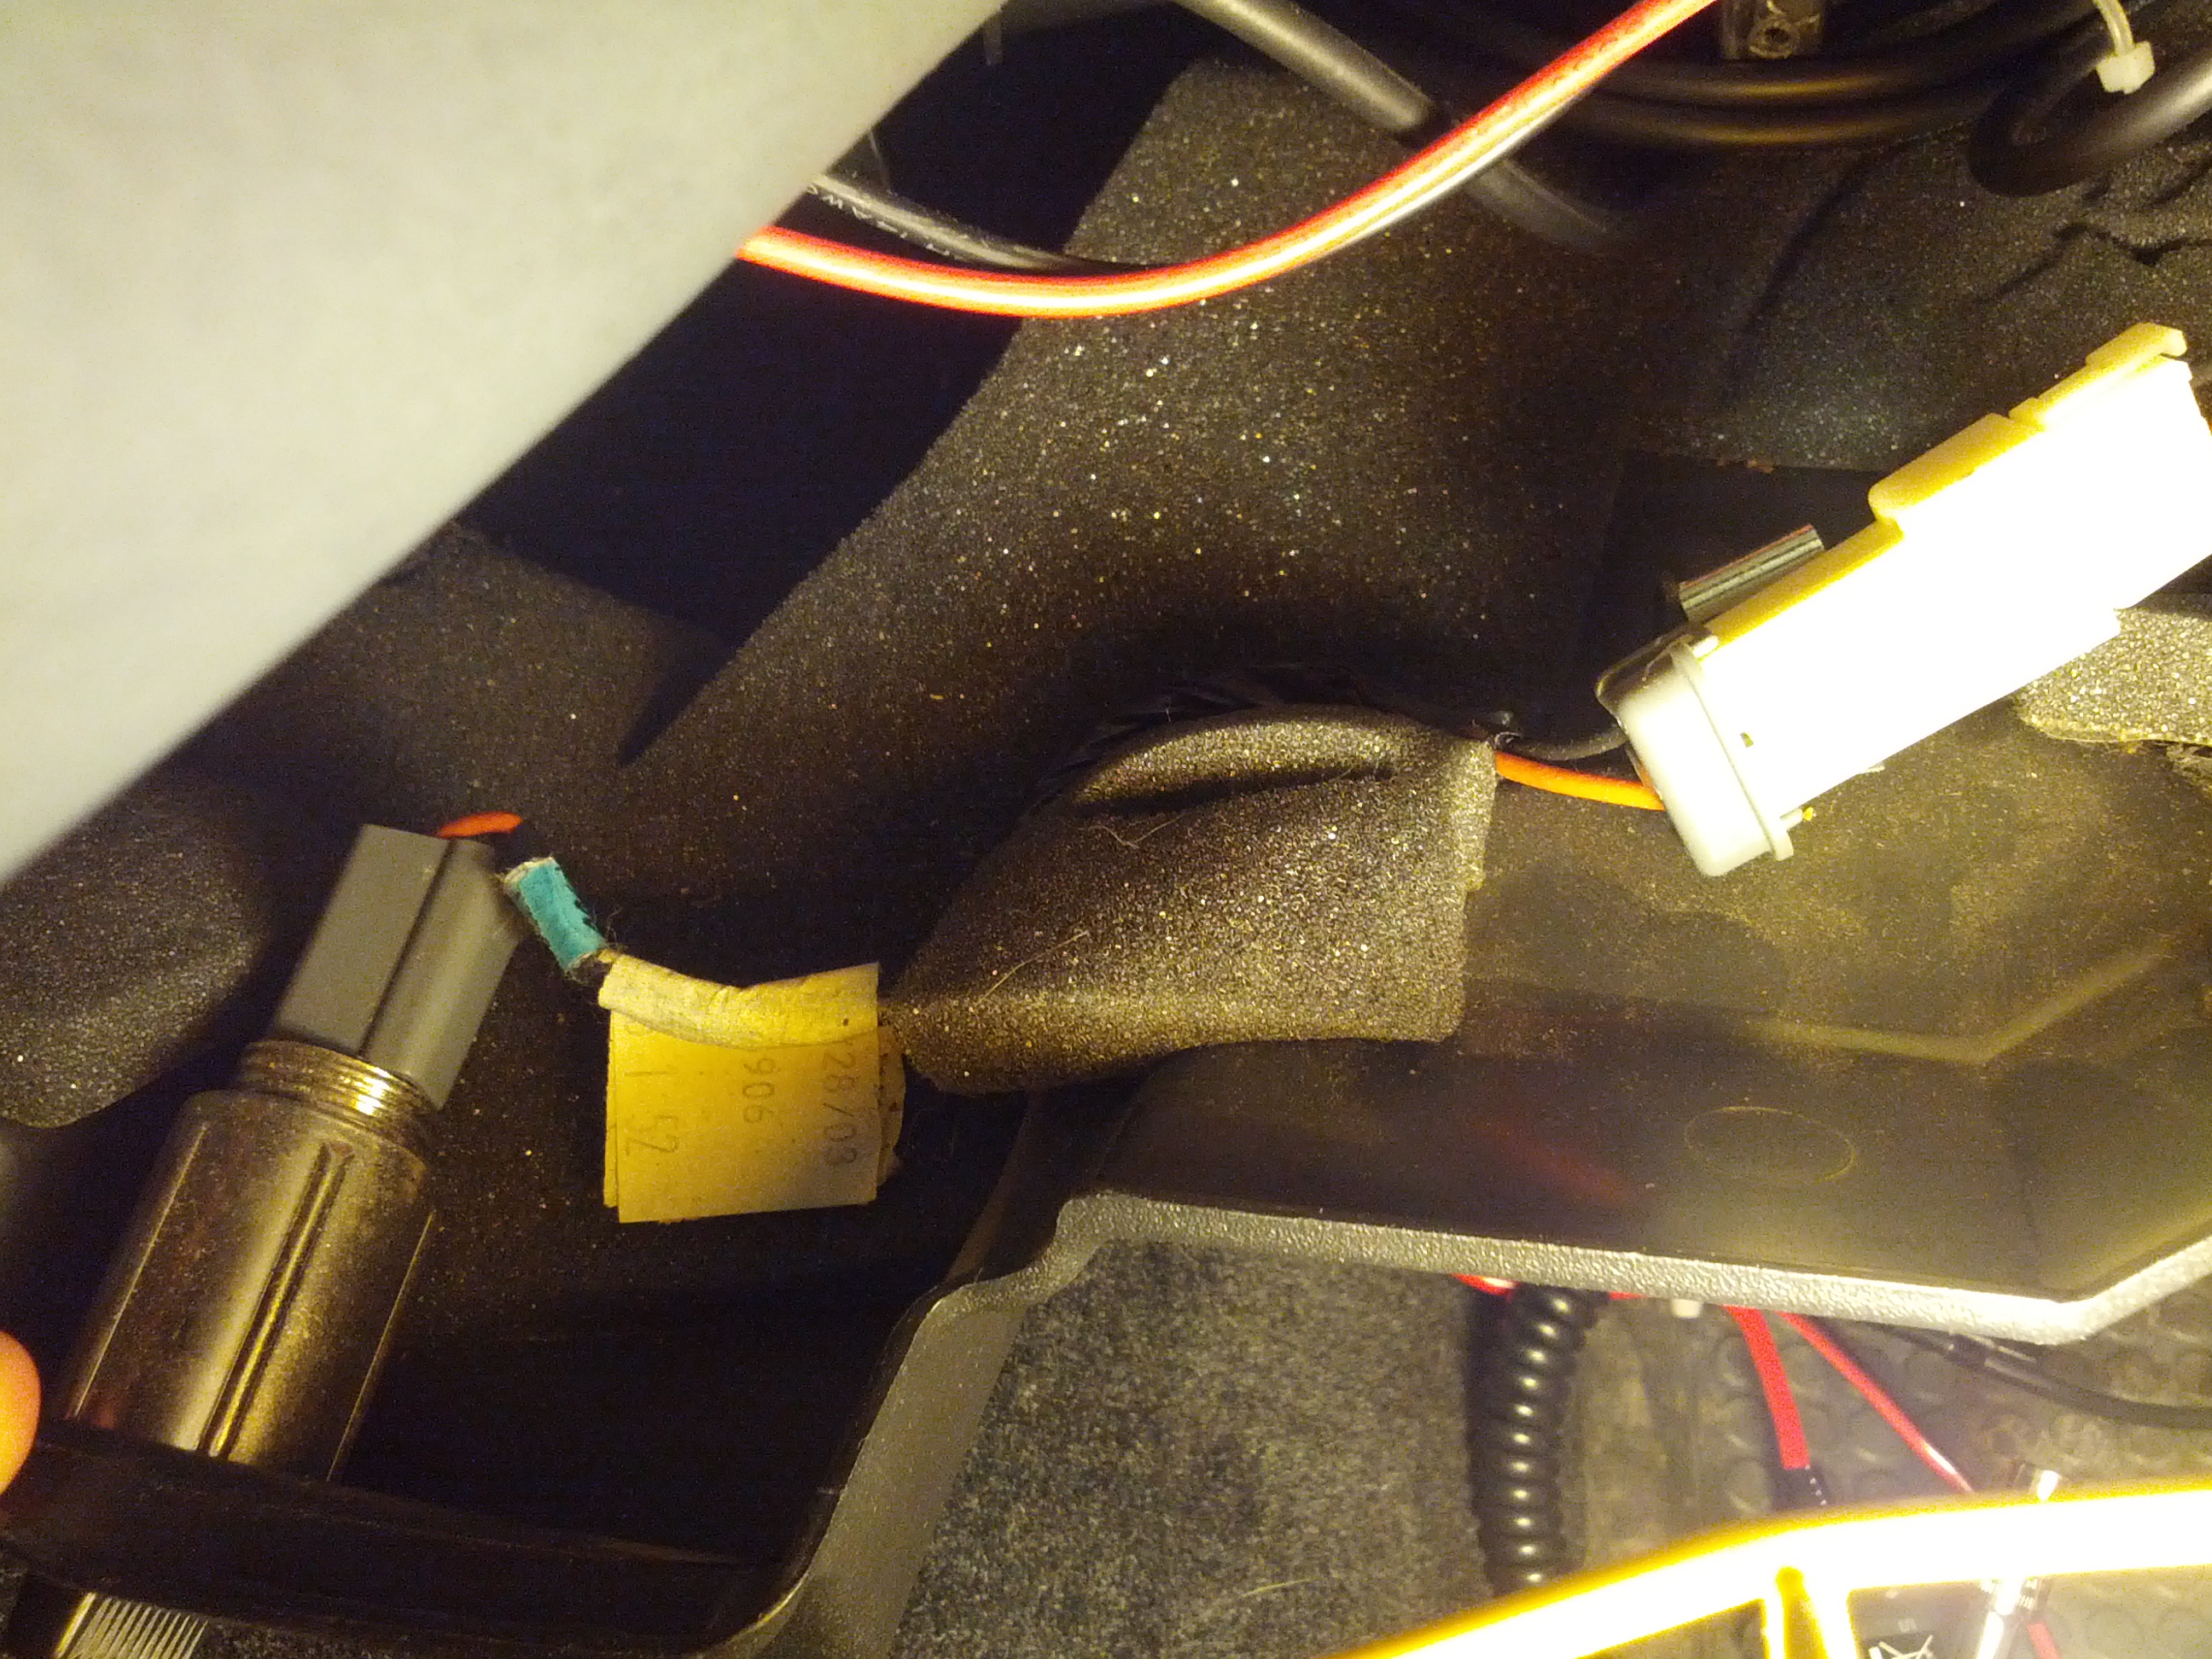
This is the reason why people like K0BG says on his website (which is the Oracle of Mobile HF) to NOT use cigarrette lighter wires – these things are around 16 gauge. Pulling 20 amps through this for an extended period of time would cause a fire.
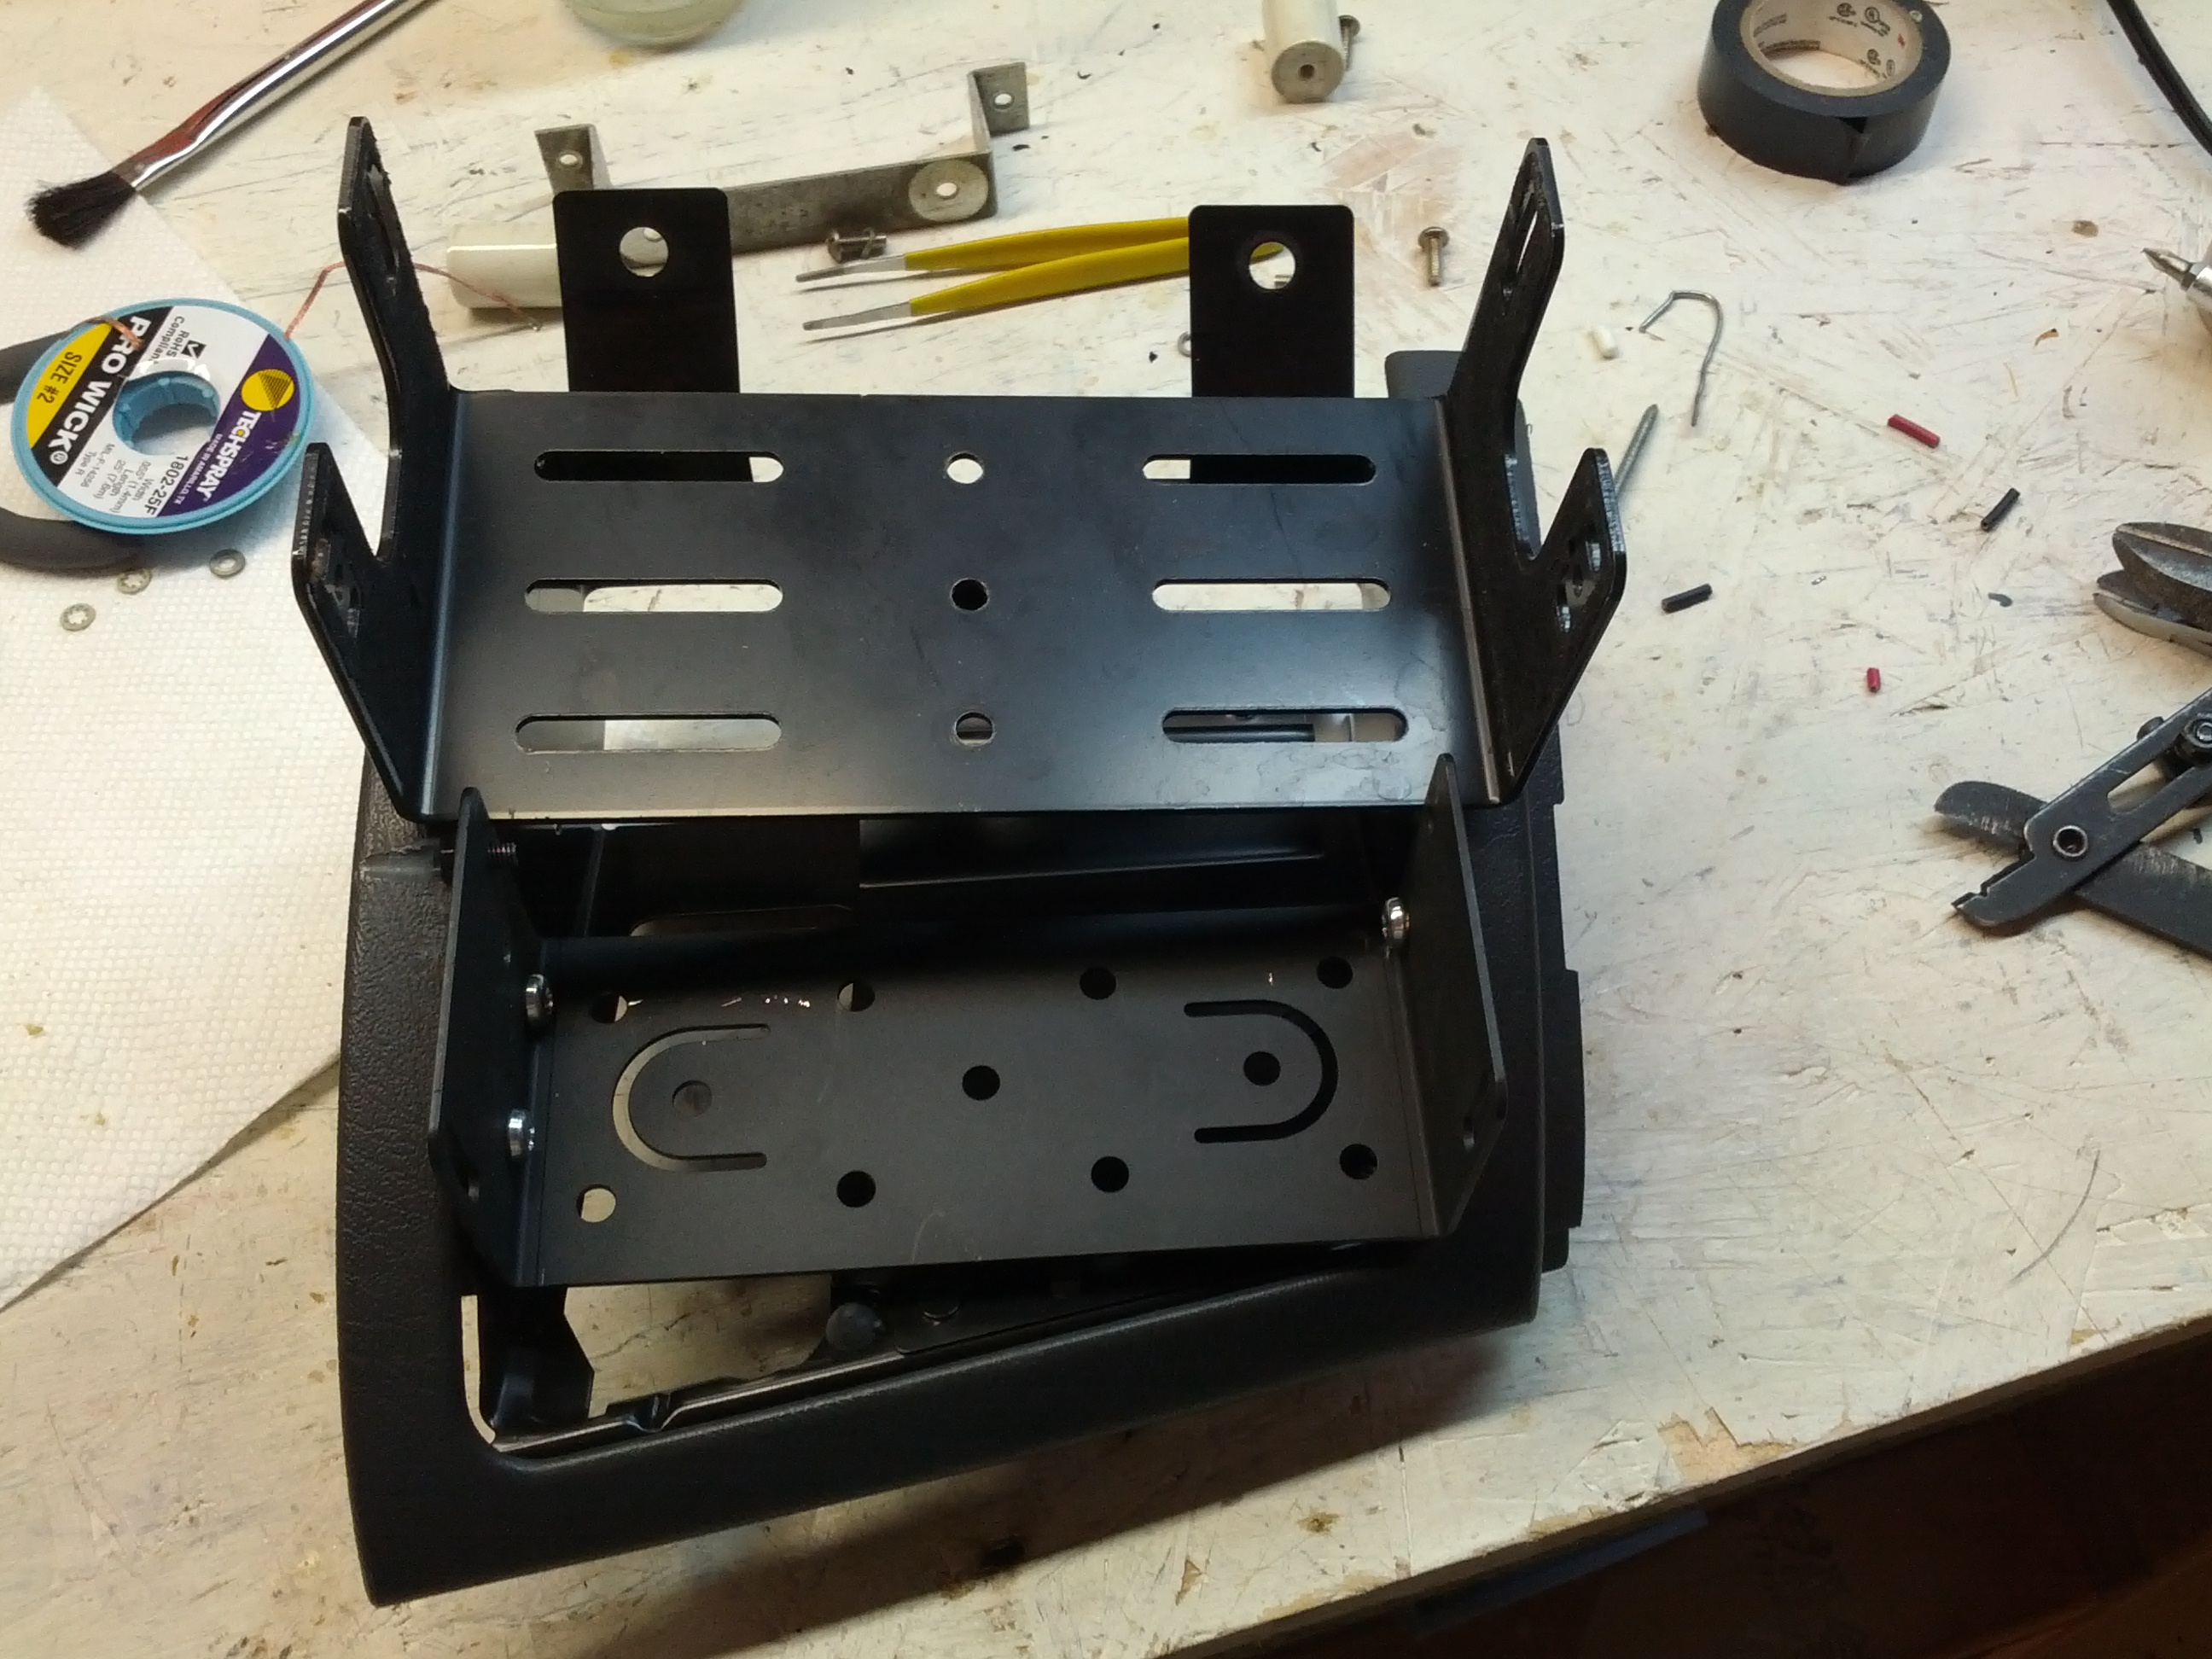
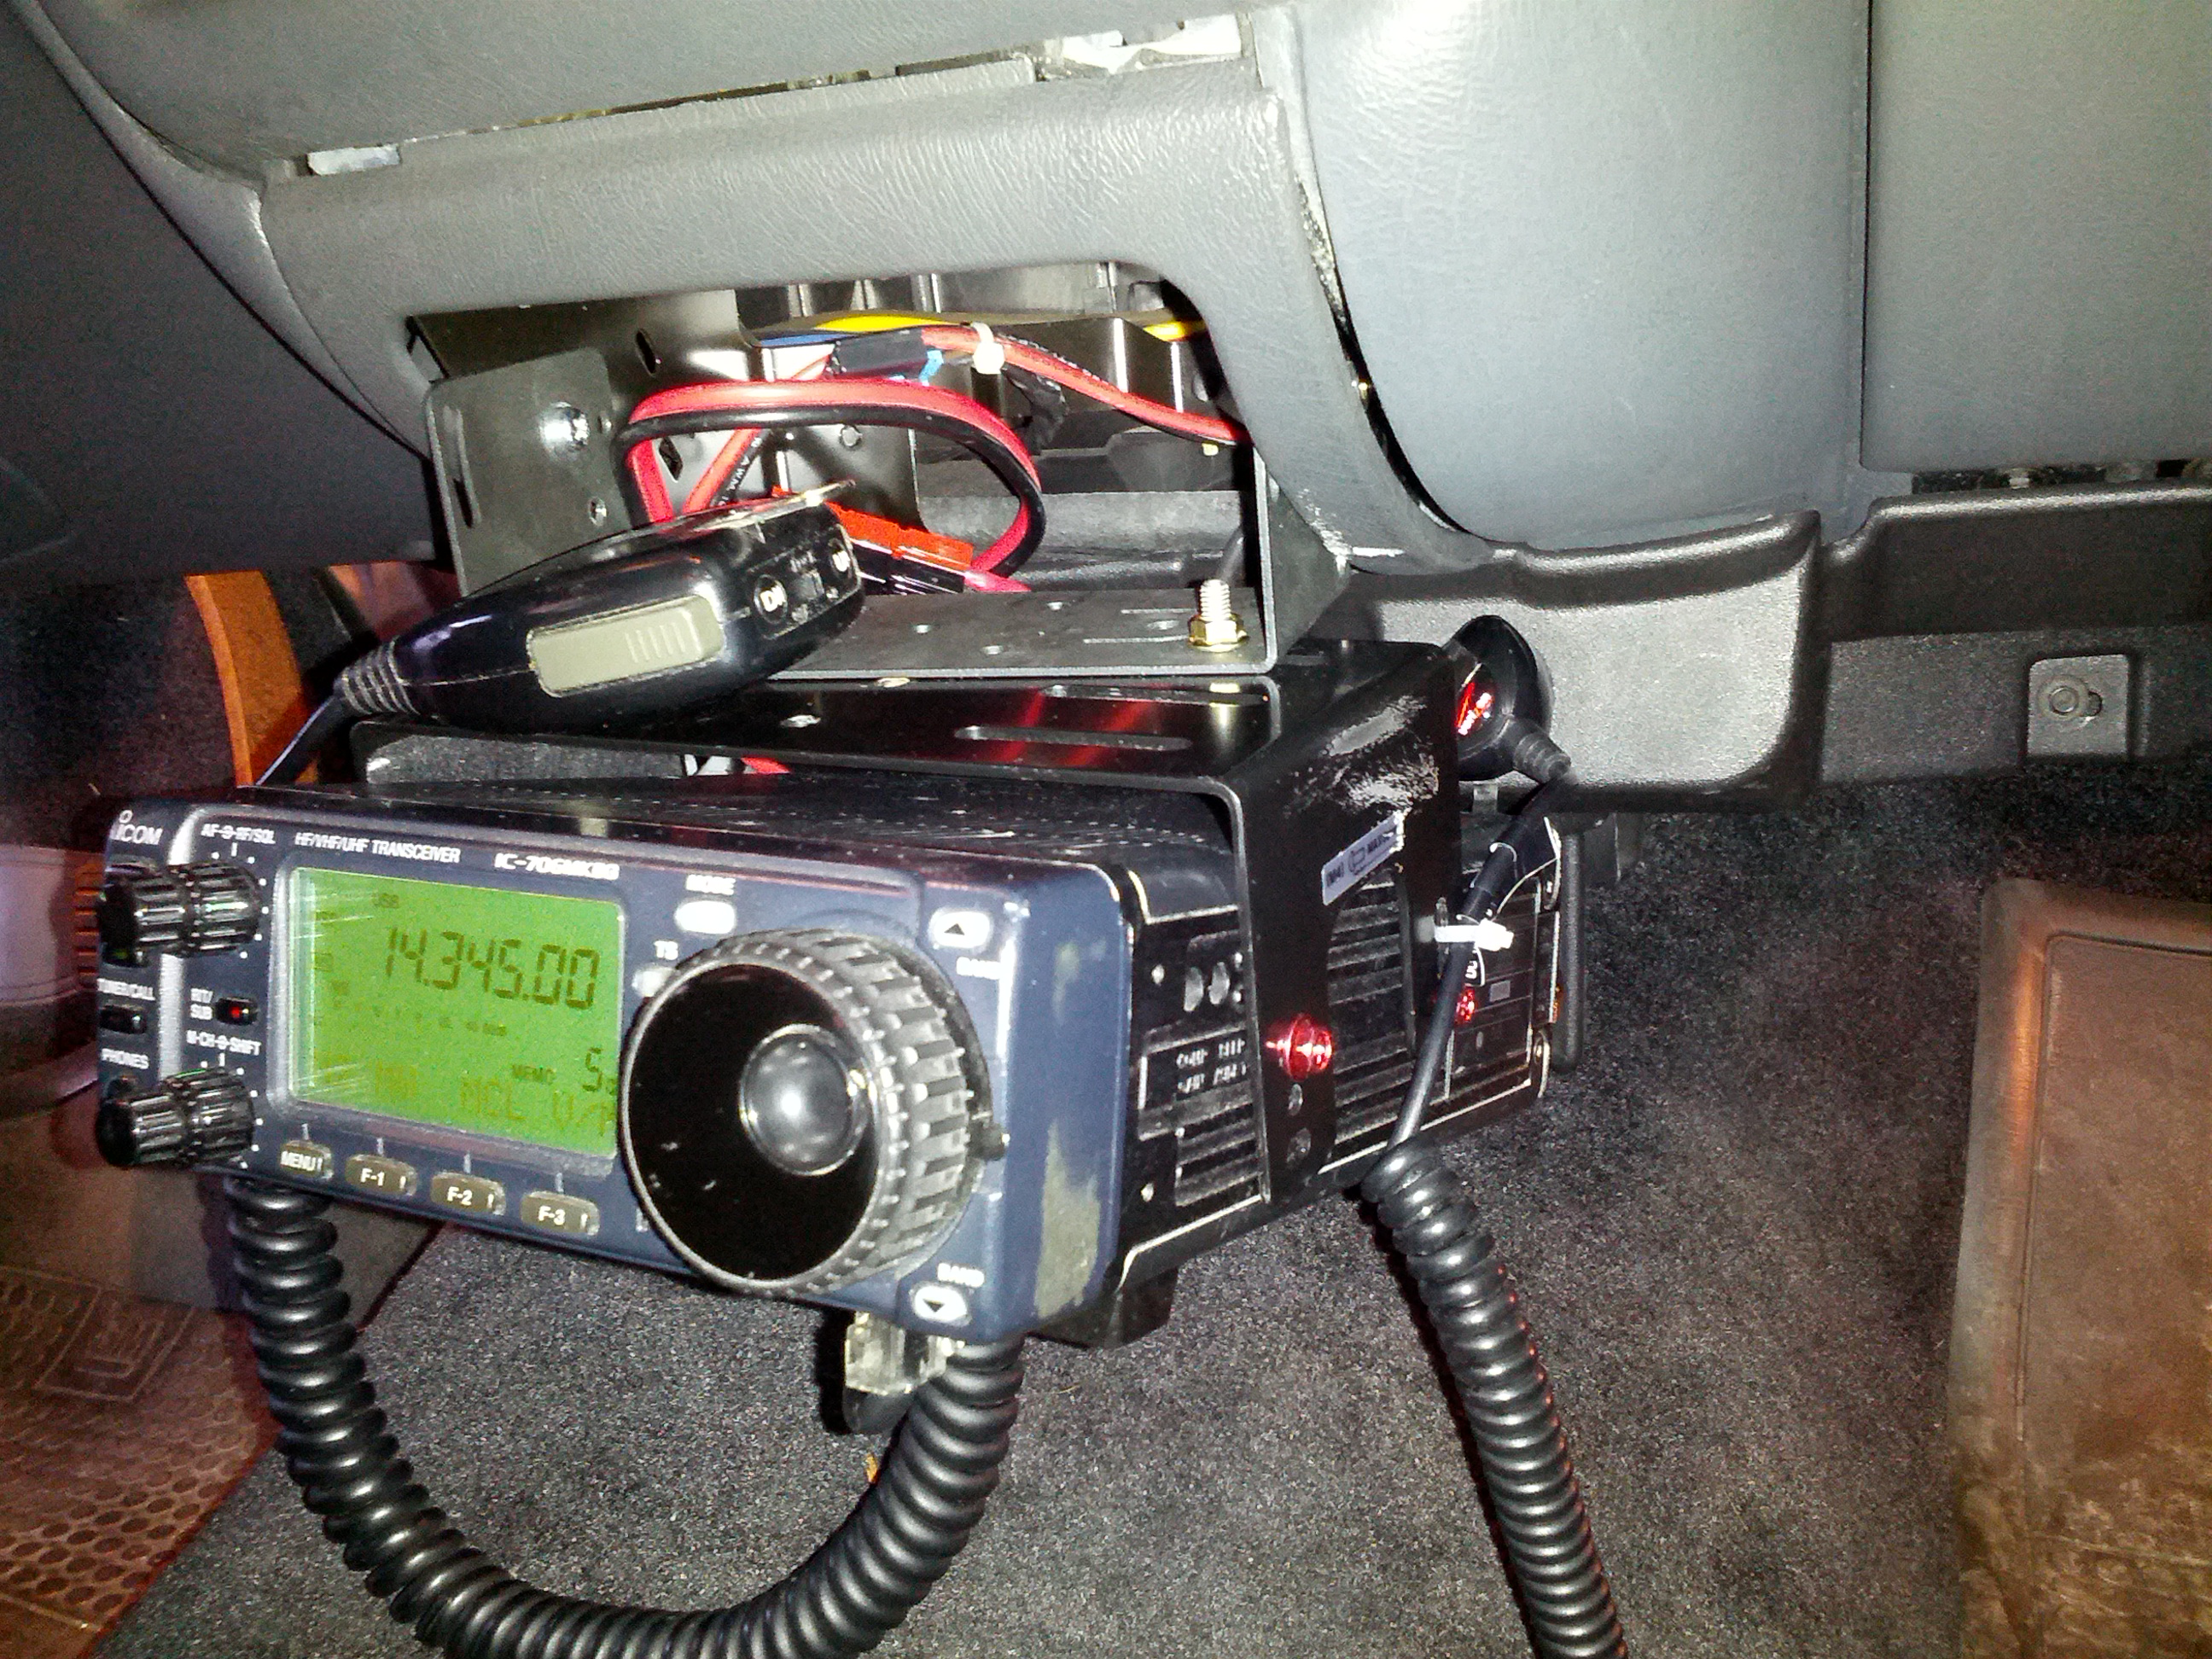
There’s a little problem with fitting this thing in…
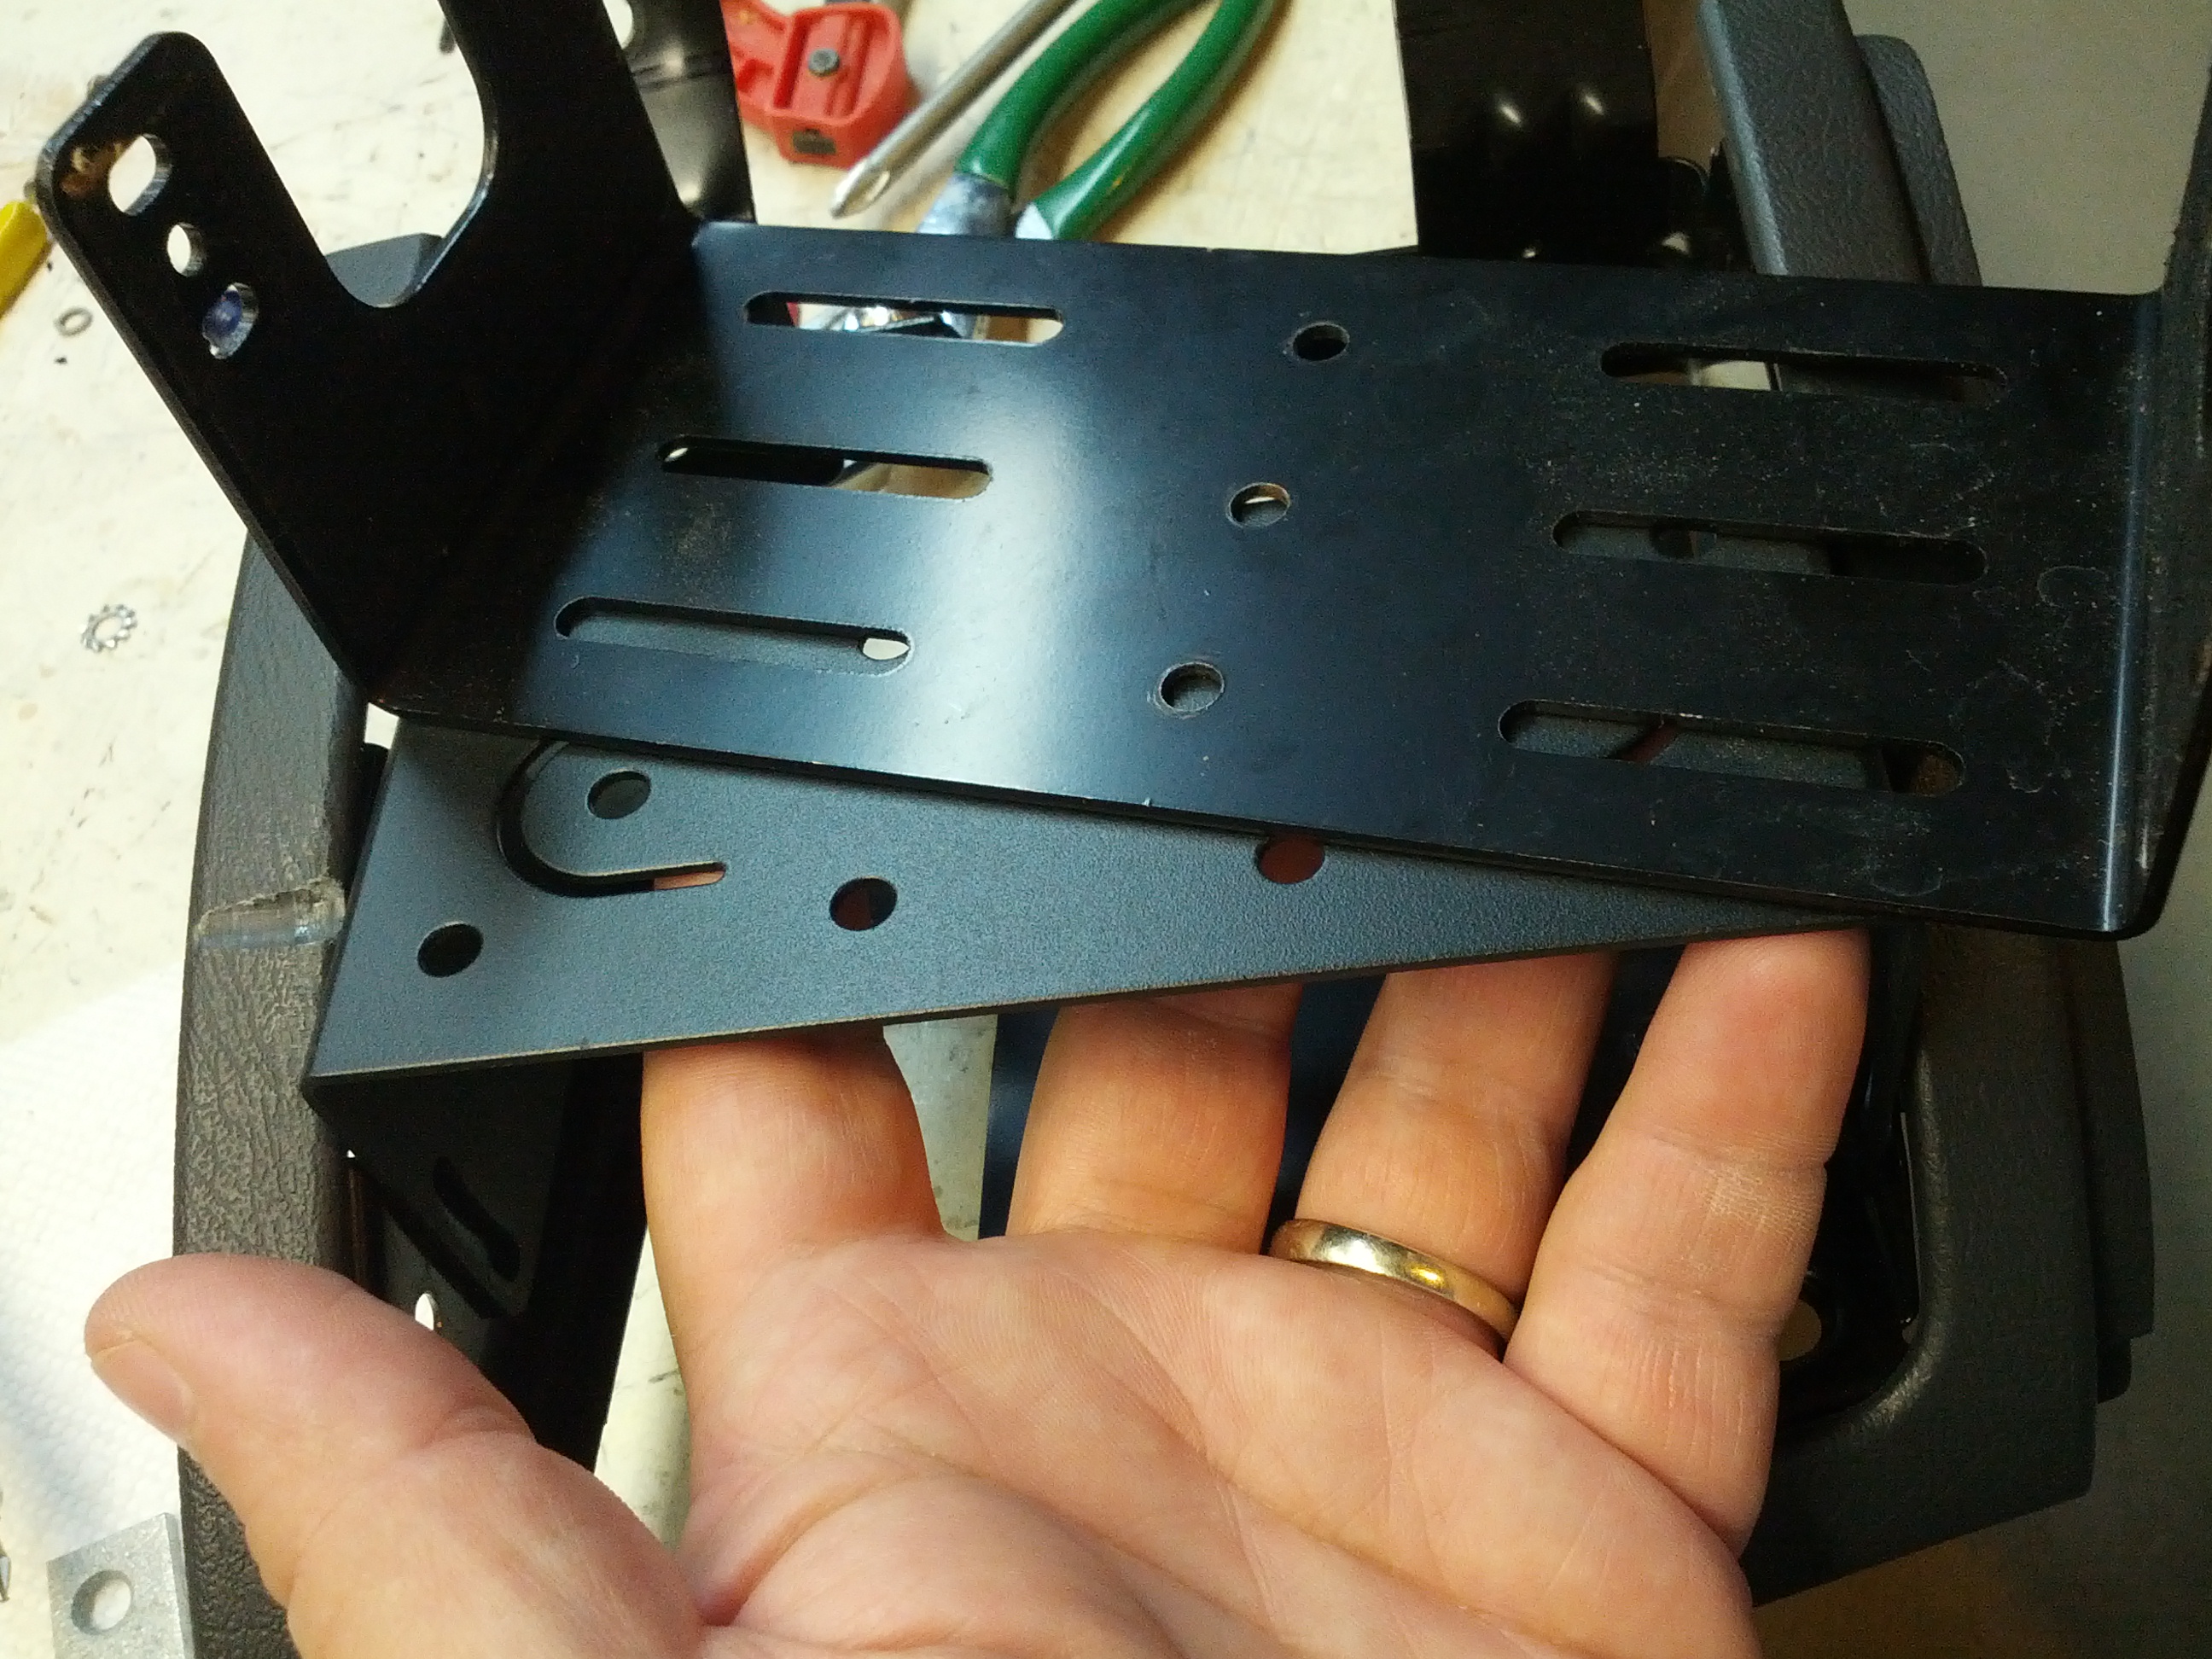
So if I turn this over and bolt it in upside-down…
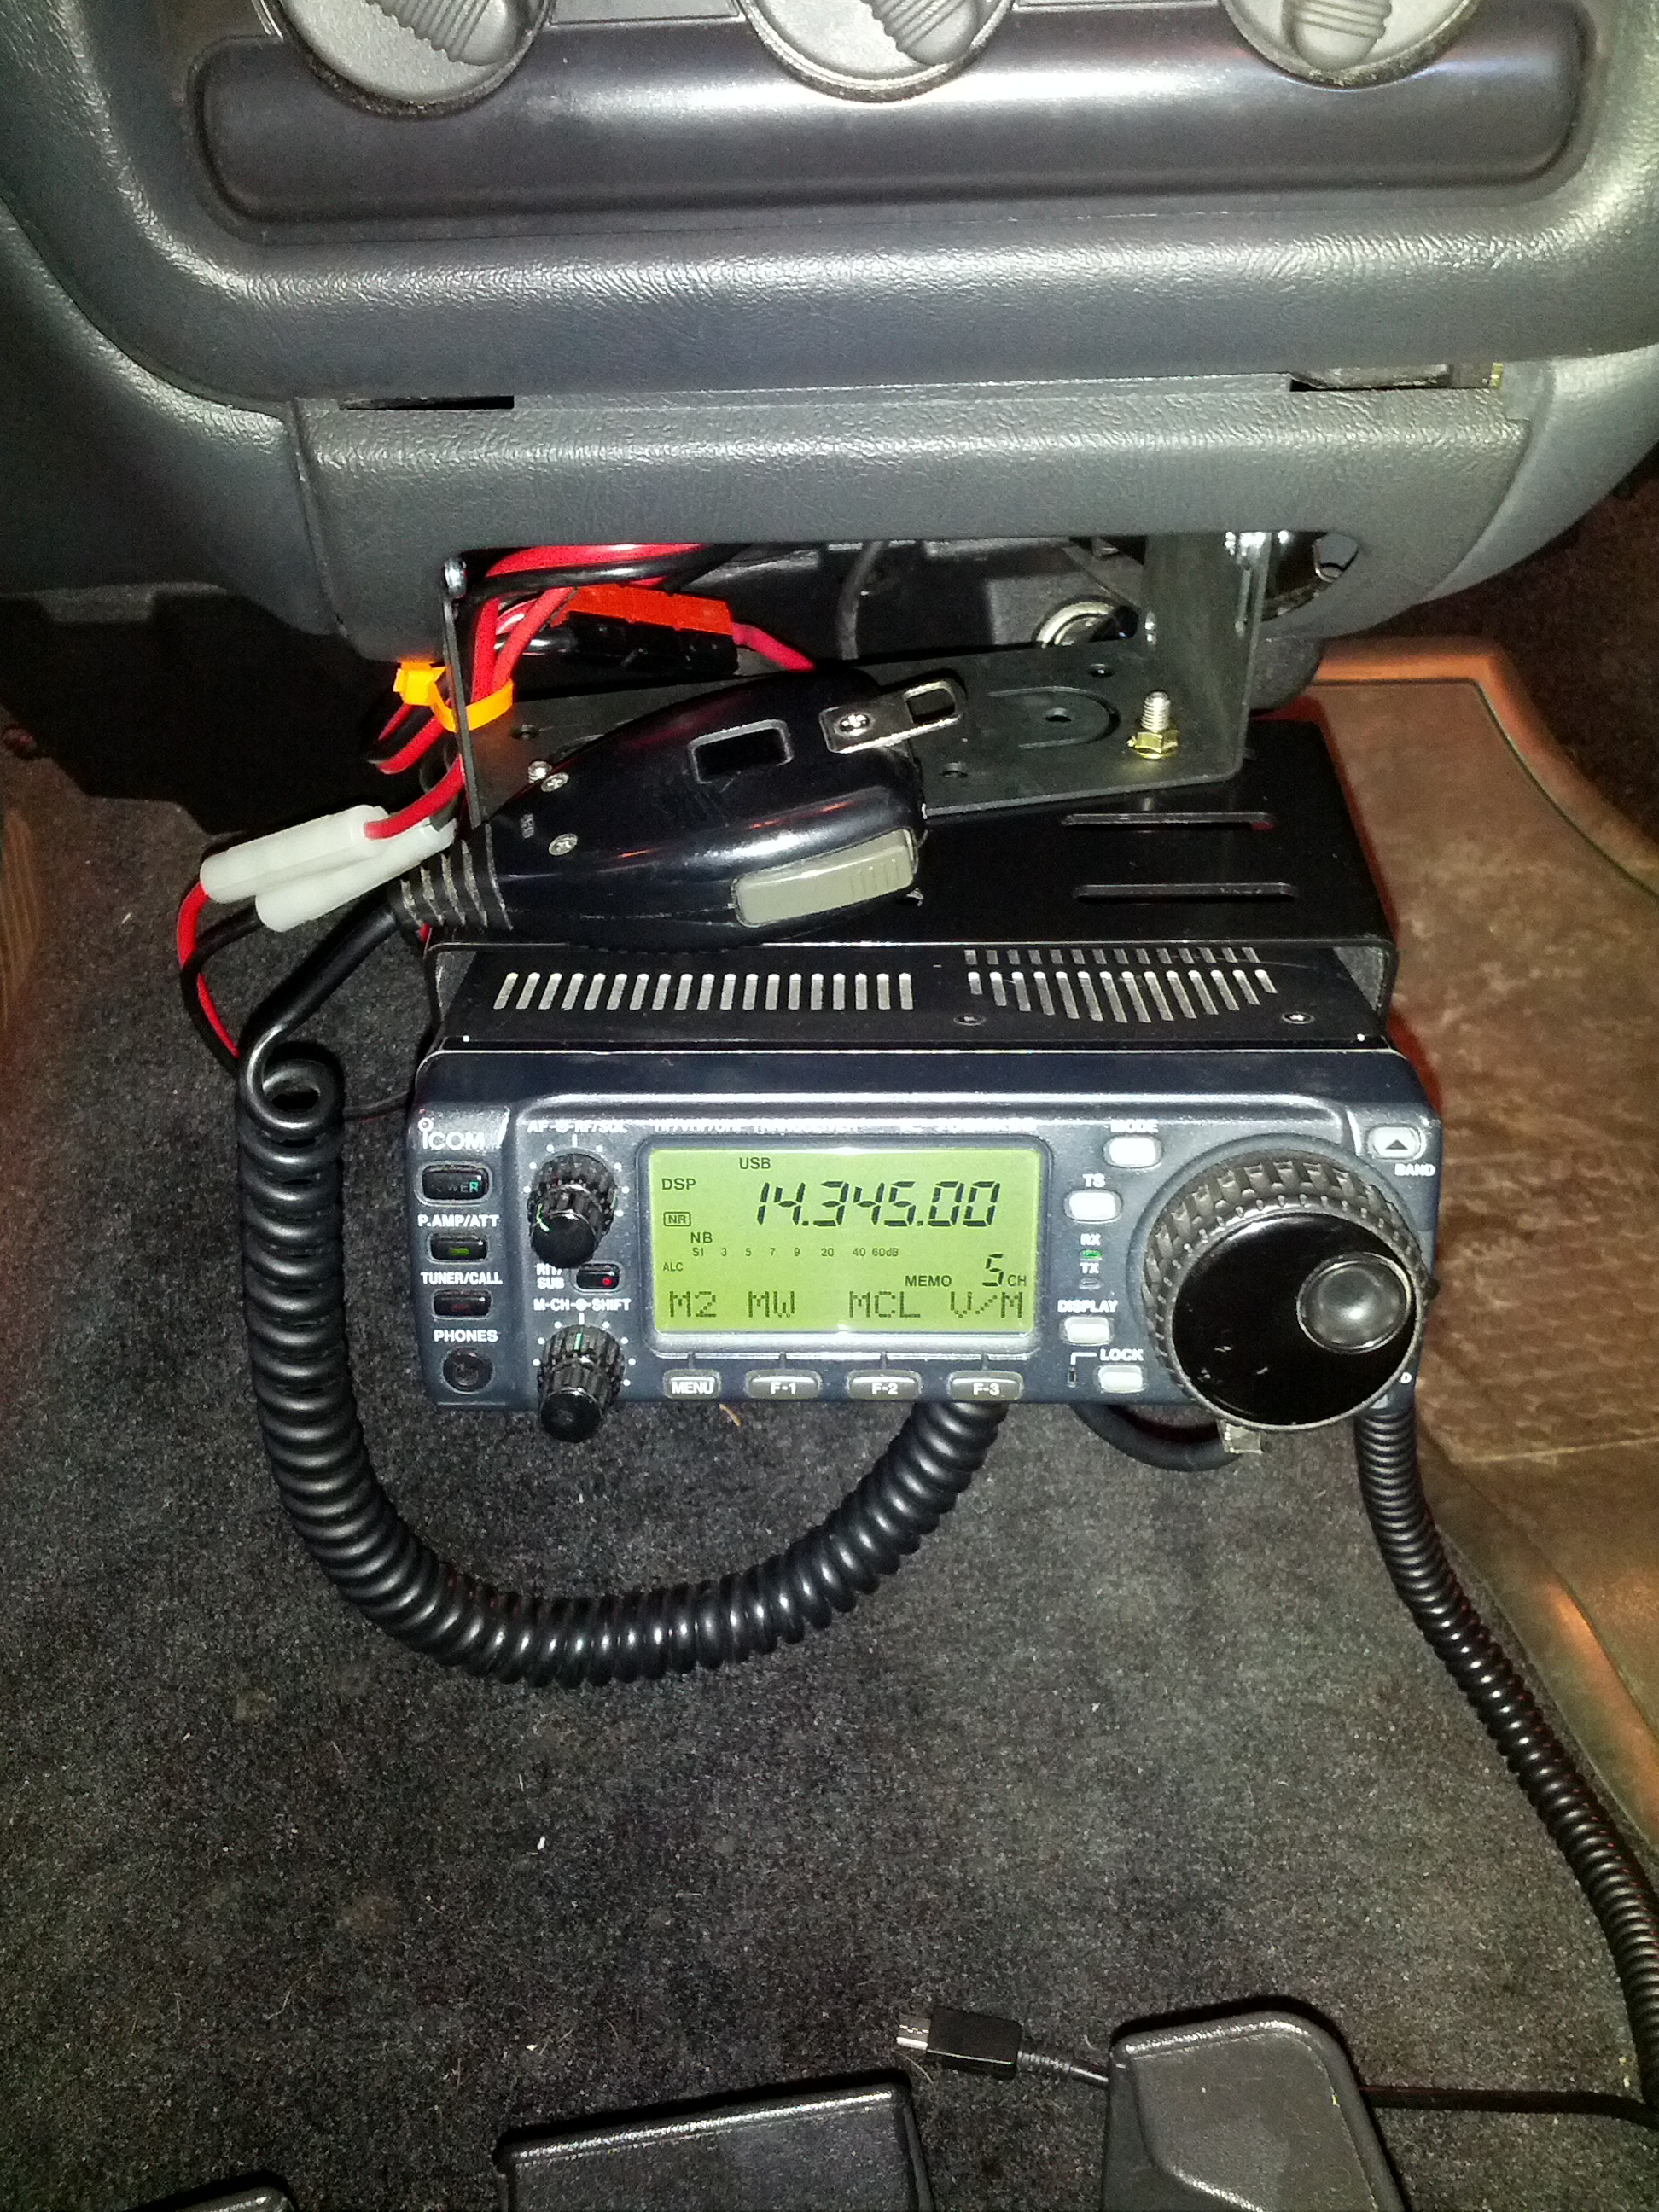
It’s in and that’s that!
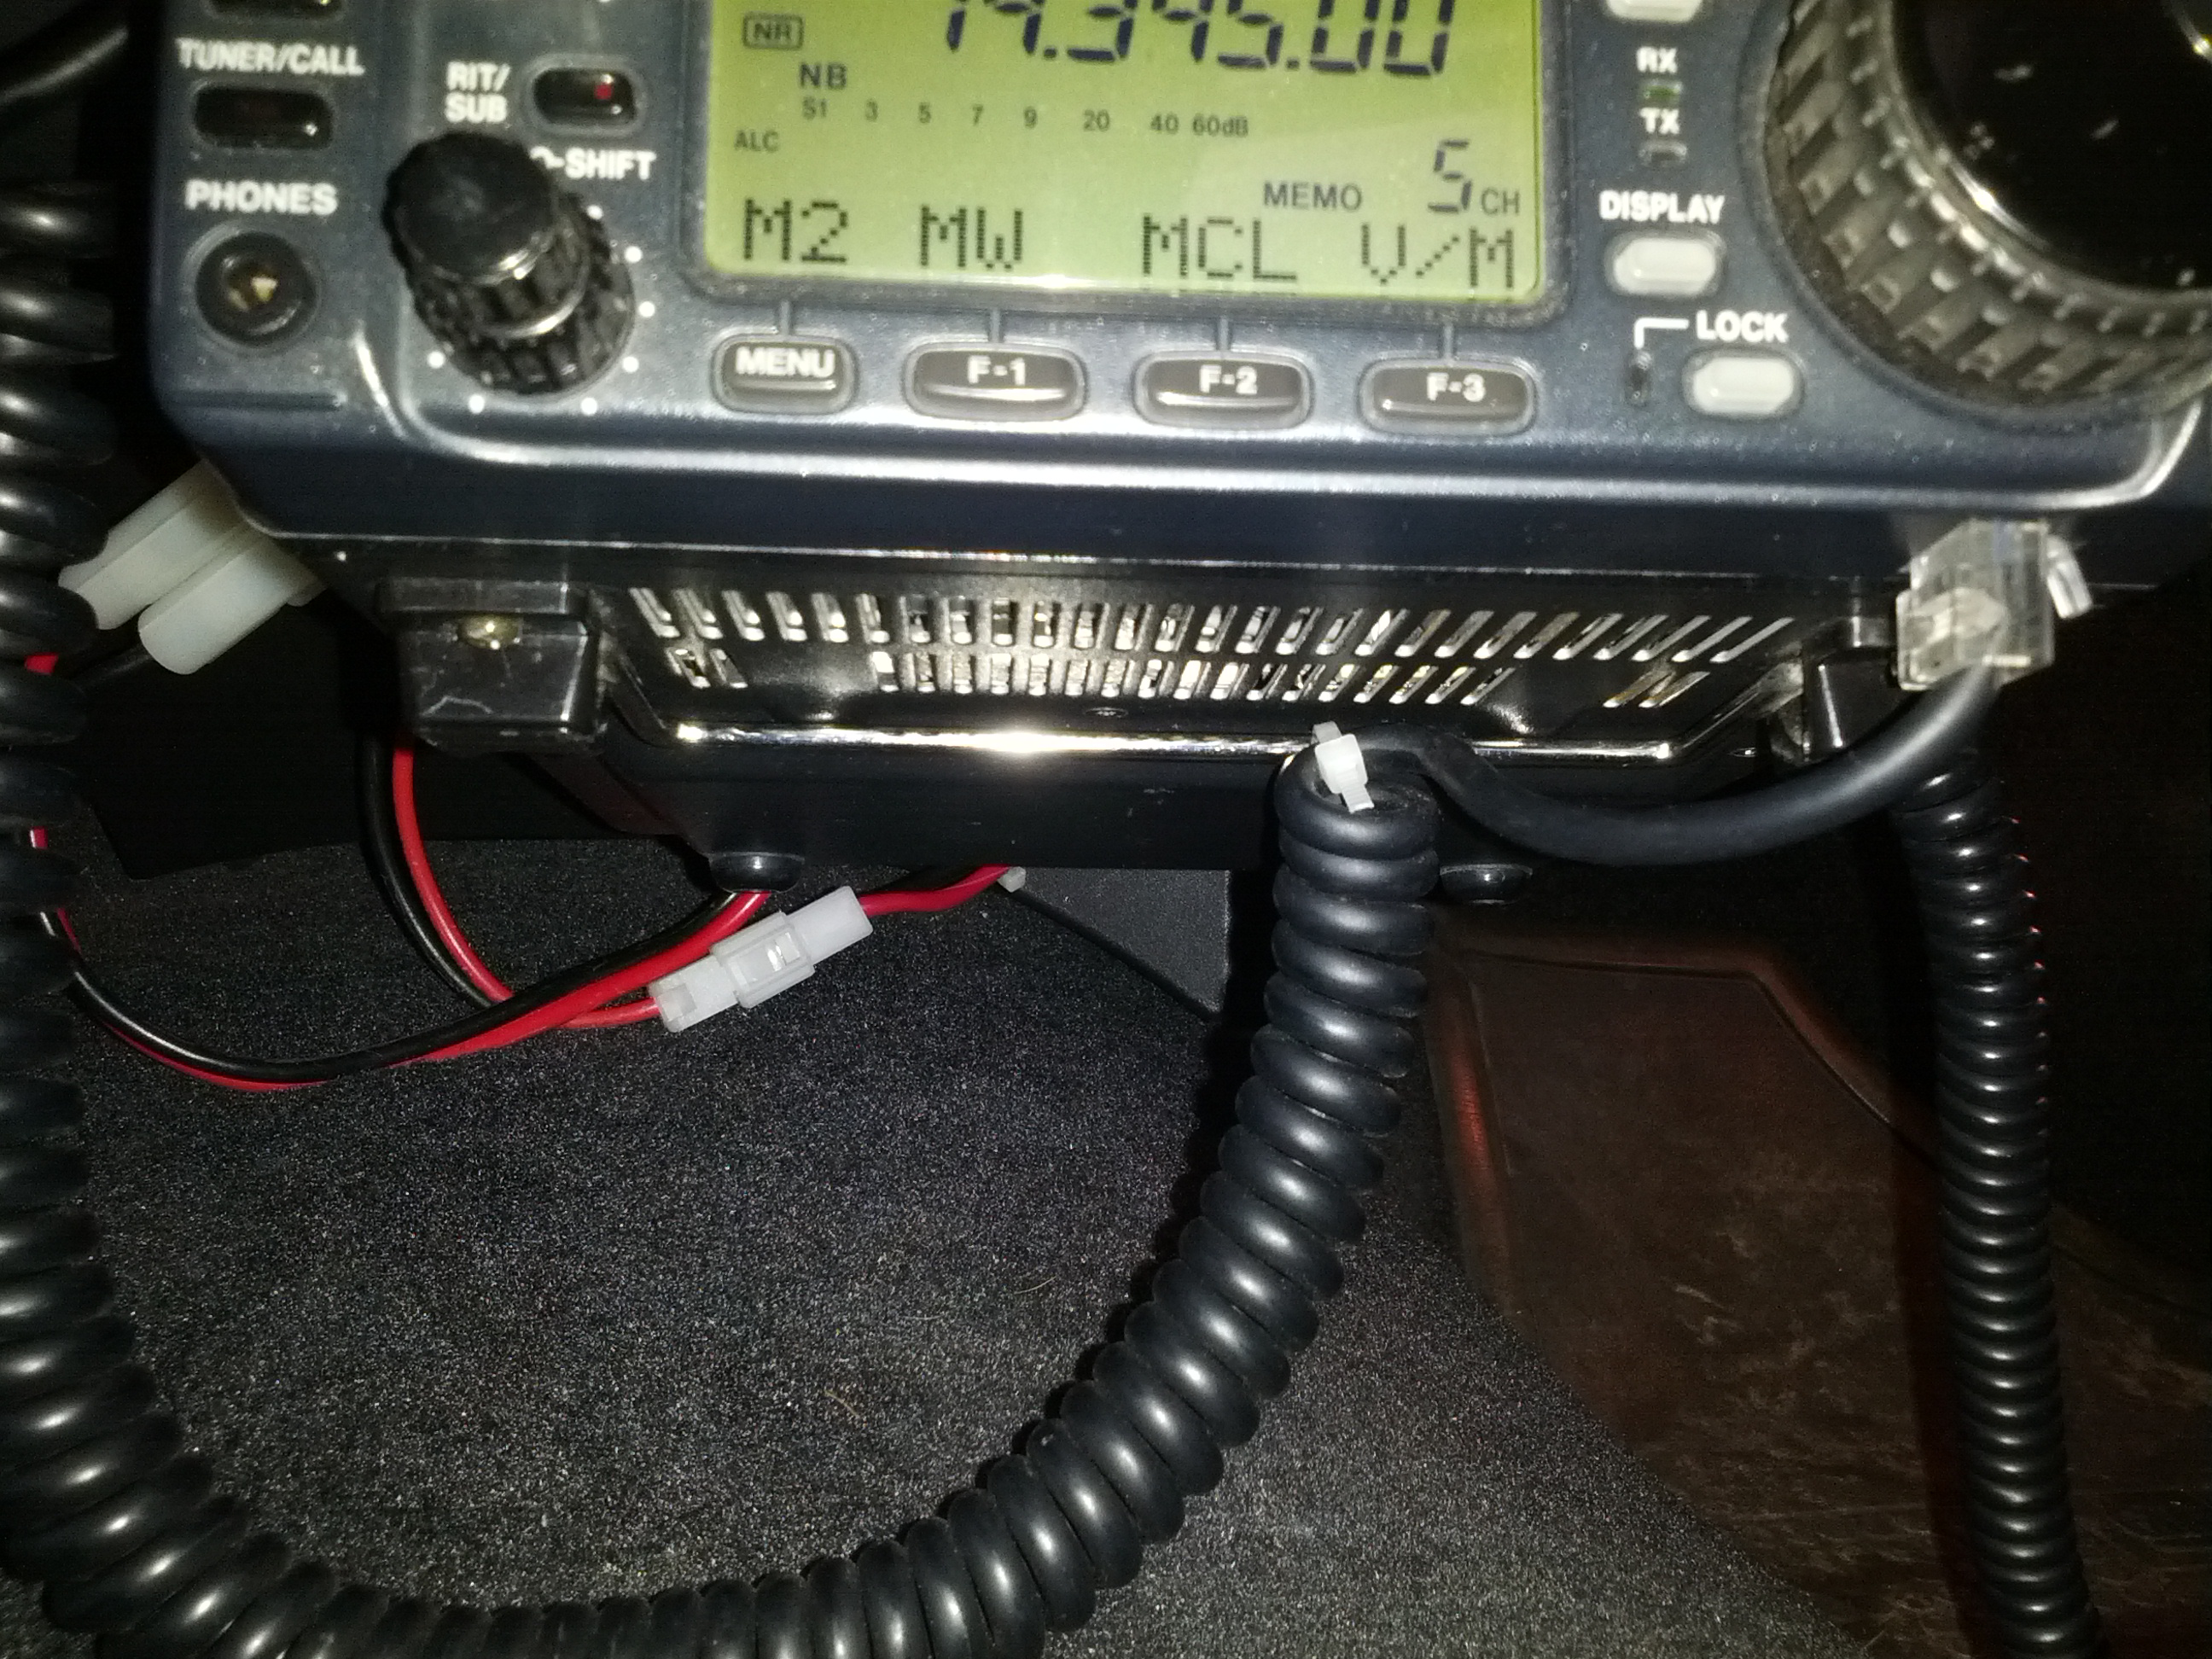
I zip-tied the mic cable to the foot on the bottom of the rig to keep from pulling too hard on the cable and damaging it. The modular cable ends are a pain to replace because the mic wire bundle is not really made for those (unlike network cable which is simple to terminate).
I also zip-tied my cellphone charger to the mount to keep the plug from pulling out (which I wouldn’t be able to fix while driving, obviously).
With all that said and done, all that remains is dealing with the antenna side of the equation, and removing the one below, which certainly feels like a dummy load… on a stick.

Someone gave this to me. I’m considering giving it back once I have a better alternative.