
Blog Archives
Those on Twitter already know that I’ve been tasked with managing the club email list because I am the secretary of the Milford Amateur Radio Club. I asked on Twitter if anyone had any hints and I mostly got sympathy.
So I looked for something, and stumbled upon CiviCRM that looks like it may help. CiviCRM is an open-source Customer Relations Management system that looks pretty cool.
The problem is, it requires MySQL 5.1. That’s not a problem FOR THEM. It’s a problem FOR ME. I use GoDaddy shared hosting, and they have resisted every MySQL upgrade since 5.0. So I looked at GoDaddy’s forum, and found a cornucopia of people demanding it, all met with the same response of “we have no plans to upgrade that on the shared hosting plans, but buy a Virtual Private Server (VPS) or Dedicated Server. Now, I pay about $100 per year for “Ultimate Shared Hosting”. A dedicated server is $100 PER MONTH. A VPS is $30 (ish) per month.
Mind you, the shared hosting works perfectly for me, as it’s cheap (I make no money from my websites, neither directly nor indirectly. I don’t have the money to go to a dedicated server, nor do I have the money to go with a VPS, and if I did, I wouldn’t because I don’t want the added workload of administering a server. I used to do that, and I got away from it because I wanted to spend time on content rather than computer administration duties.
So here I sit. Via Twitter, I’ve received recommendations for BlueHost, DreamHost, Linode, and WestHost (and had a nice twitter conversation with an account manager from WestHost). I haven’t made up my mind, and my hosting contract with GoDaddy is up in June. I’ve enjoyed great up-time and service from GoDaddy in the past, but running several versions behind on the backend database is not only an annoyance (for not being able to use CiviCRM), but it is absolutely frightening to think that I may have other peoples’ emails in a database on a server that isn’t being kept up-to-date with security patches.
GoDaddy, you have a week to meet my requirements. Upgrade to the latest MySQL. Else, Daddy, you’ll Go. Moving is a pain, but I will do what I have to do. And that is NOT a promise. I may decide to leave anyway because of how long this has been going on.
-73-
After reading a few blog posts out there from others, I decided that it would be interesting for me to get hold of an AD9851 module. My initial plan is to build an antenna analyzer and something else (I bought two).
The major engine of these modules is an AD9850 Direct Digital Synthesizer. This chip can be purchased in quantity for $15.25 EACH from Newark. From Digi-key, $15.37.
The two modules I purchased on eBay were $8.90. Total. With shipping.
And these modules aren’t just the chip…
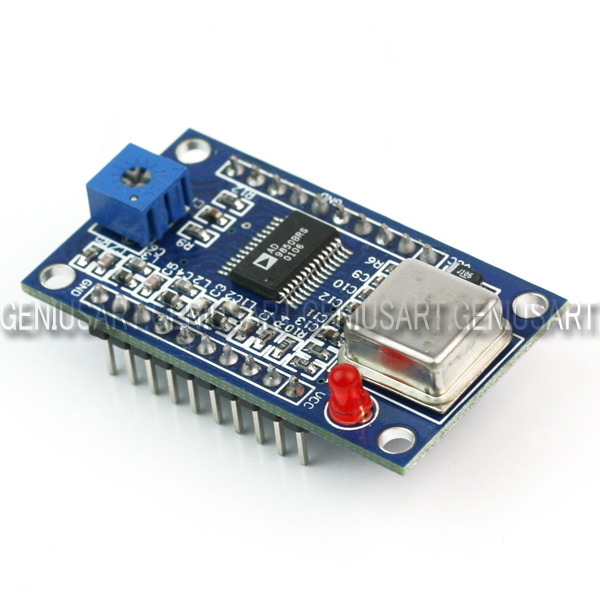
So I don’t totally understand how this eBay seller makes money, but it appears he does (it appears he’s/she’s sold quite a few of them, based on their eBay feedback rating). What I do (now) understand is why we no longer do electronics manufacturing in the USA.
After ordering this (at the time of writing, I’m still waiting on shipping), I started looking in to adding Ethernet capabilities to one of my Arduinos. So I looked in to the ENC28J60-based chipsets. After finding one for £22.90 and one for $35 on Sparkfun, I looked on eBay. $4.09 each from Hong Kong. $2 for shipping. At least this isn’t as egregious as the AD9850 modules, as the ENC28J60 chip is $2.36 in quantity from Digi-Key.
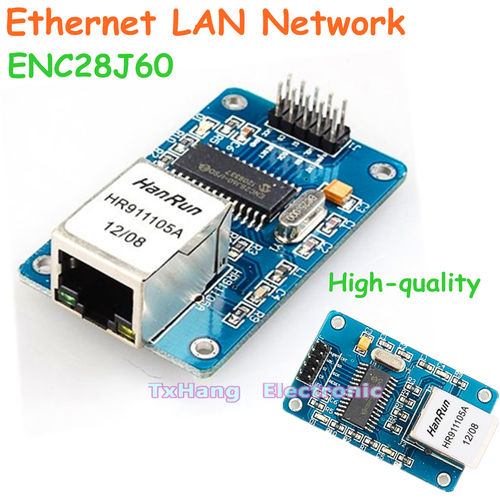
I can’t imagine this is news to anyone in the electronics industry, but I’m just an amateur radio operator and traffic engineer. I found this interesting. And I’m not complaining, as long as this stuff I get from China works! 🙂
Of course, there is a drawback to this – the wait. I got a confirmation of shipment for the DDS modules on March 26, 2013, and they arrived on April 6, 2013. I ordered the Ethernet modules on April 5, 2013, and they have yet to arrive. So there is a delay, but with some planning, a hobbyist like me can deal with it.
-73-
—UPDATE—
The Soldersmoke Daily News blog has another possible reason: a design flaw. See his post for details.
On March 30, I went into my attic to install a few antennas. I learned a few things that bear passing on. Some of these are in pictures, some are text. These are in no particular order. These assume you have cellulose insulation (the type that’s blown in).
- Be ready for a dusty environment. If you don’t wear a dust mask, be prepared to blow black snot out of your nose
- If you wear glasses, make sure they are in no danger of falling off (I almost lost mine, that would have been bad news to drop them into the insulation)
- Make sure you have extra batteries for cordless tools
- Make sure coax is supported at the top. A 20 foot run of coax can be heavy, and you don’t want the line stressed
- Make sure you have a flashlight (as well as an area lamp, like a clip-lamp)
- Take a plastic rake up there with you. Use it to move the insulation around.
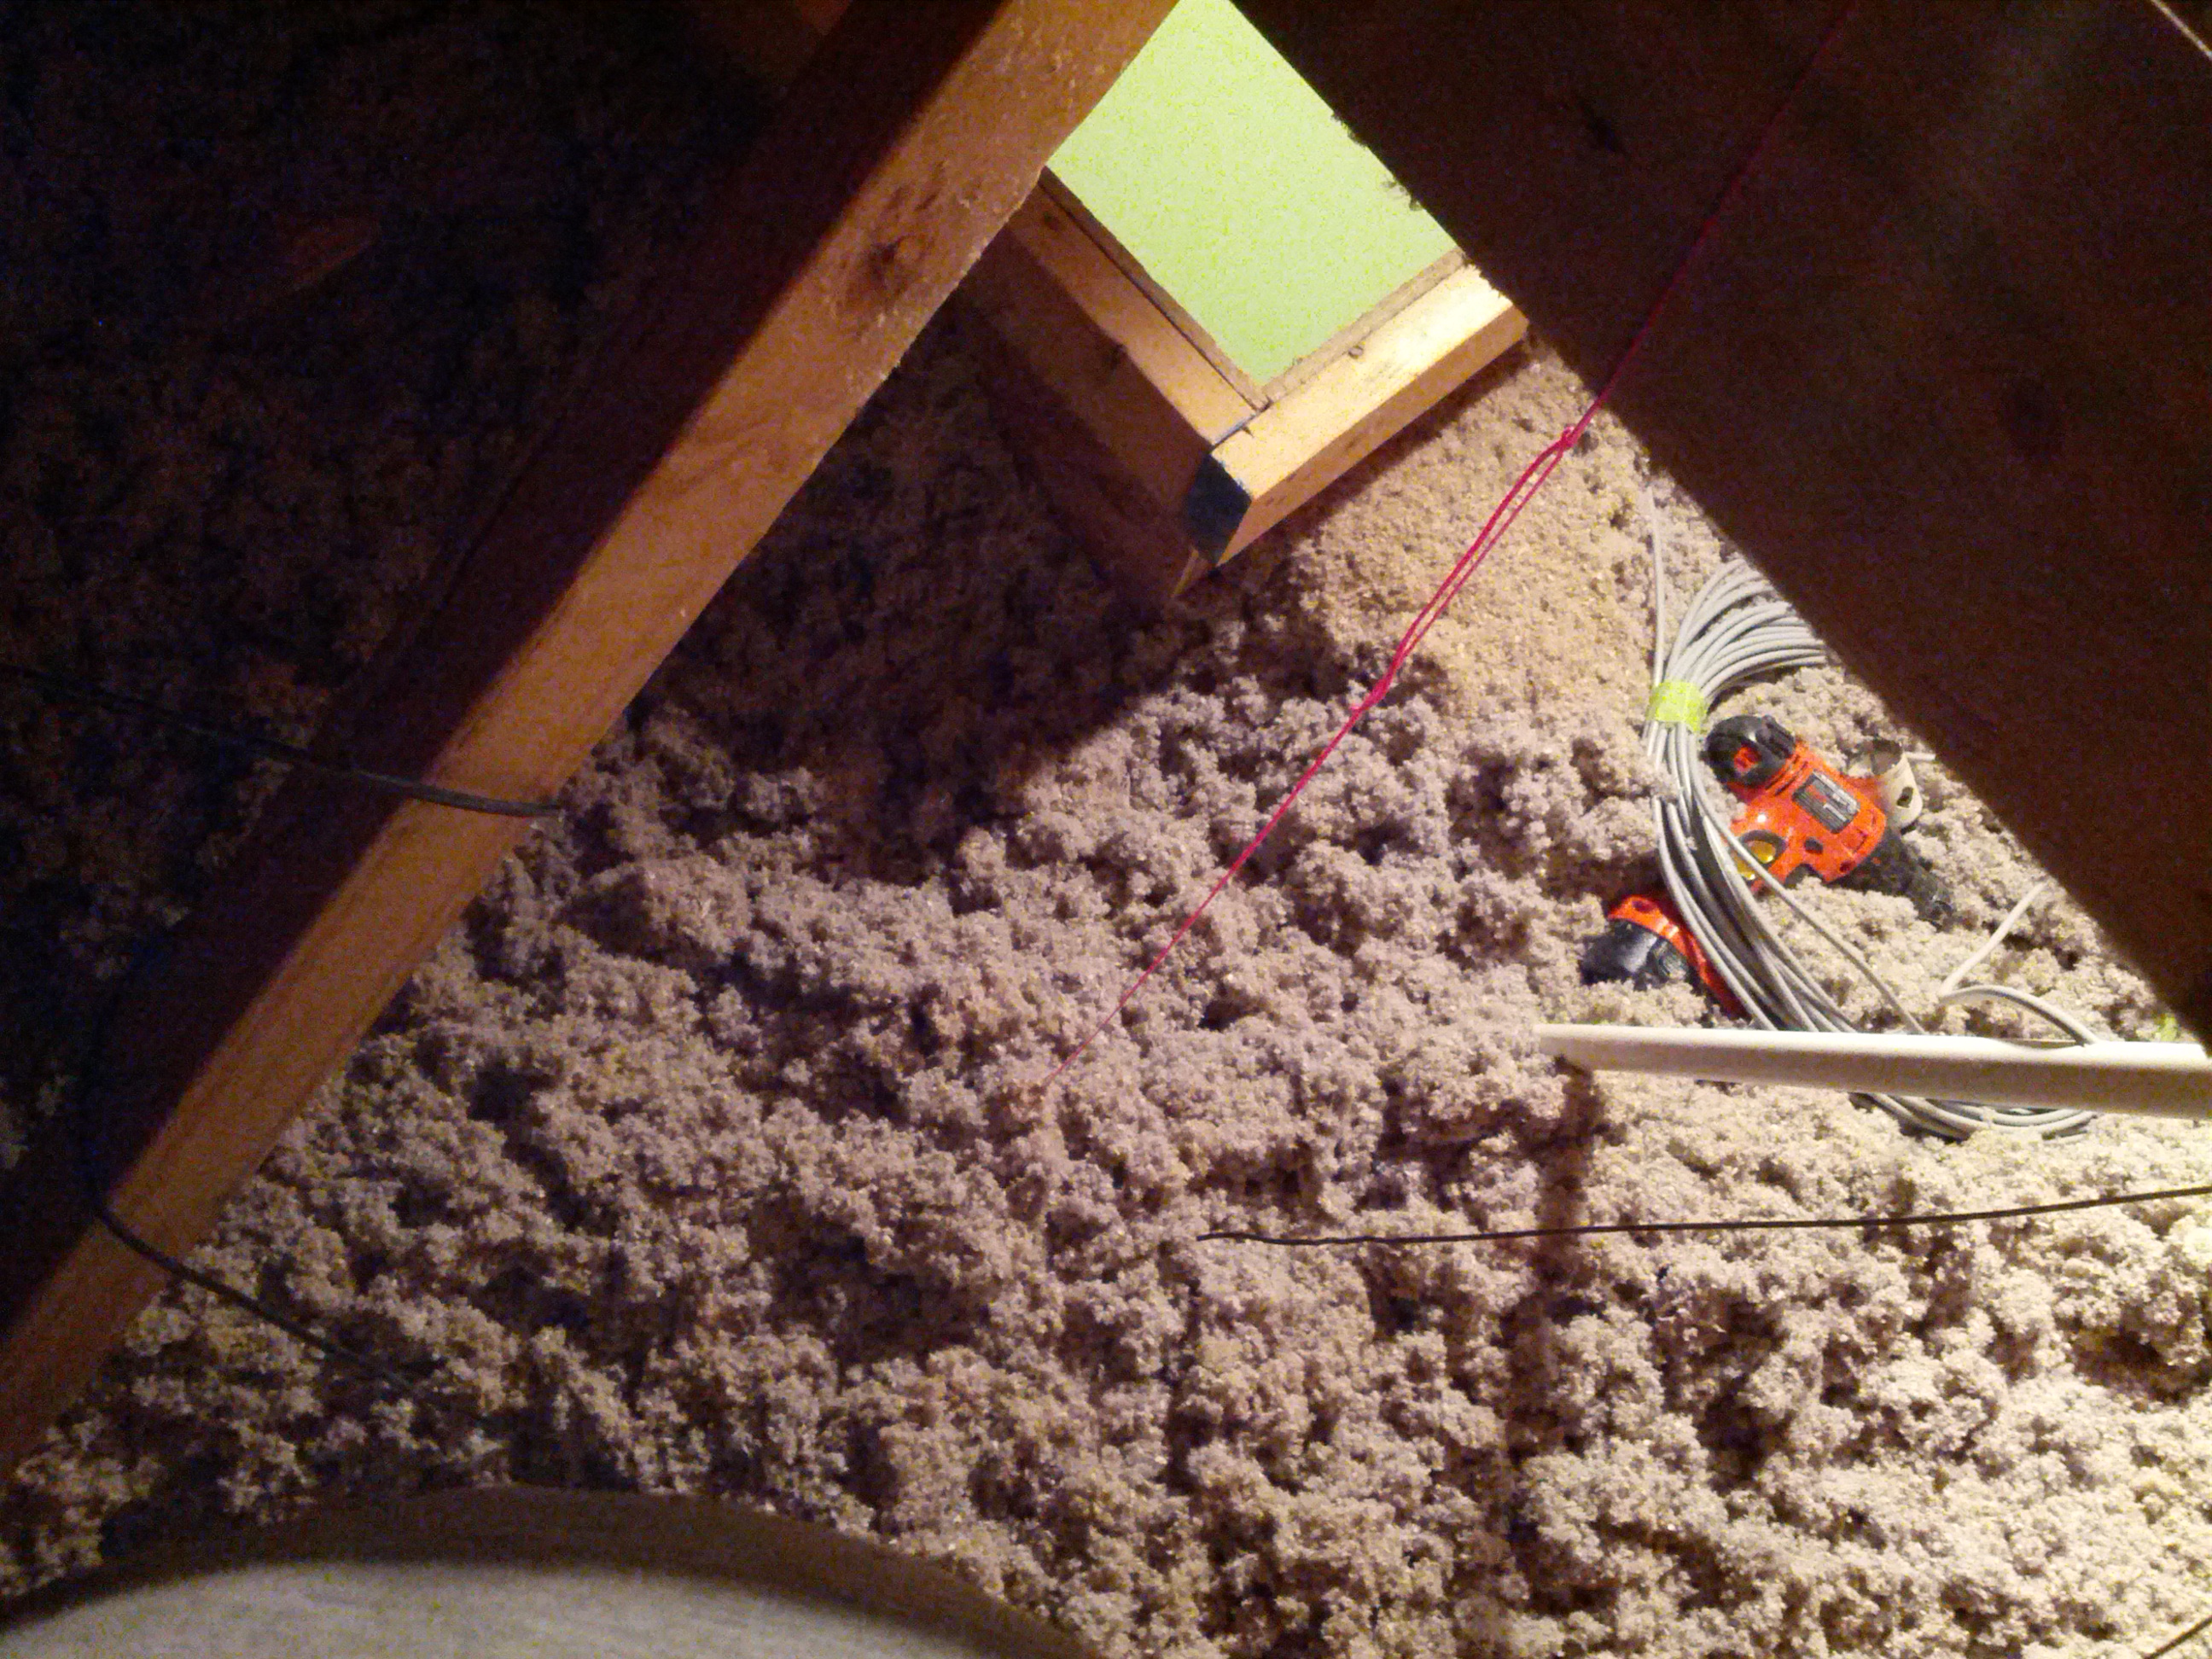
A piece of mason’s line (in stylish hot pink) is great to mark where the hole is for coax.
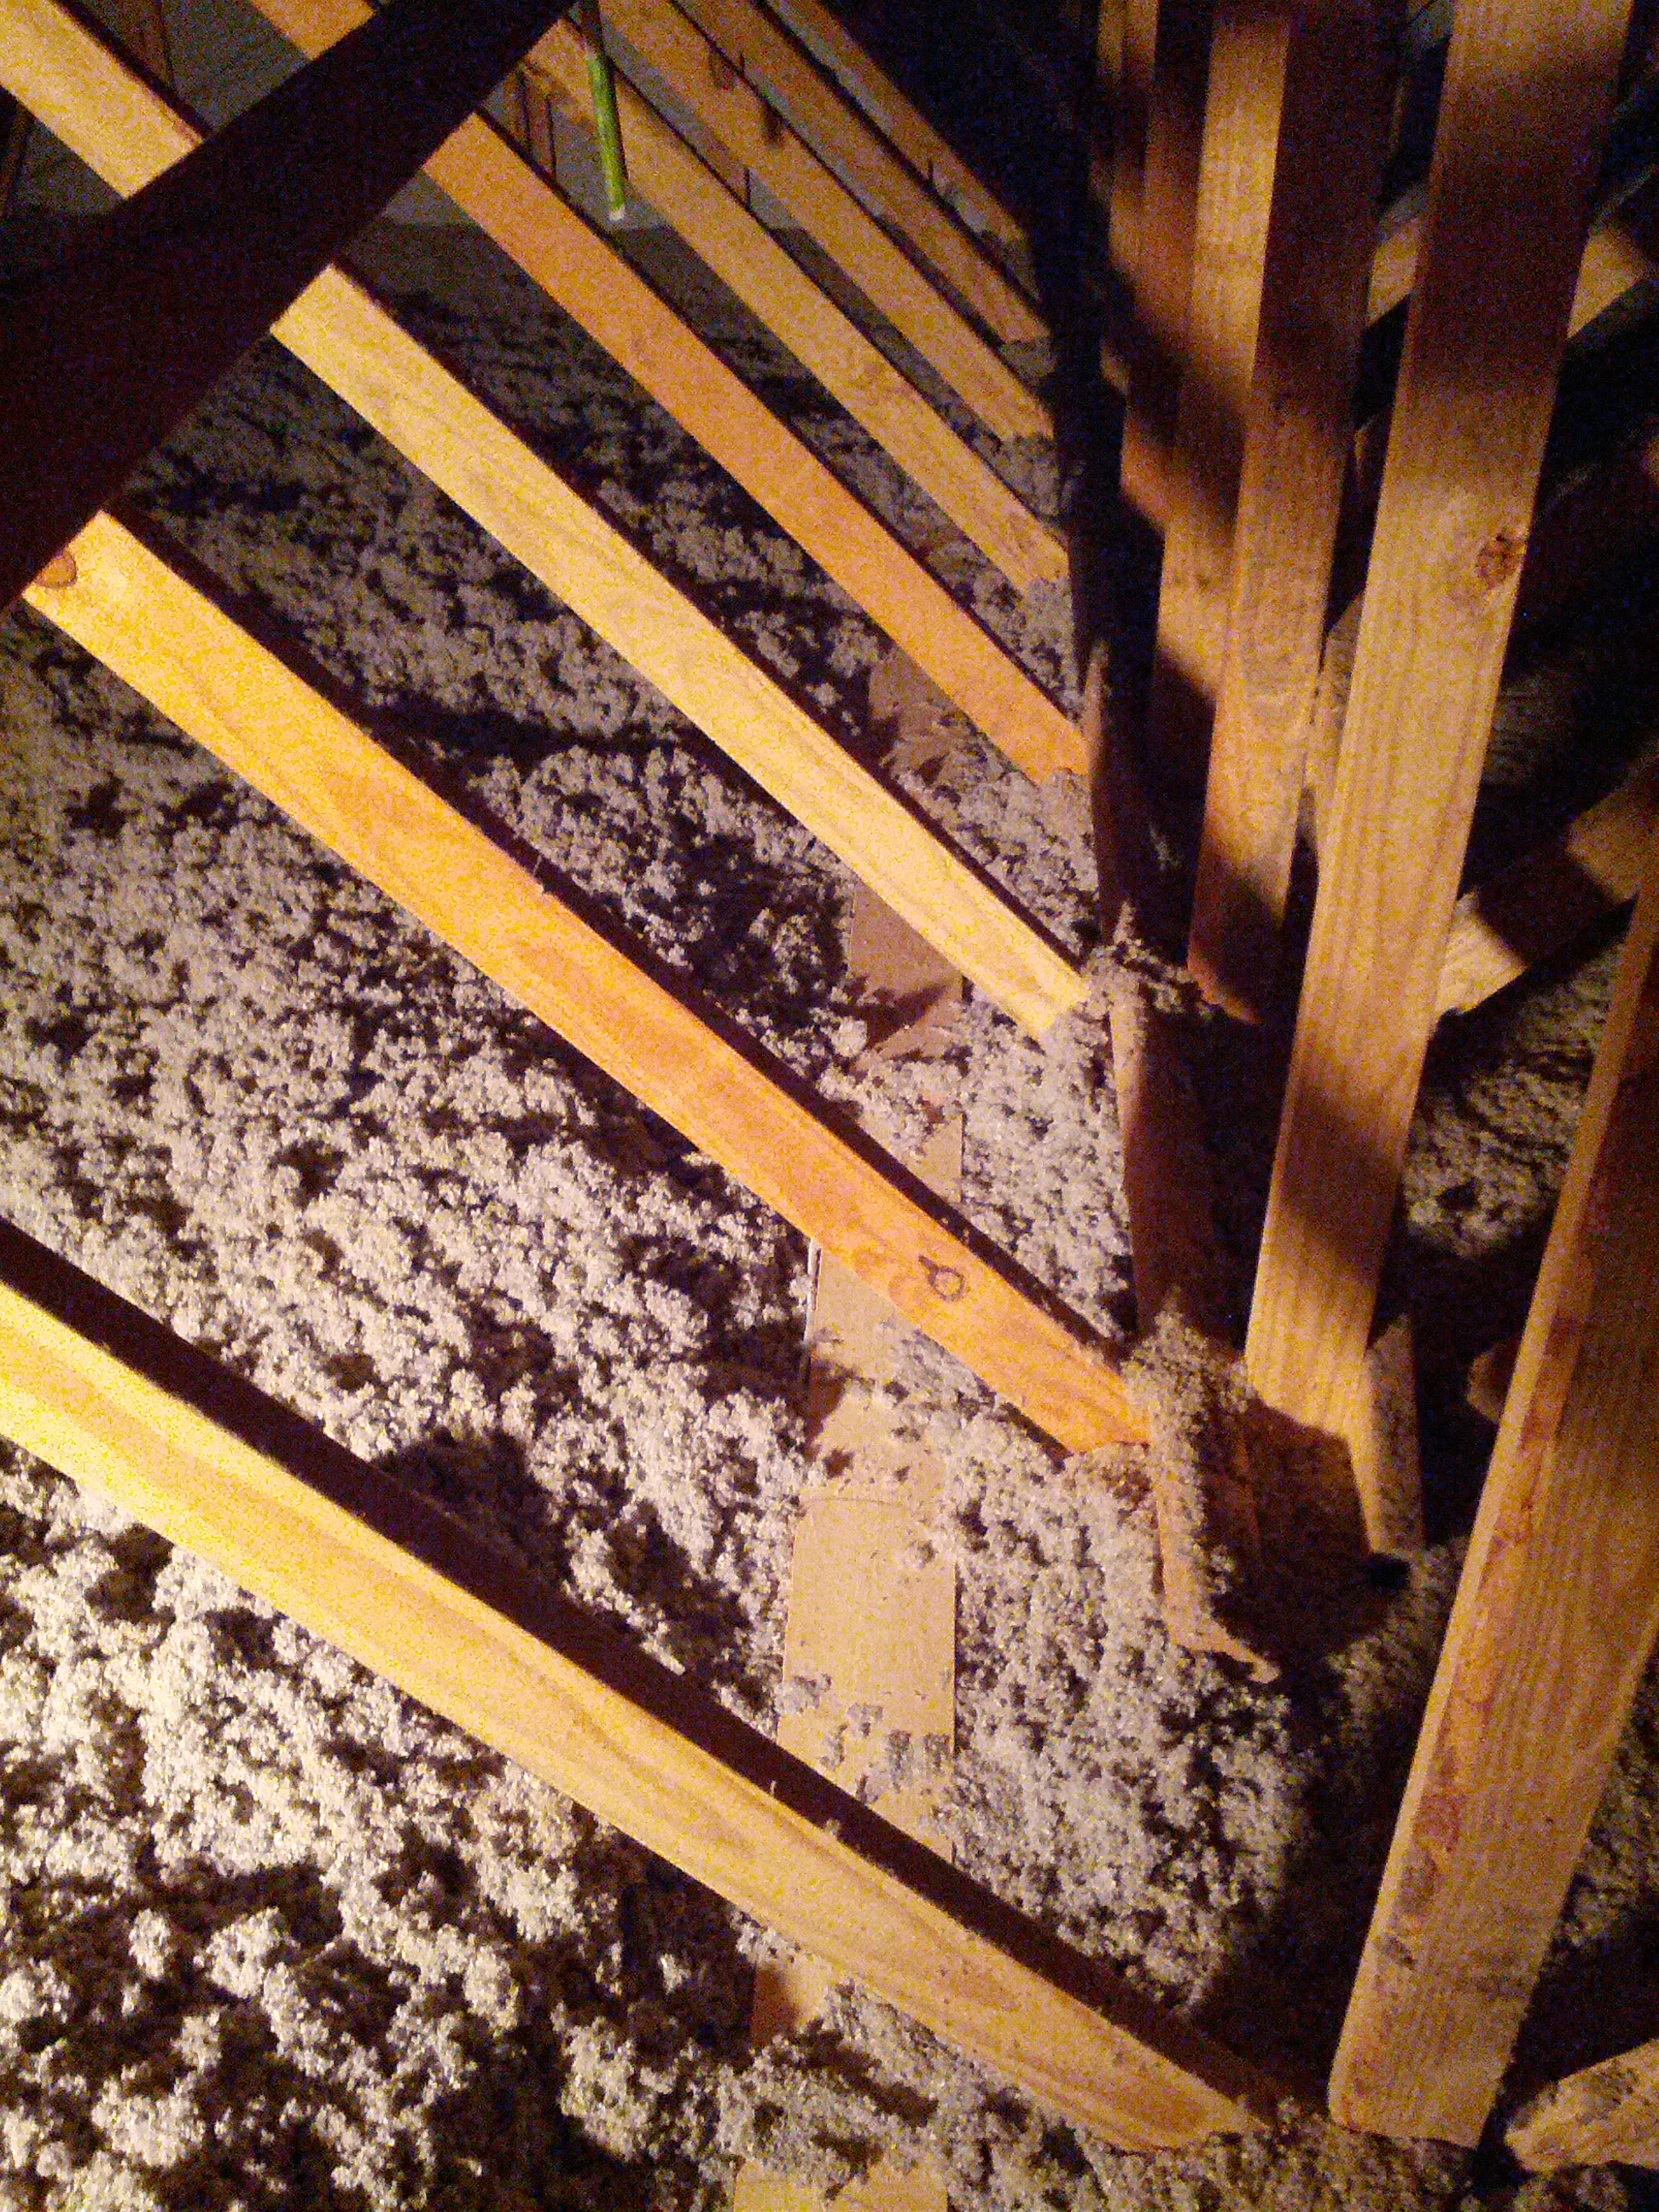
Look for things like a catwalk (like my attic has), just make sure you’re walking on wood and not PVC! Also, don’t expect the catwalk to be on both sides (in mine, it is not).
-73-
After installing my first HF attic dipole and noticing that I can hit Alaska and the Carribean really well and can’t hear New England at all, I decided I want another that is perpendicular to it (then maybe I’ll hit New England and Arizona… and Hawaii!).
I decided to do this antenna a little differently. Consider it an experiment. While I went to a lot of great lengths to put traps in my prior antenna (which shortened it’s length considerably), I decided on this one I want to try window line and see if the interference problem caused by my plasma TV is different. If not, I may be off of 40 and lower until I replace the TV with an LED TV.
Since the window line will be going down along a ventilation shaft that’s pretty large, the one concern I have is that I can’t put metal conduit in the shaft (one thing I wanted to try was to put a grounded metal conduit in the ventilation shaft and see if that fixes the interference problem).
So anyway, the pictures are below.

This is the stress reliever in the center insulator. I drilled three holes in a 3/4″ PVC coupler and used two wire ties to ensure that there isn’t too much stress on the wire joints.

This is the insulator in the center of the dipole. The long wires were soldered to the twin-lead. The PVC coupler allows for me to hang it via mason’s line.

The two sides of the dipole – wires at ~33′ each – are coiled around CLOSED coffee cans, and the window line is coiled. Everything is taped with masking tape so it can be removed easily. The cans have to be closed due the insulation in the attic – open cans would get insulation in them, closed cans do not.
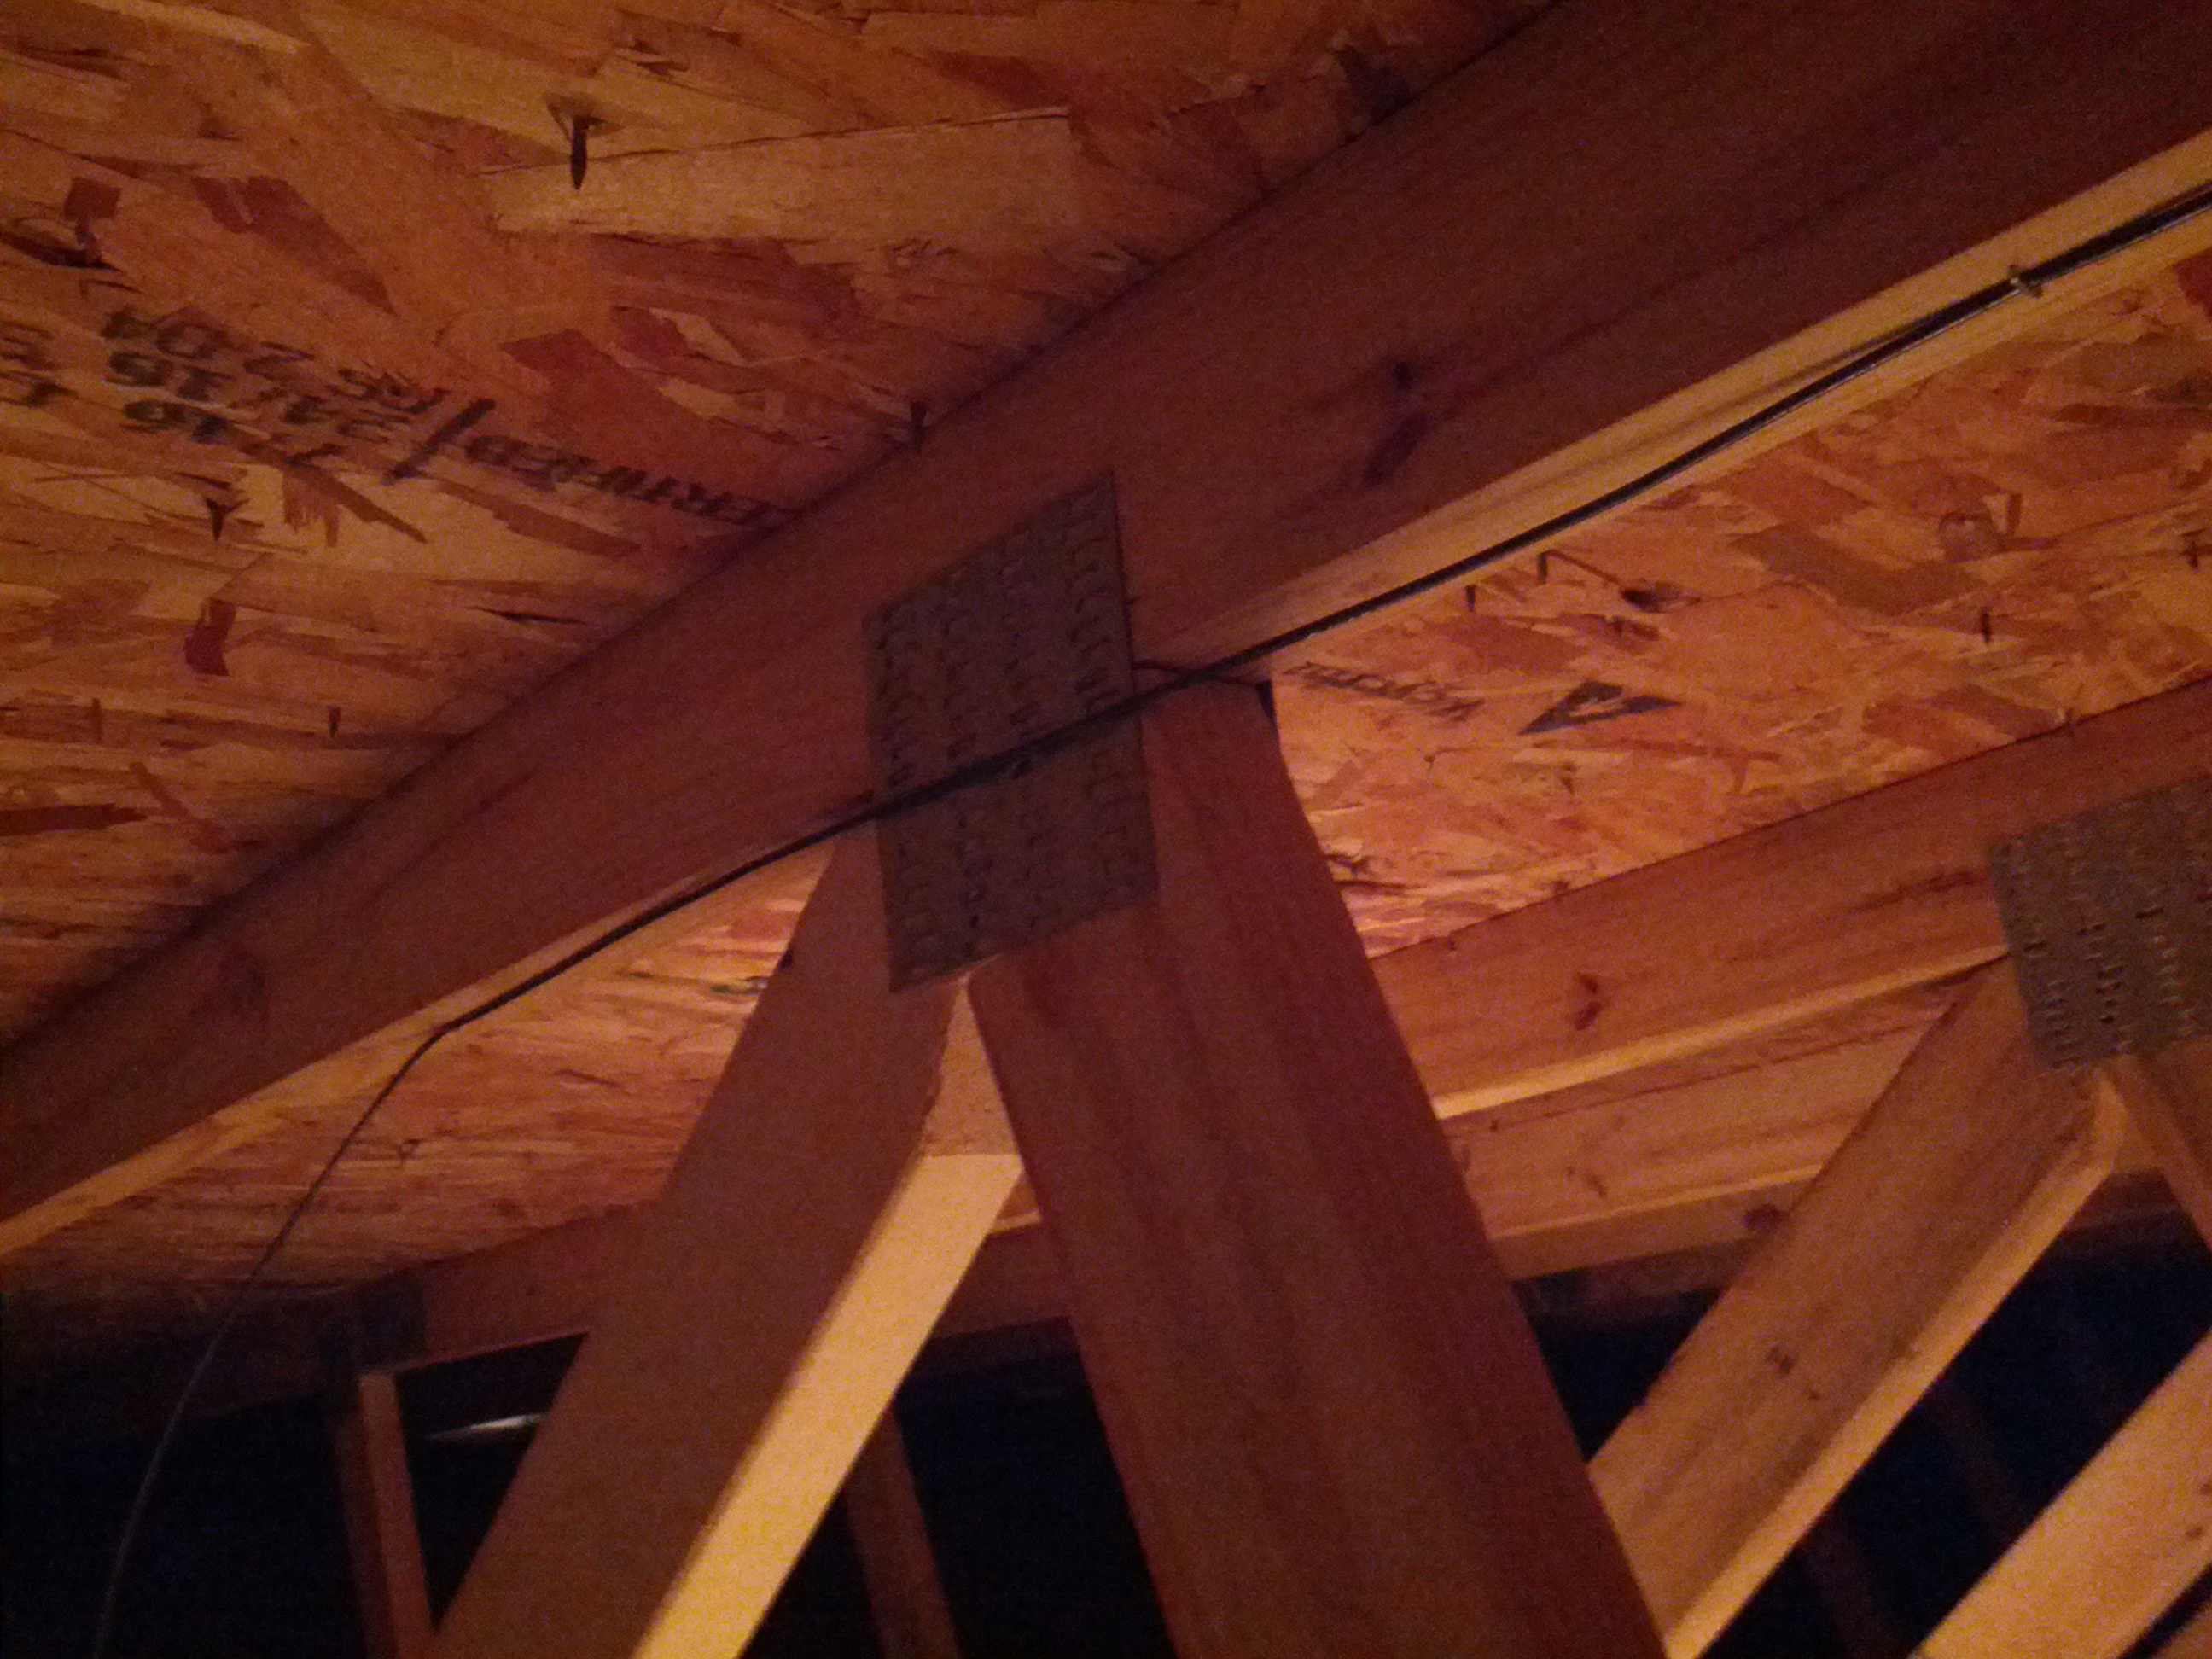
This was the only picture of the installation I could get. Let’s face it, it’s a wire in an attic, it isn’t going to be easy to see nor show anything interesting. Hope that metal plate doesn’t create a problem (there’s one on the other side too, so at least the metal plates will balance out).
I recently built a 2m groundplane antenna to be installed in my attic. Building an antenna is one thing, but getting it into the attic is another.
This is the lower mounting. Since this is in an attic, there is no need to be overly-worried about strength. There is no wind in the attic!
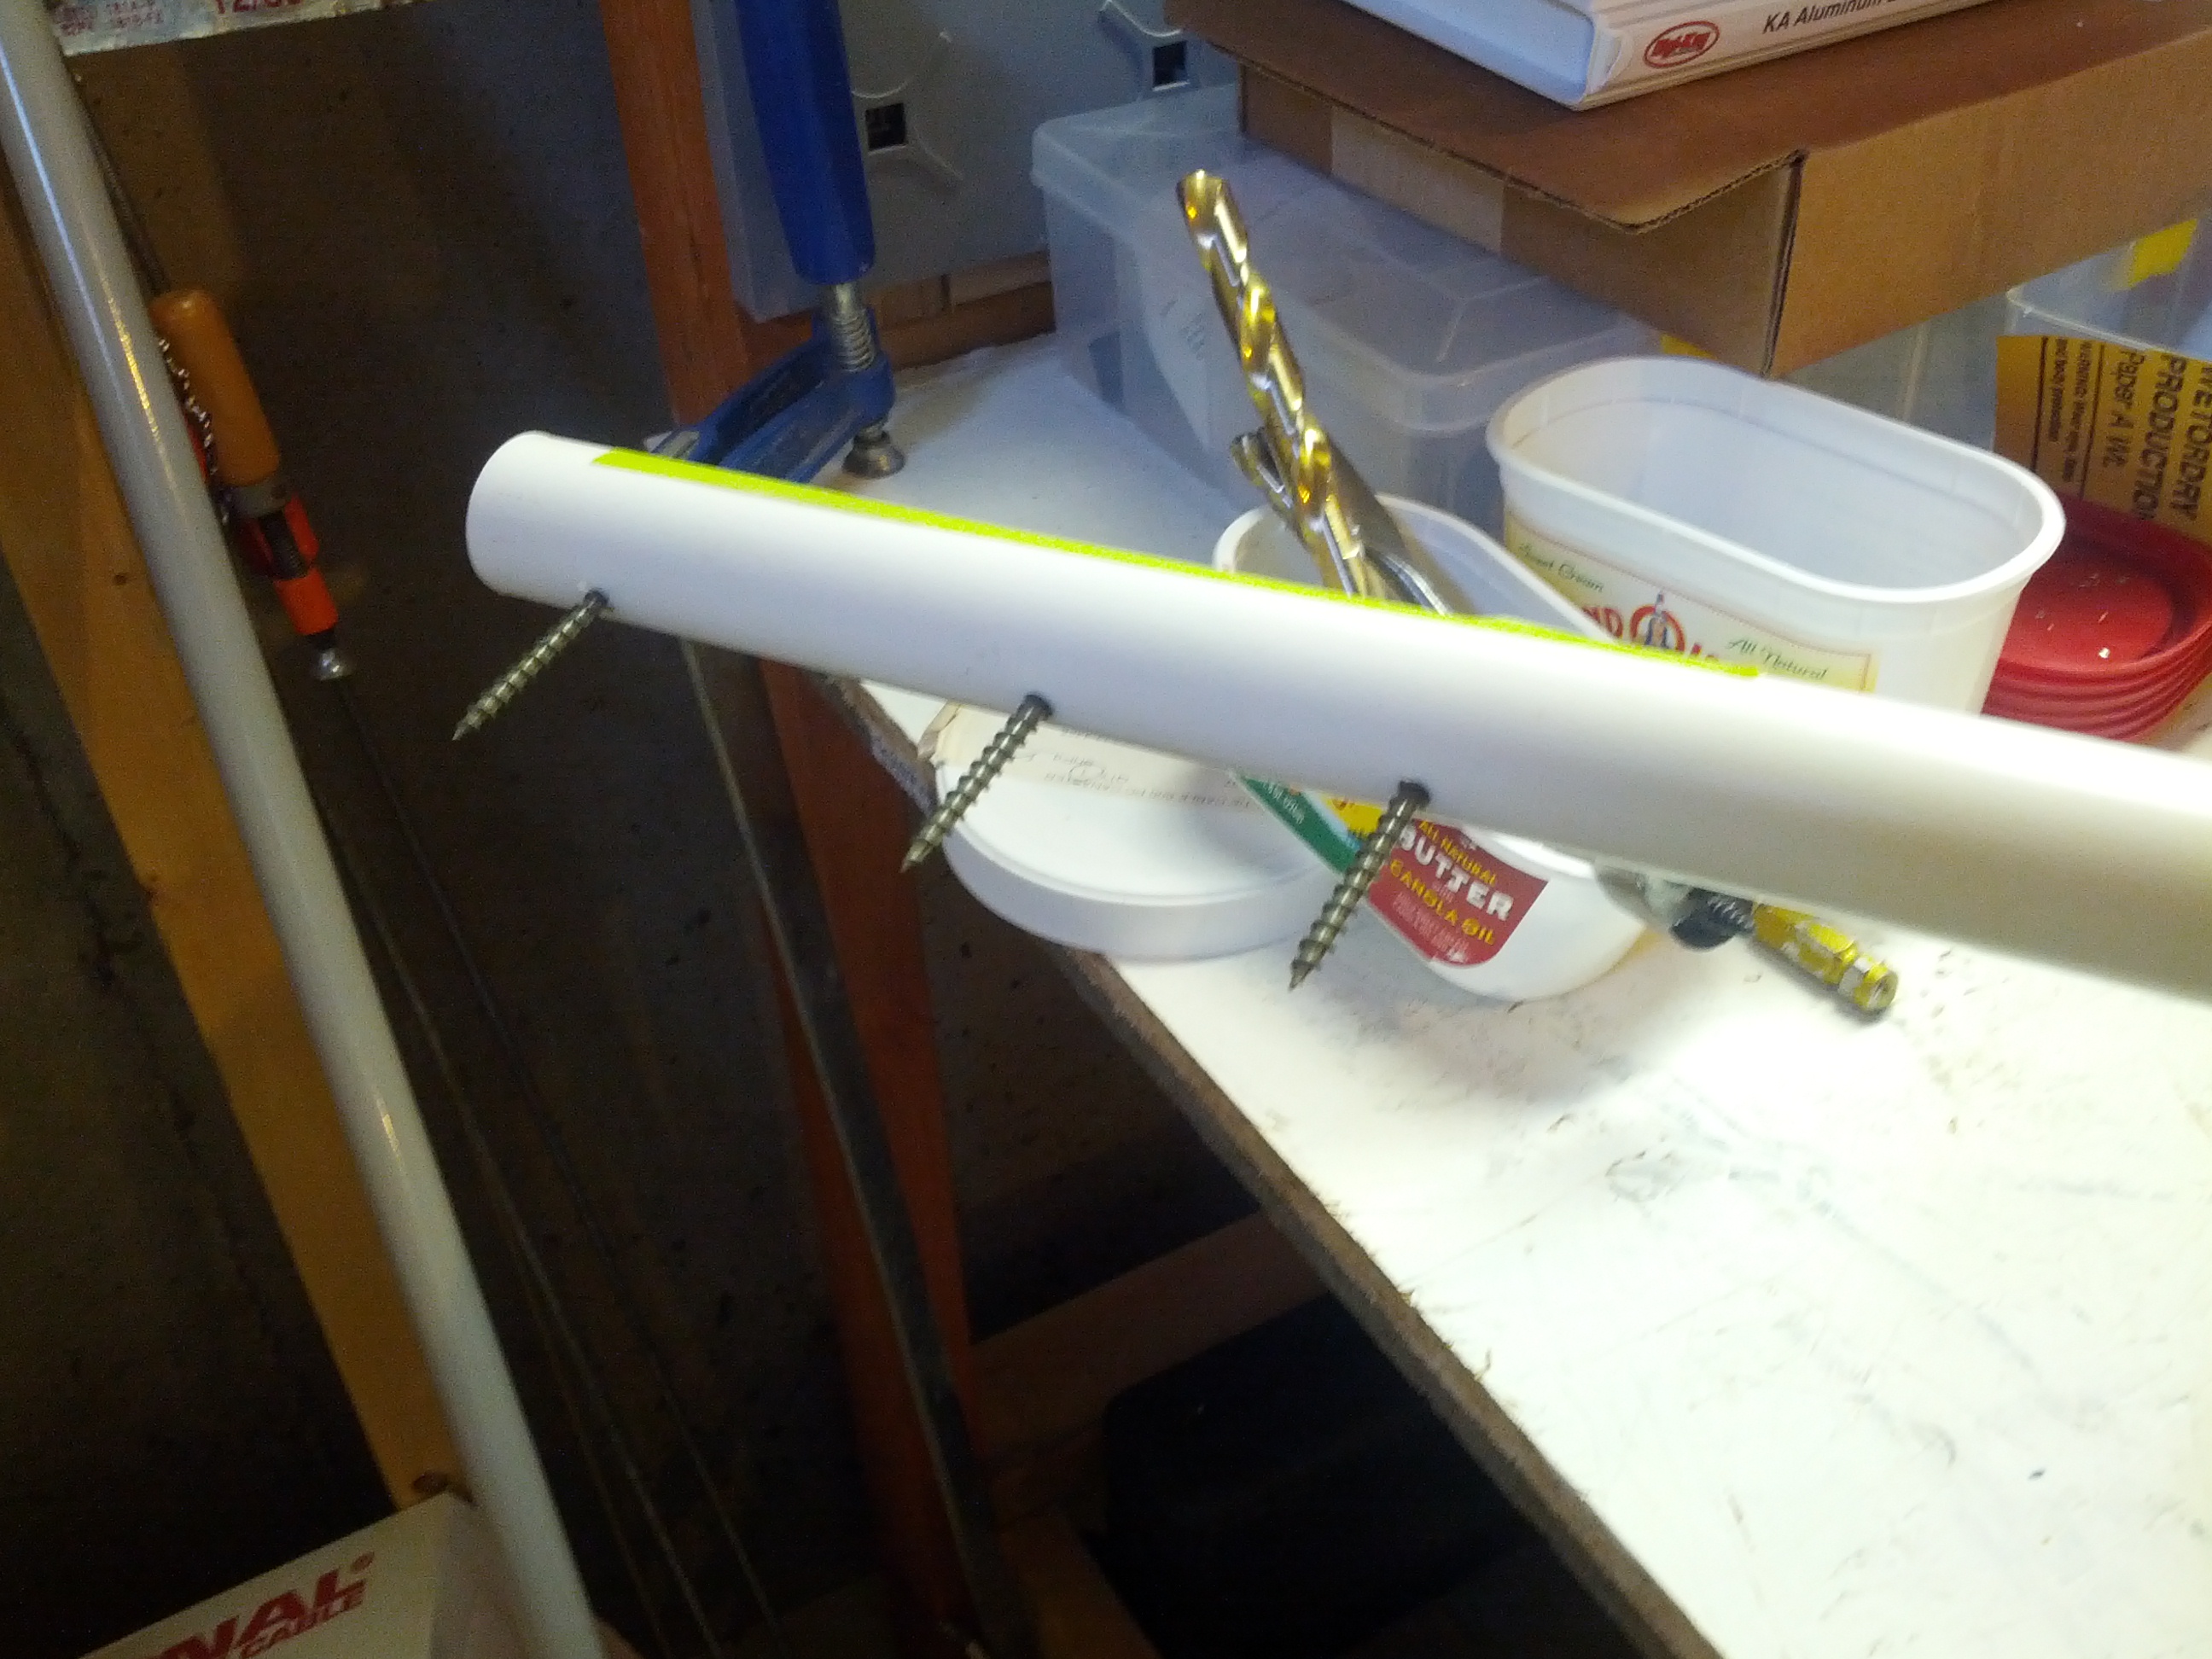
This is the slot that I used to be able to tighten the mast (which is just 3/4″ PVC) to the antenna connector.
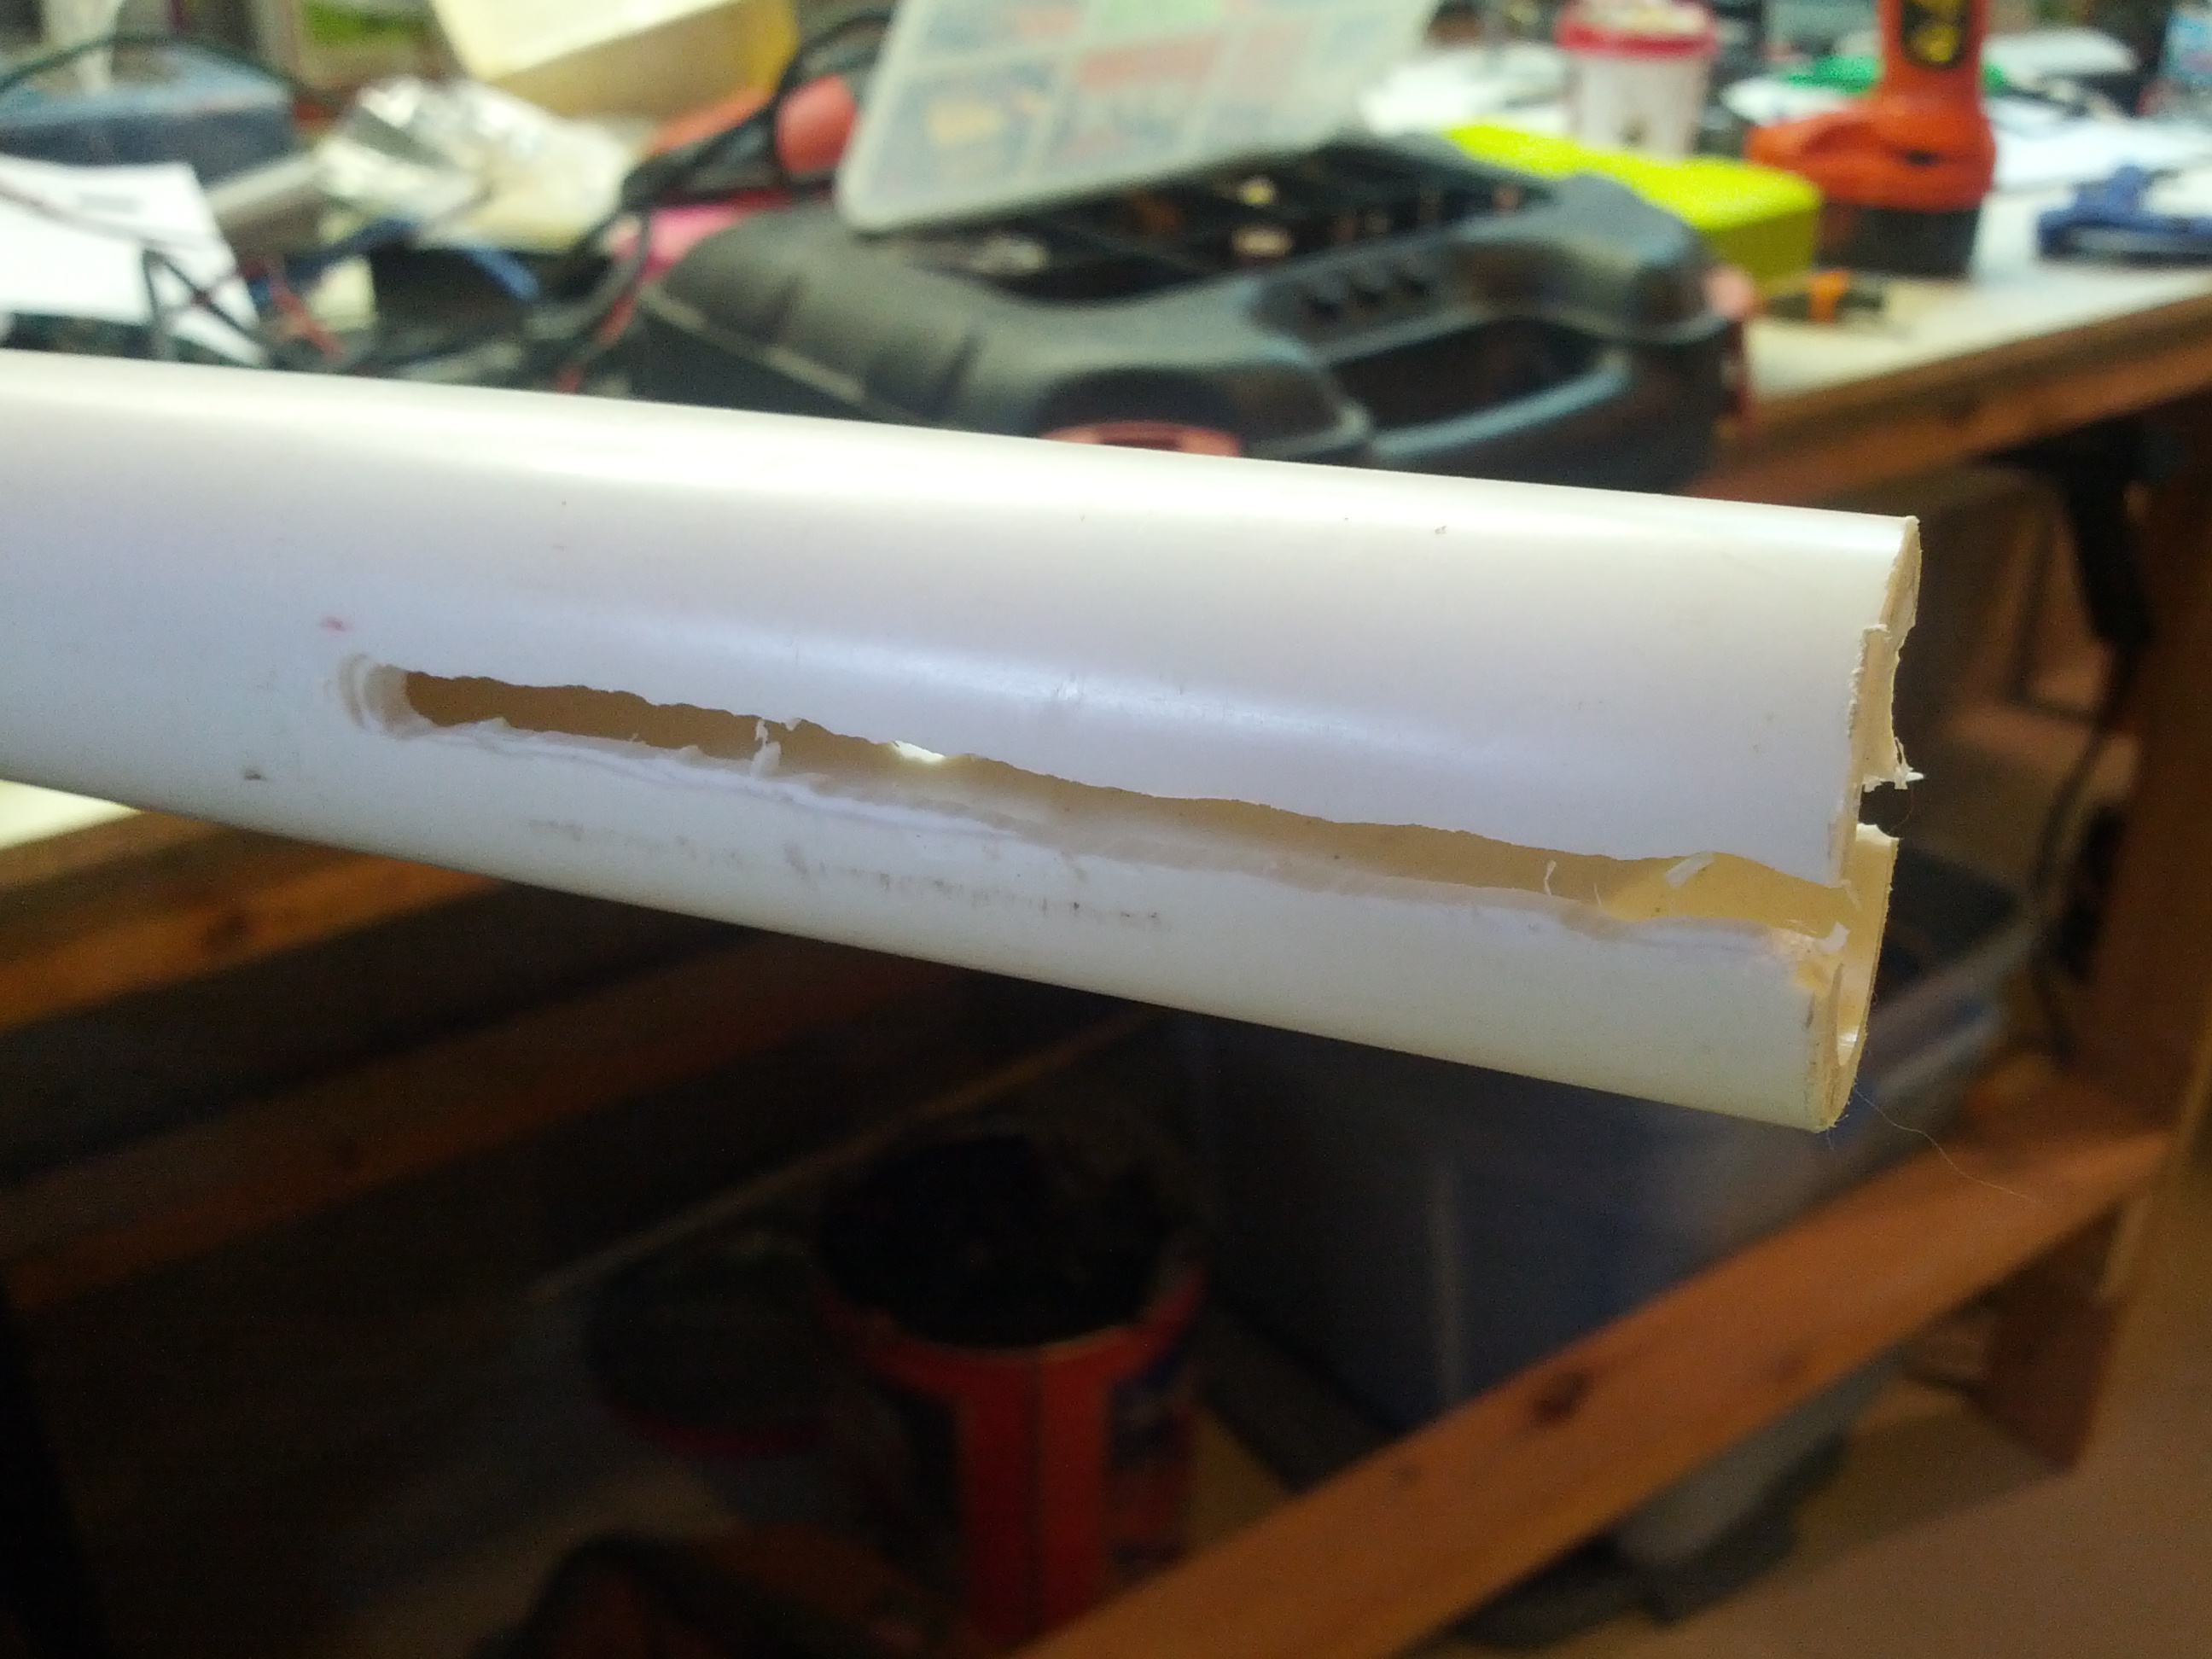
Another view of the slot in the mast. Needless to say, this was the one I did SECOND, after I got a little more comfortable with the wannabee-Dremel router attachment.
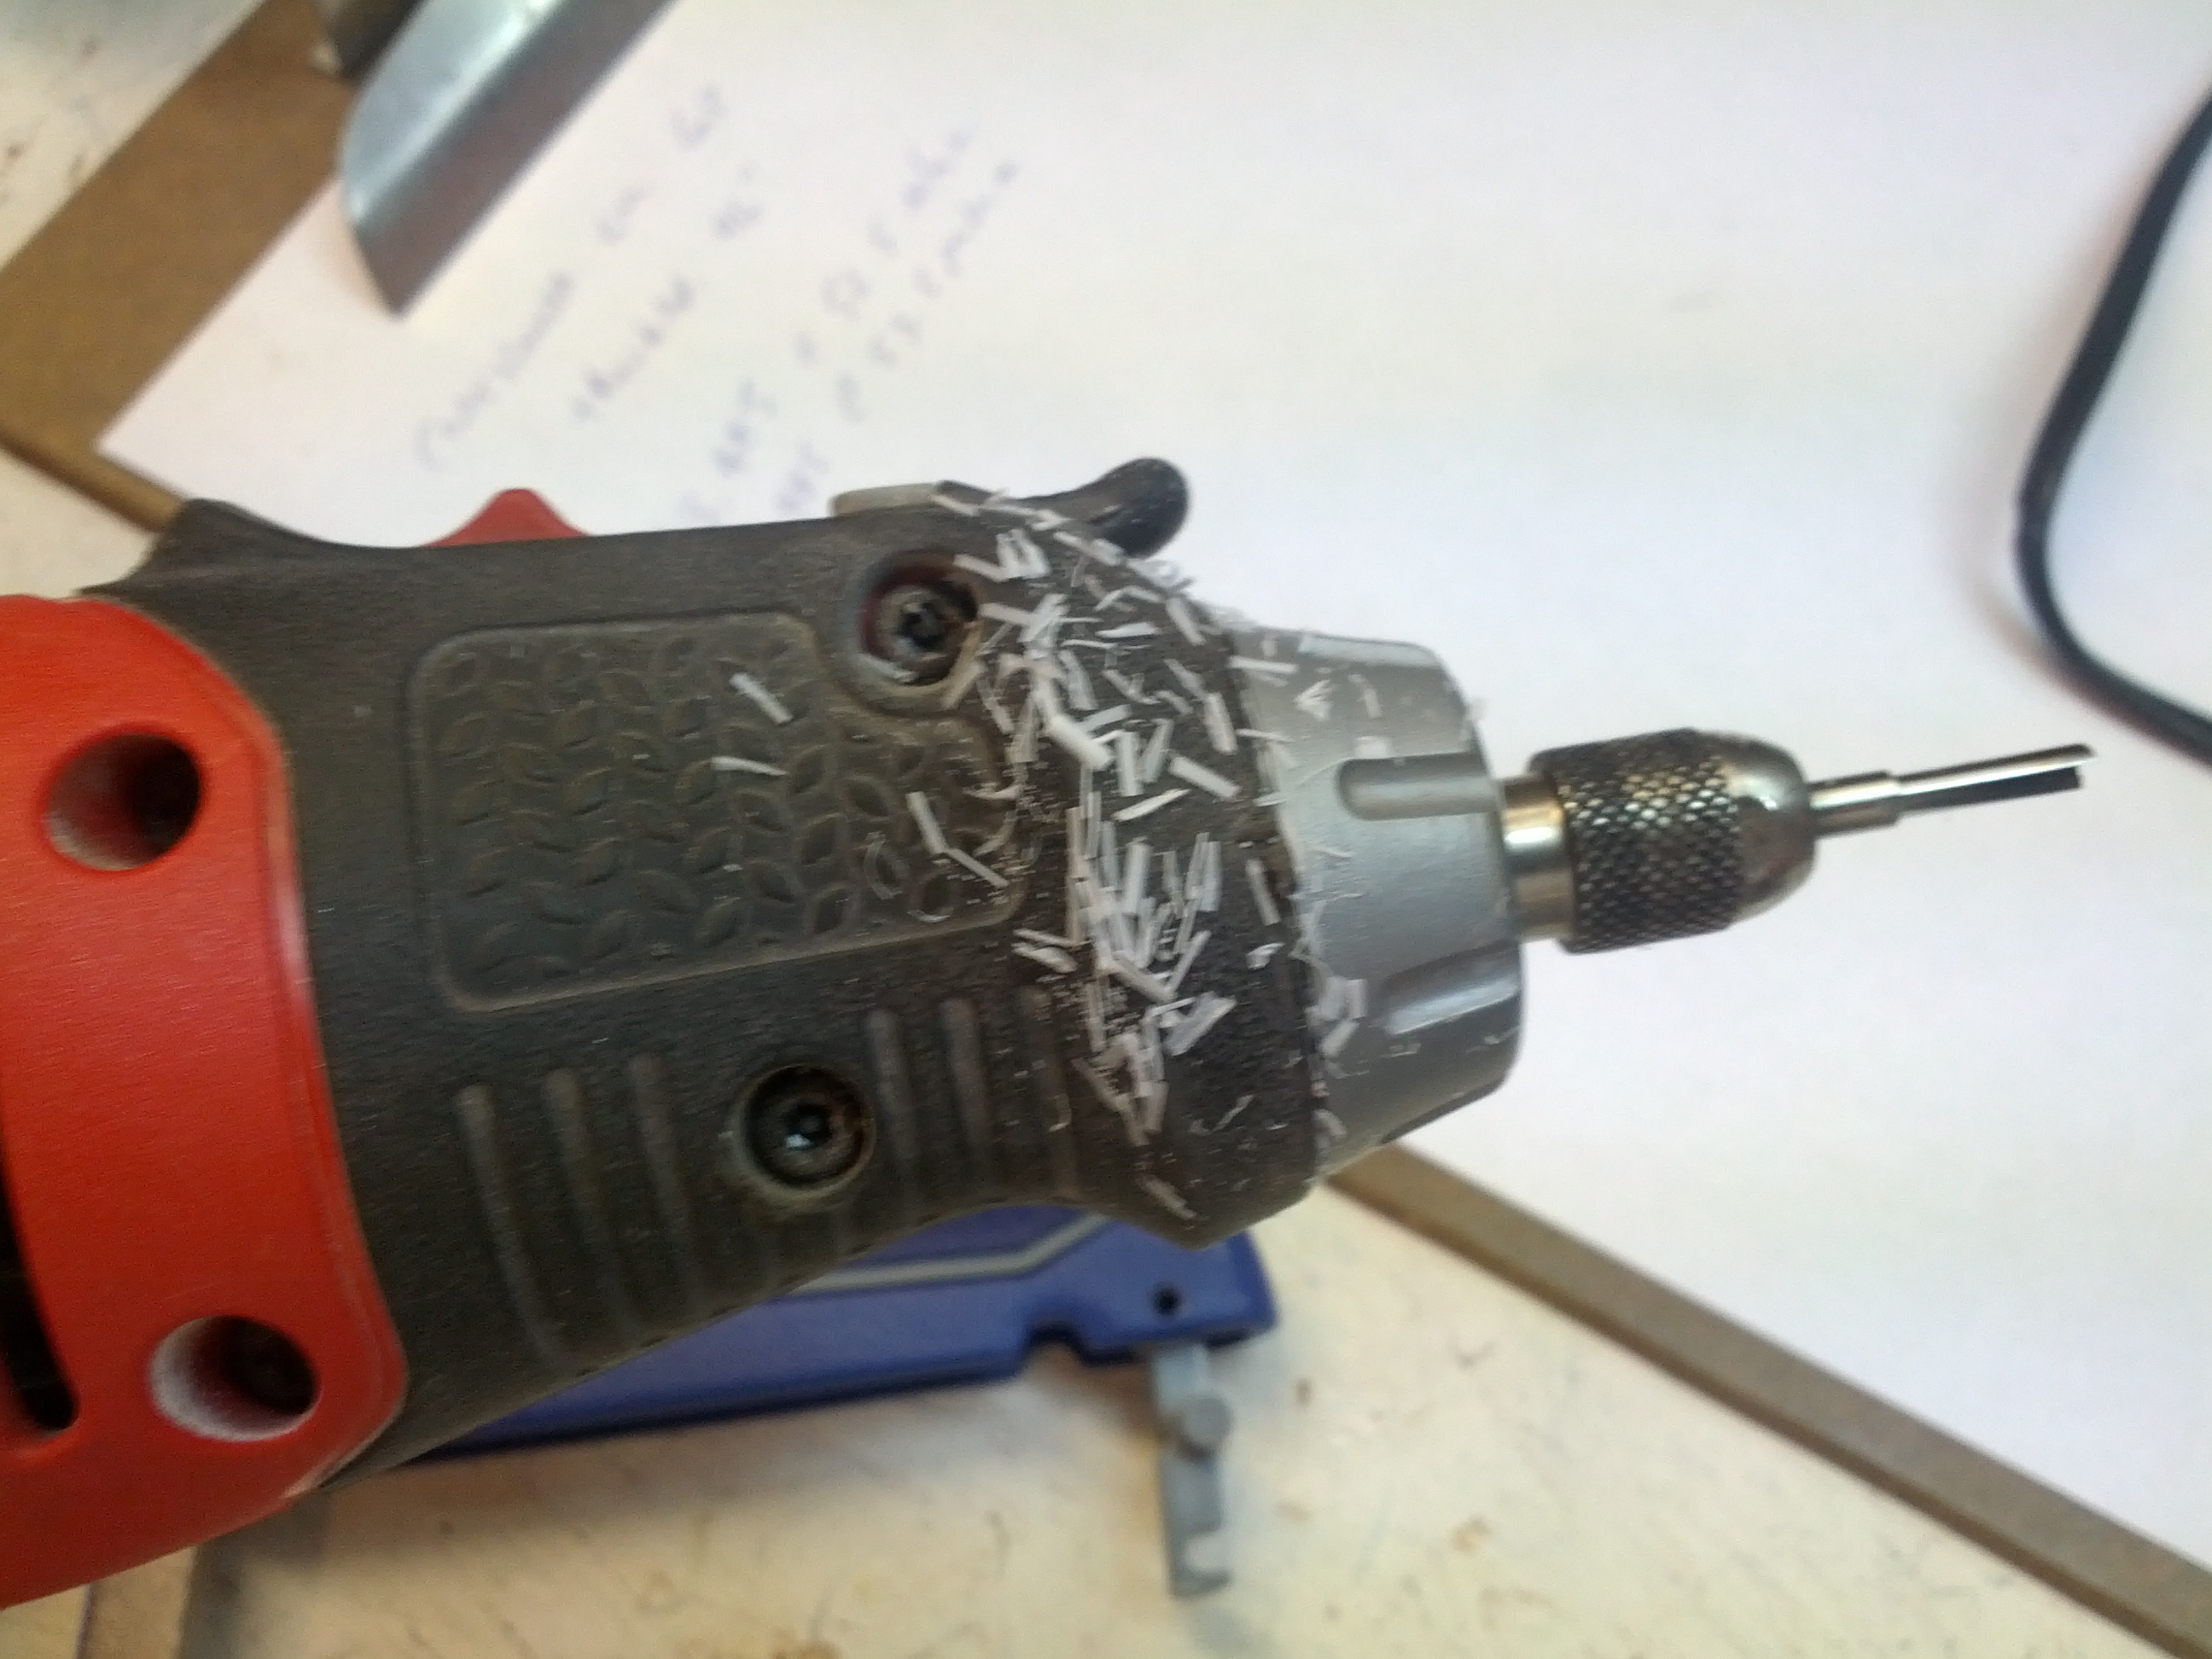
Side note, after you take a rotary tool with a router blade to a piece of PVC pipe, you will have at least a million of these little shards everywhere.

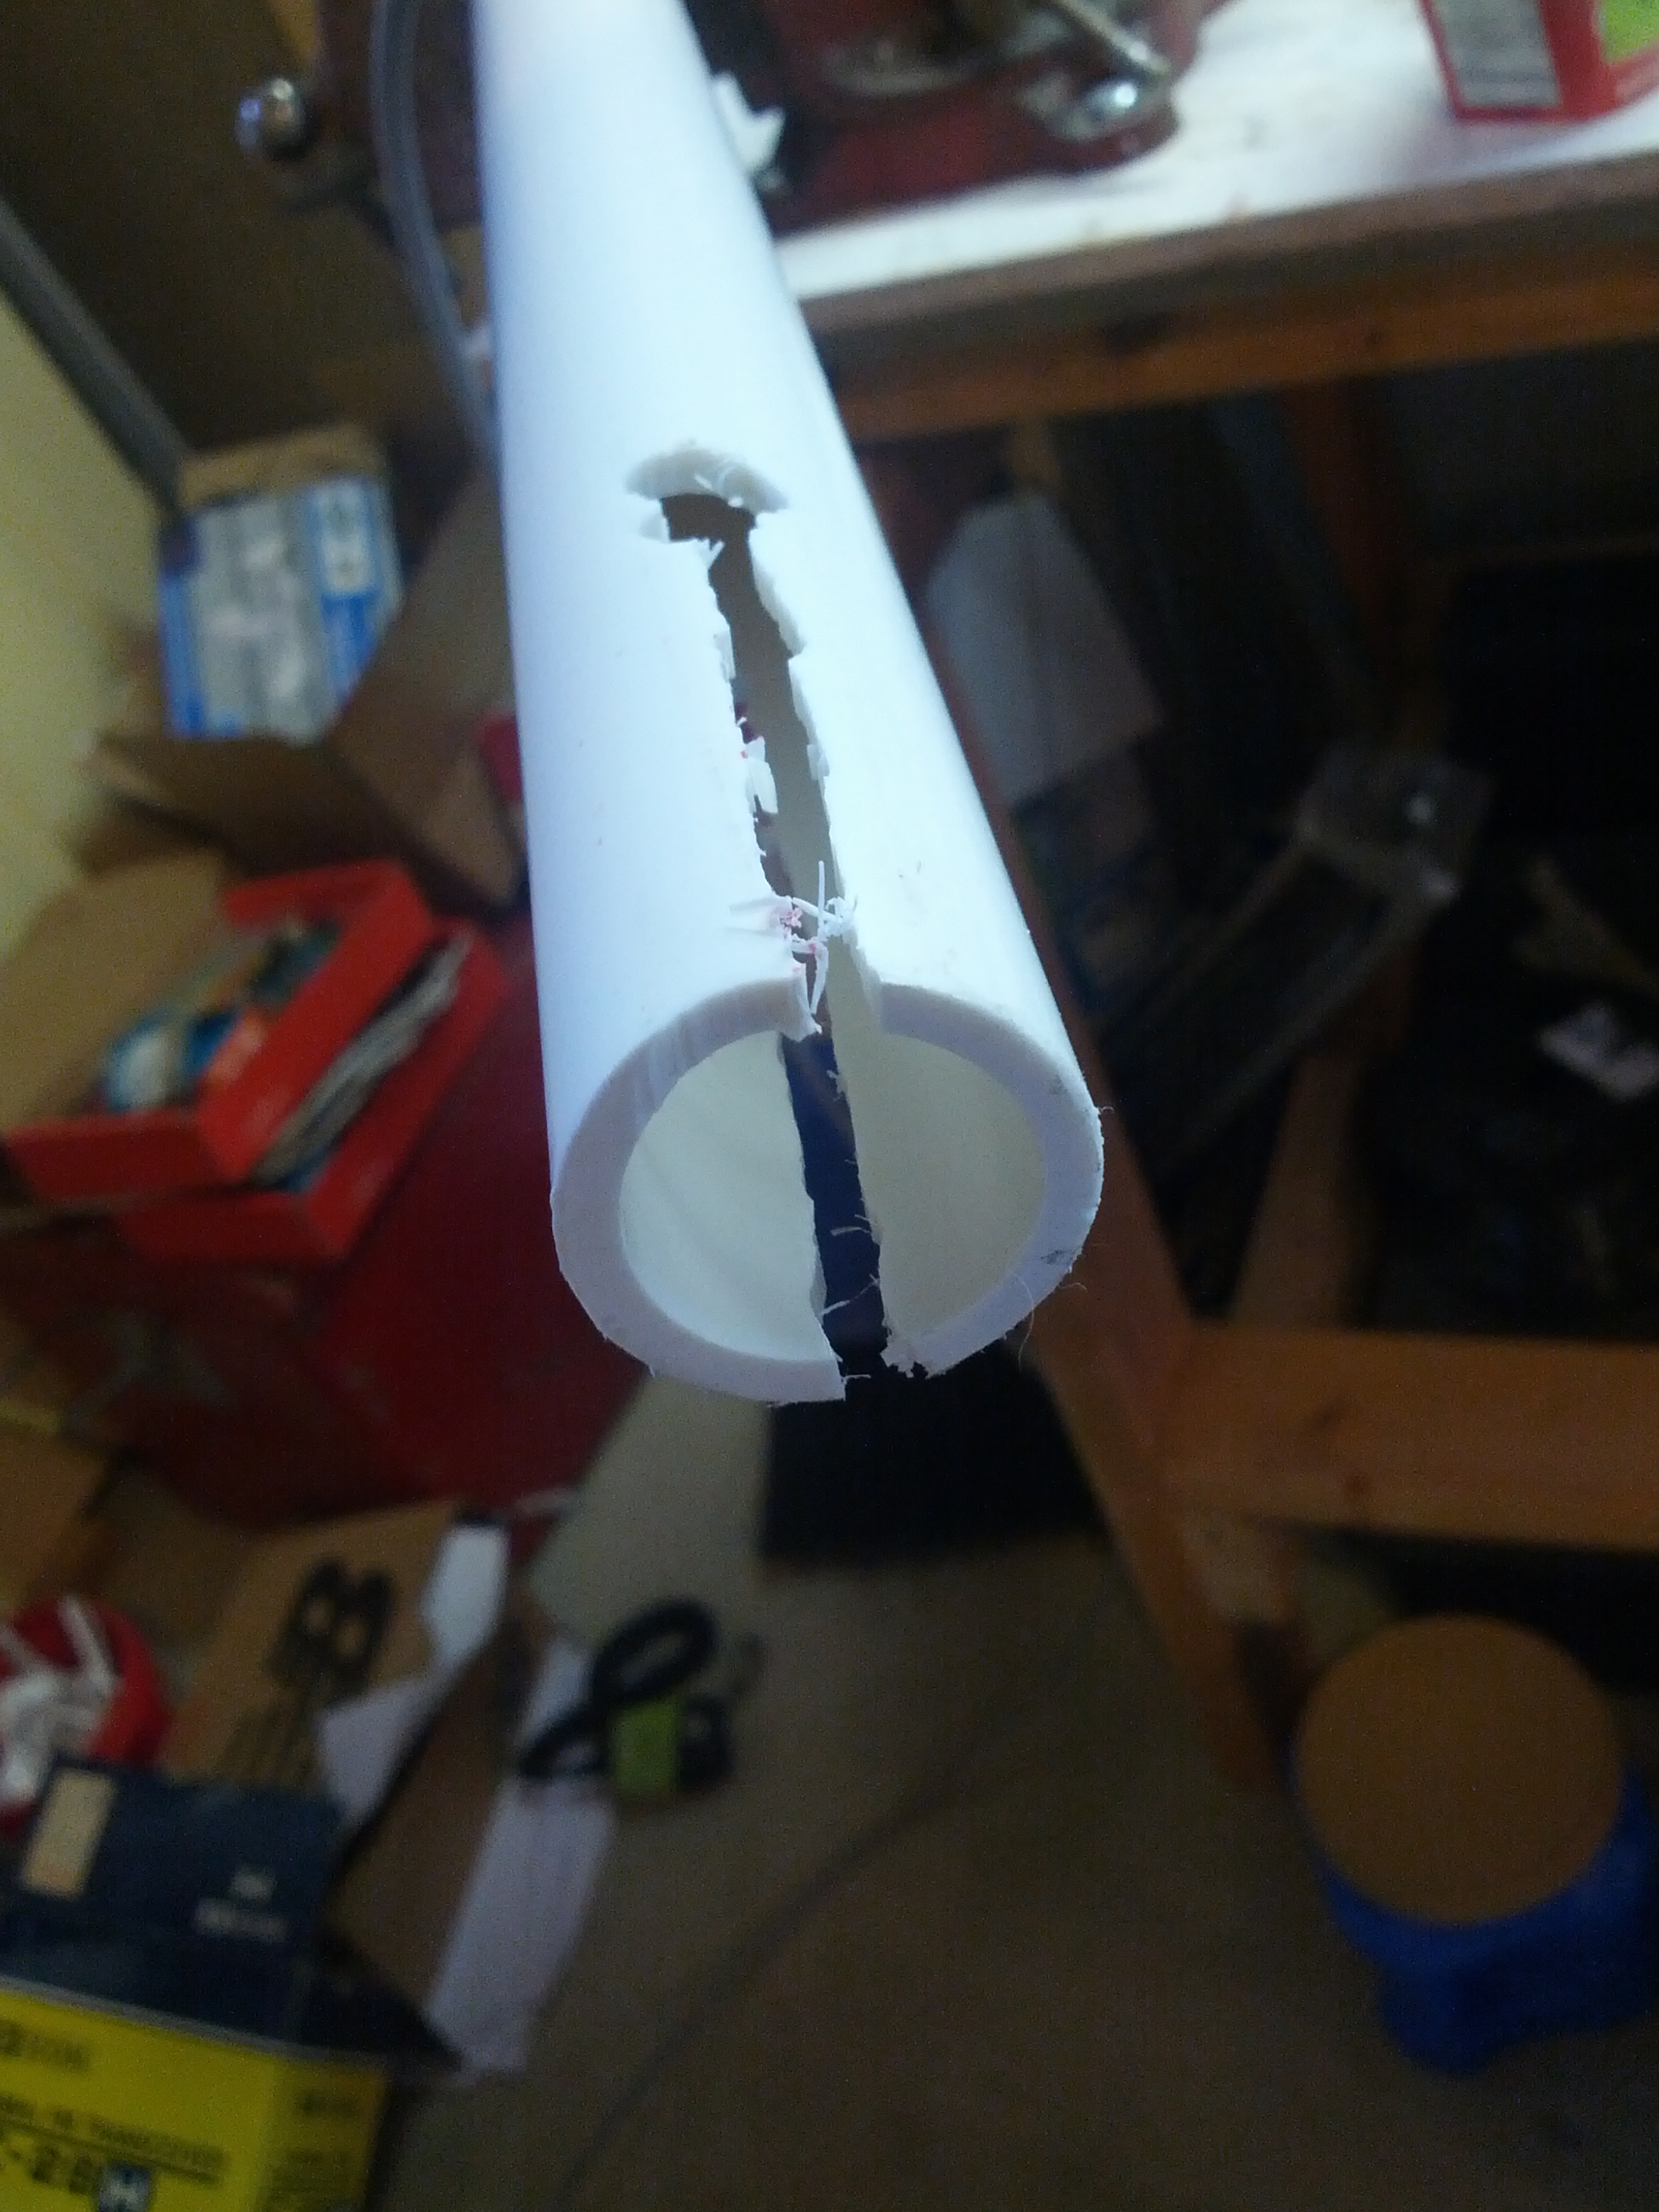
This is a detail of the coax hole. I drilled an initial 3/8″ hole, and then used a 5/16″ bit to finish the angle.
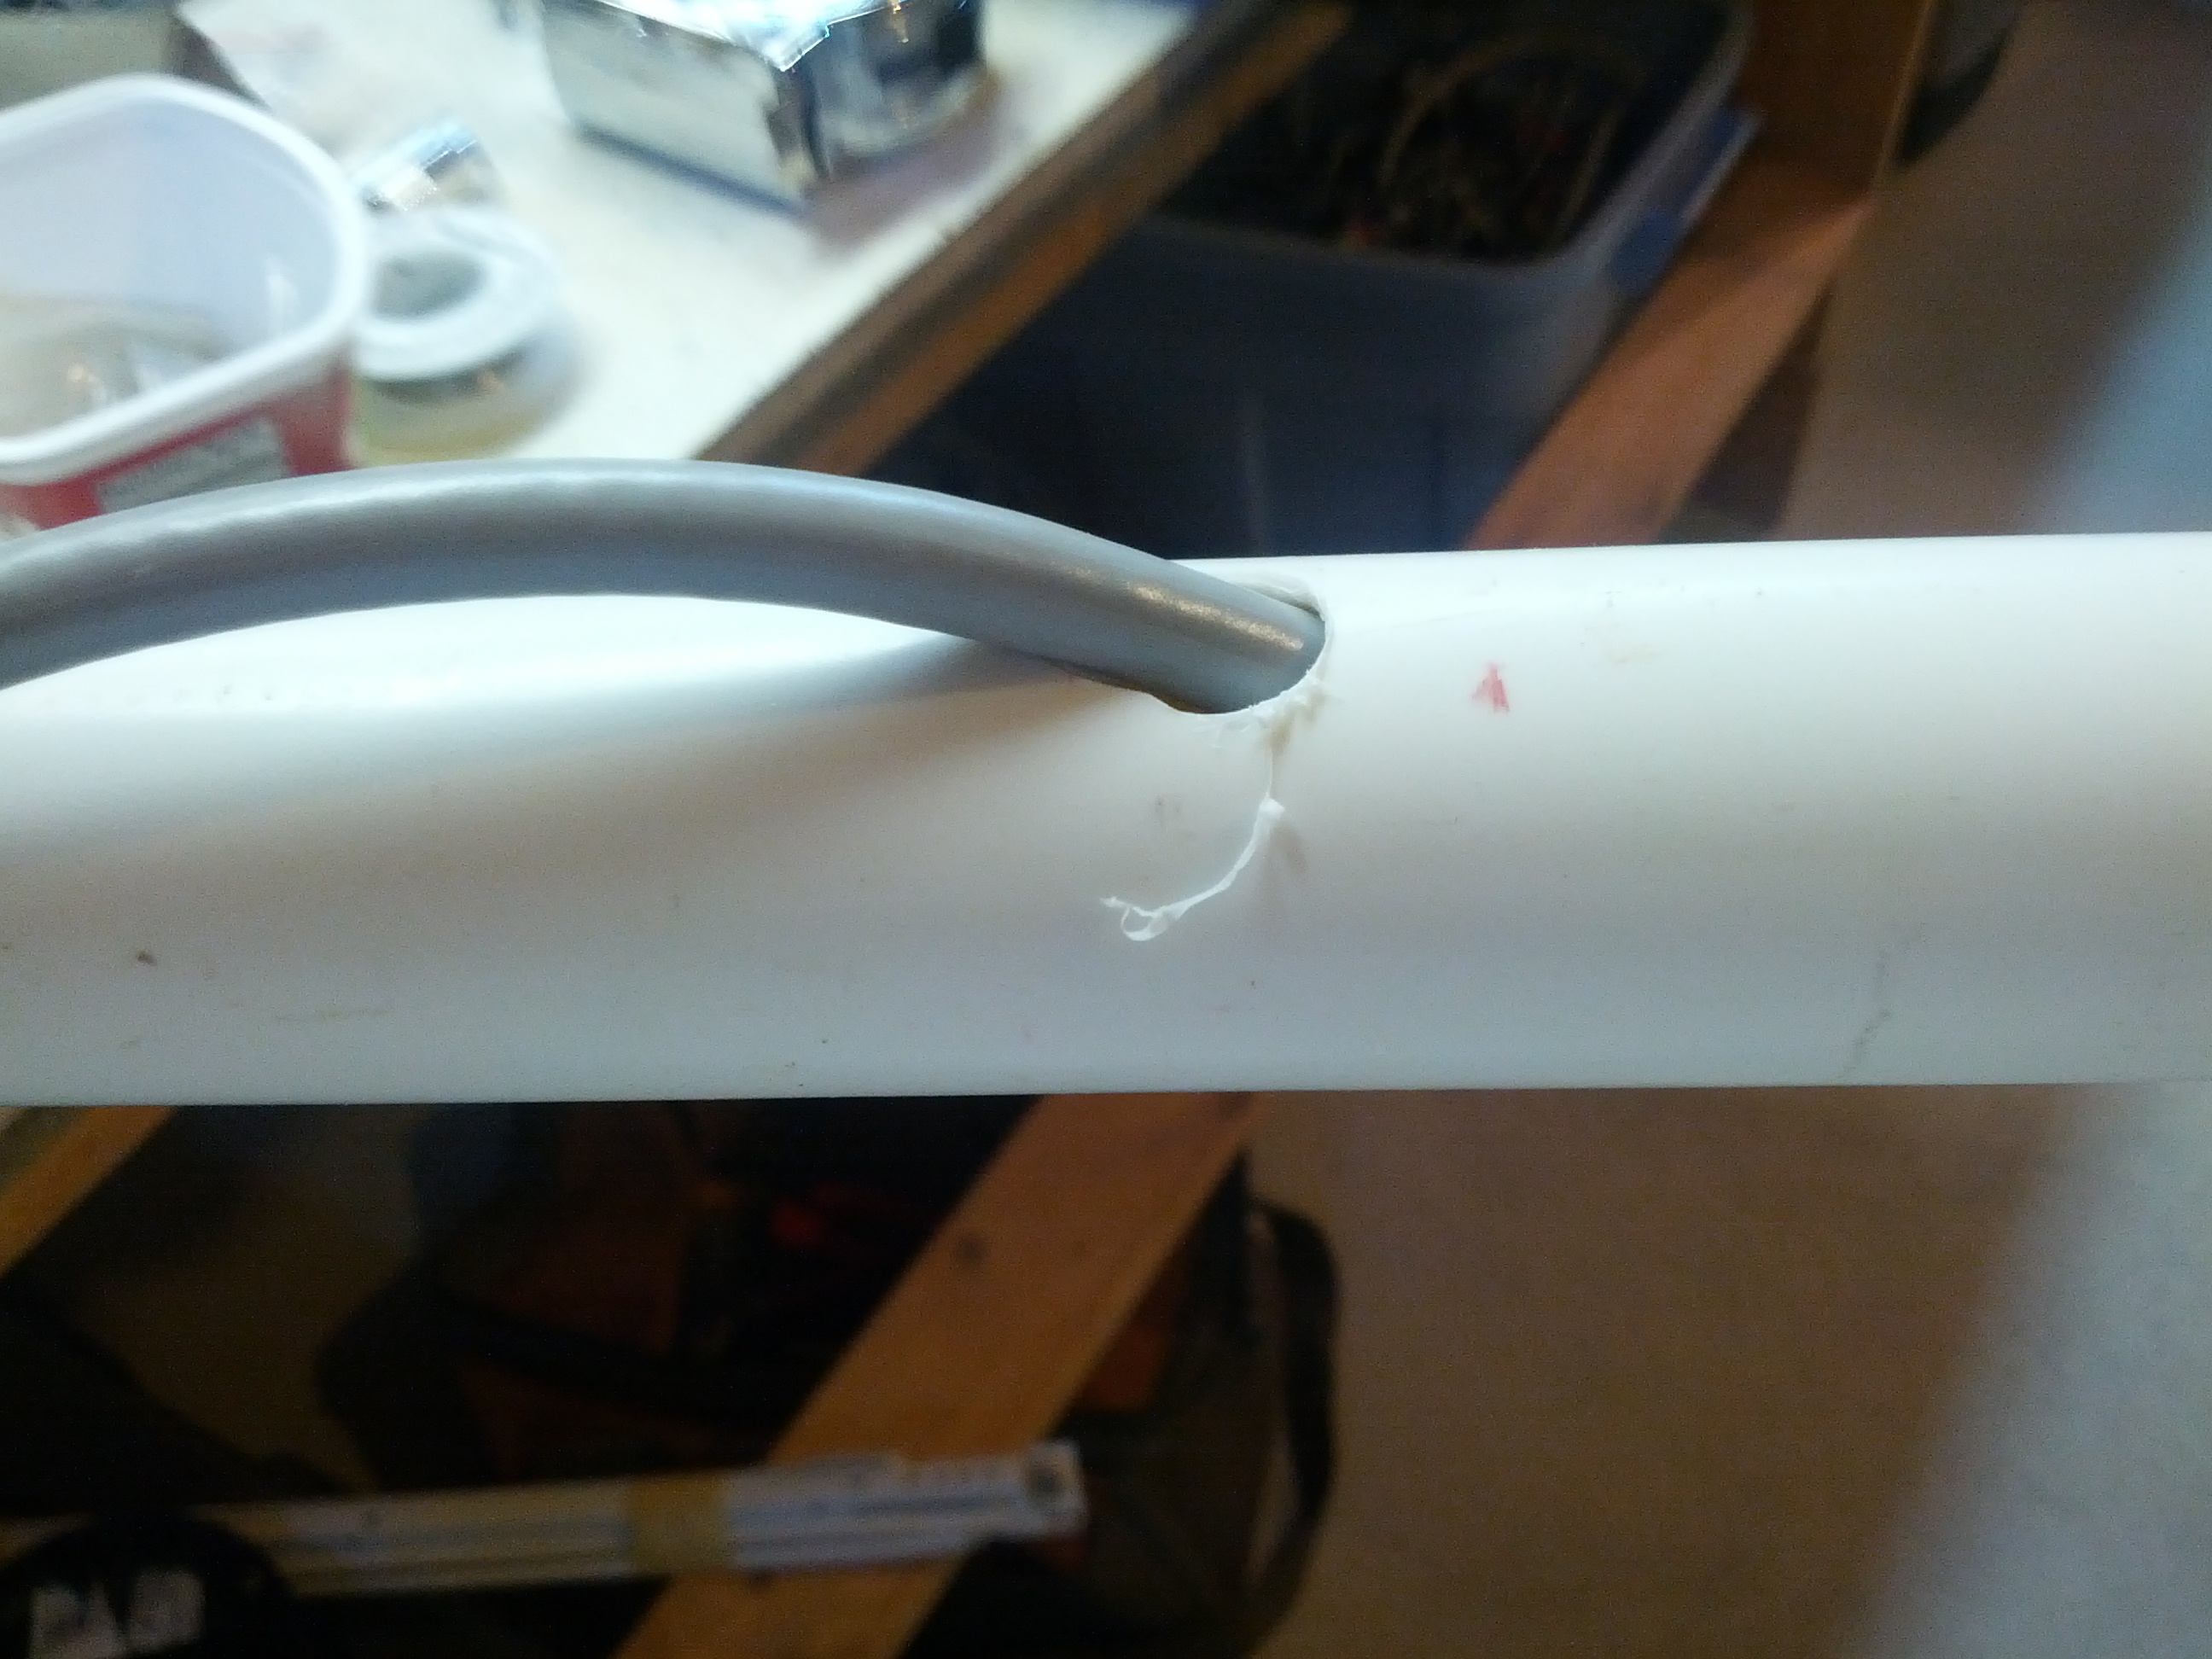
And this is the coax hole with coax going through it.
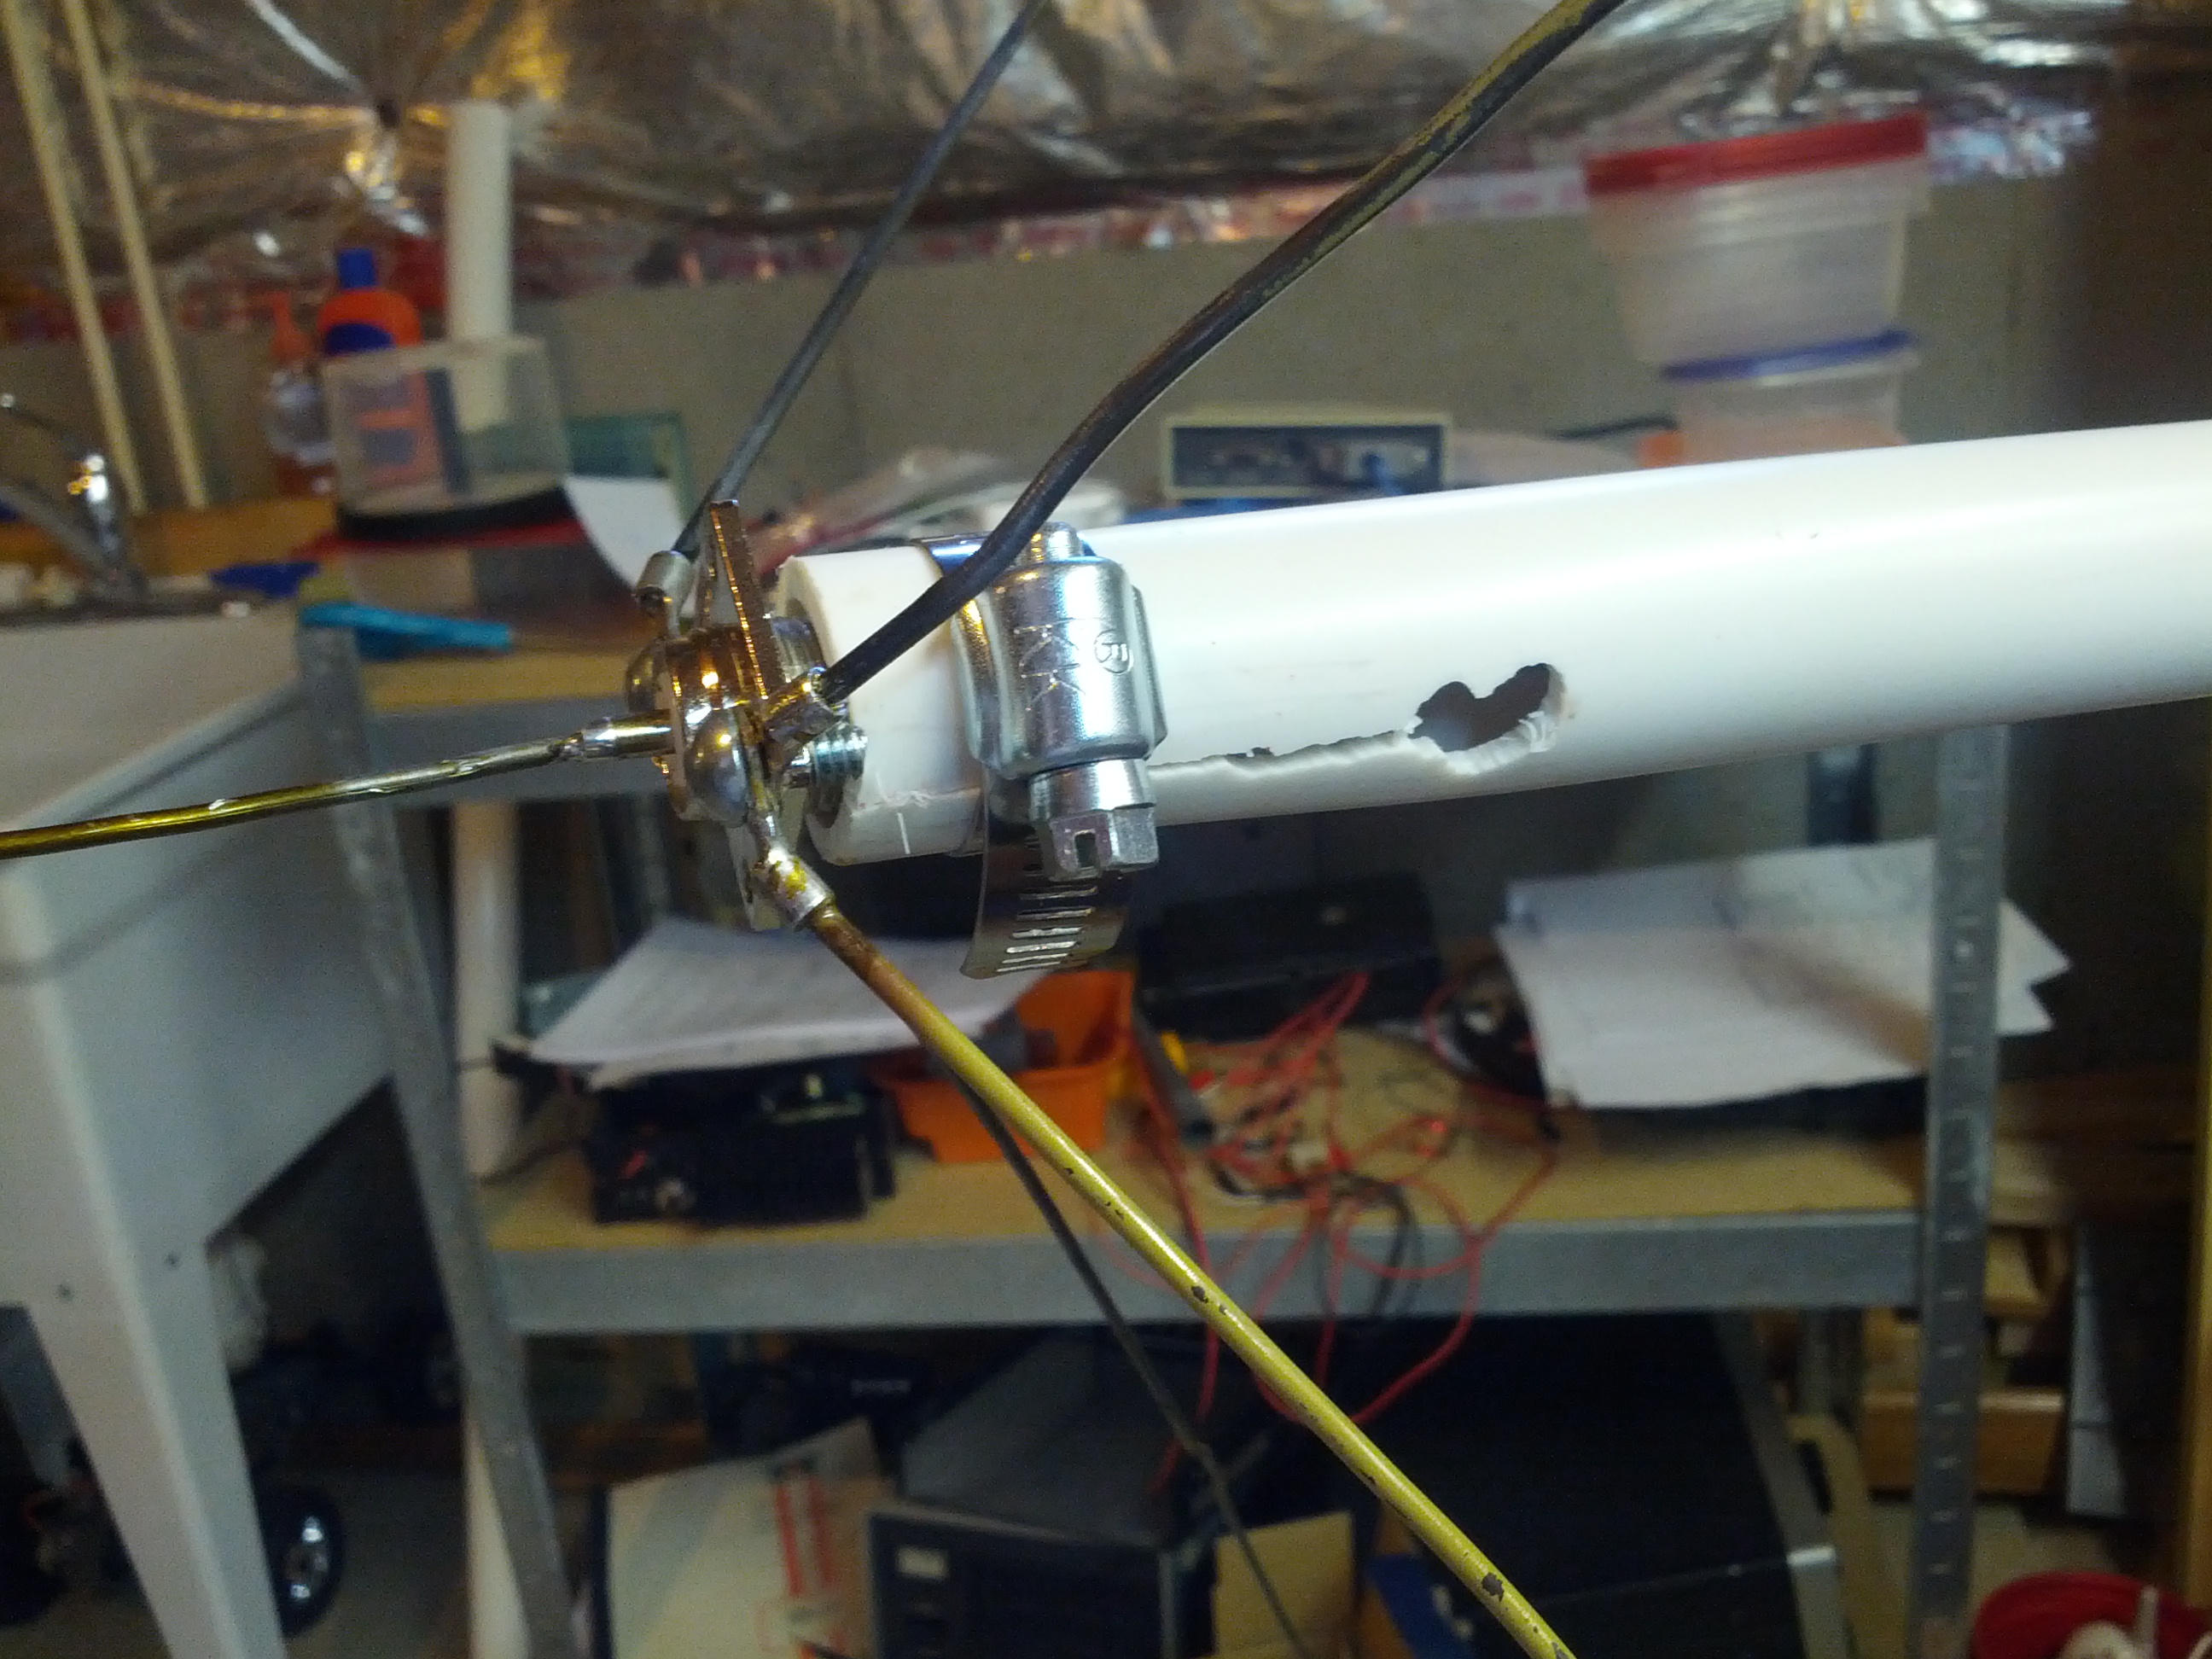
This is the finished mount. I used a hose clamp around the collar to hold the antenna mount to the PL-259 attached to the antenna’s SO-239.
I wouldn’t say I feel a lot like the Grinch at the end of the movie (where his heart grows 3 sizes in the matter of 30 seconds… which is probably a pretty painful experience, even if you aren’t the most belligerent asshole in all of Whoville), but I feel a change going on.
When I started back into amateur radio a few years ago, I already had a lot of respect for the QRP guys because they did more with less. However, I had little interest in going down to low power. I felt as if I should stick to my barefoot 100W, and I’ve been contemplating getting (or more likely building) a 250W amp. Not really QRO, but more QRO than QRP.
In the past many months, I have been making progress learning CW. I also keep seeing things out of several twitter friends and blog posts where they’re out having fun doing things like QRP Foxhunts and other QRP-only contests. Heck, even just some of these people getting out to a park or something and operating for a few hours looks like fun (and some of this stuff I could do on my lunchbreak). And if the past 2 years in amateur radio have taught me anything about myself, it is that my favorite operating mode is CONTESTING! I don’t care about winning, but I really enjoy the rapid-fire exchanges the battle against QRM, QRN, and my knowledge of how to use my equipment.
I will say that it helps the QRP cause when I see twitter updates along the lines of “I really had fun in the QRP Foxhunt last night” and I see others blogging about the fun of doing some of the sprints, or even just people sharing pictures of operating in remote locations.
So I’ve decided that my next rig will be a QRP rig. It isn’t going to be soon – I don’t have the money to spend on it and I’m still learning CW. But it isn’t going to be in 10 years, either, since I very well could just build me one (and I probably will since I’m just about broke). I’ll probably become a member of some of the QRP groups out there sometime. I’m a new member of NAQCC (#6570) and SKCC (#10489).
I’m not getting rid of my ‘706, though. I will still maintain the capability to run some power for various reasons, and I may go through with building that amp one day. But my priorities are set, they’re really set on fun and joining the friends I’ve made via twitter on the air. Mostly having fun.
-73-
If you’ve been in amateur radio and NOT under a rock, you’ve probably heard of this show called Last Man Standing. The show stars Tim Allen as Mike Baxter KA0XTT, who lives with his wife and three daughters and works at Outdoor Man, which is quite similar to a Bass Pro Shop.
I watch the show. For enjoyment, not because of KA0XTT.
I also saw some of the comments on Facebook after the show. The comments can be put into two groups: “Tim Allen should get his license” and “it was an inaccurate portrayal of amateur radio because…”
First off, on the “Tim Allen should get his license”. While I think we’d all love to have him as an amateur radio op (including me), he very well may not be interested. There’s no ‘should’ about it. If he doesn’t want to, so be it. I wouldn’t fault him for having personal interests that don’t include amateur radio.
On the “It was an inaccurate portrayal of amateur radio because…”… well, no shit! It’s Hollywood! They don’t care about making their show technically accurate (and they NEVER HAVE AND NEVER WILL). They don’t care that Mandy didn’t have a control operator present or that nobody identified, they care about making something entertaining. The point was to entertain millions of Americans that don’t know nor care about the rules. The show hasn’t, nor is it the show’s point, to feature amateur radio in any sort of technically correct light. If you want proof of Hollywood screwing this up, take a look at every movie, show, and commercial that has included amateur radio – start with that liquid gold commercial (that featured a CB radio while talking about amateur radio operators).
And on that last point, it doesn’t stop with amateur radio.
End rant.
-73-
Several of us in the eastern Cincinnati area are getting HSMM-Mesh nodes up. The map below shows some stats – the blue are hams on tristatehams.org that have talked about it, the green are nodes that are believed to be up, and the yellow are locations that we have control over that we’ve talked about deploying future nodes.
View HSMM-Mesh Cincinnati in a larger map
Of course, given the distances we’re trying to do, my next few things to do involve some bigger antennas. Stay tuned, one of my future posts will be a better 2.4 antenna. I need lots of gain!
-73-
This is a continuation of my last blog post about having my Raspberry Pi log temperatures in my basement.
In the last blog post, I noticed some problems using Node.JS due to some caching issues. Today I found the answer to my problems: Cosm.com.
After some adjustments to my code, I started seeing some pretty cool graphs on Cosm’s website.

So this seems like the right thing to use for this.
The link to all the data is here.
The modified shell script:
-73-
I am trying to have a green thumb. Right now, it is more of a pale yellow with a hint of orange. One thing I thought about doing was a temperature logger for plants that I’m starting and will be transplanted outside in mid-April, after the frost season ends in this area.
I initially thought about using an Arduino, but connecting the Arduino to my network would have required me to buy an Ethernet shield or a Wifi shield, both of which are quite expensive. I happen to have a USB wifi adapter hanging around and a Raspberry Pi that wasn’t being used. Match made in heaven!
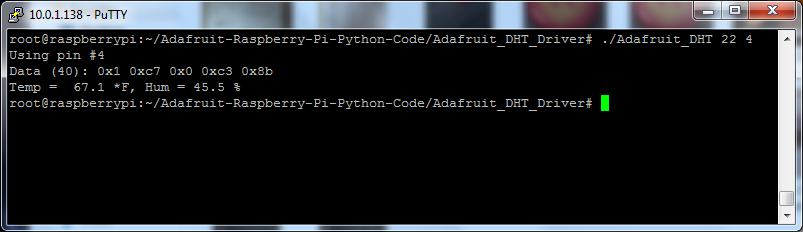
So the first thing I did was go search around on the Internet and found something from Adafruit that included source code and a hookup diagram for a DHT22 temperature and humidity sensor. Mine is an RHT03, which is similar.
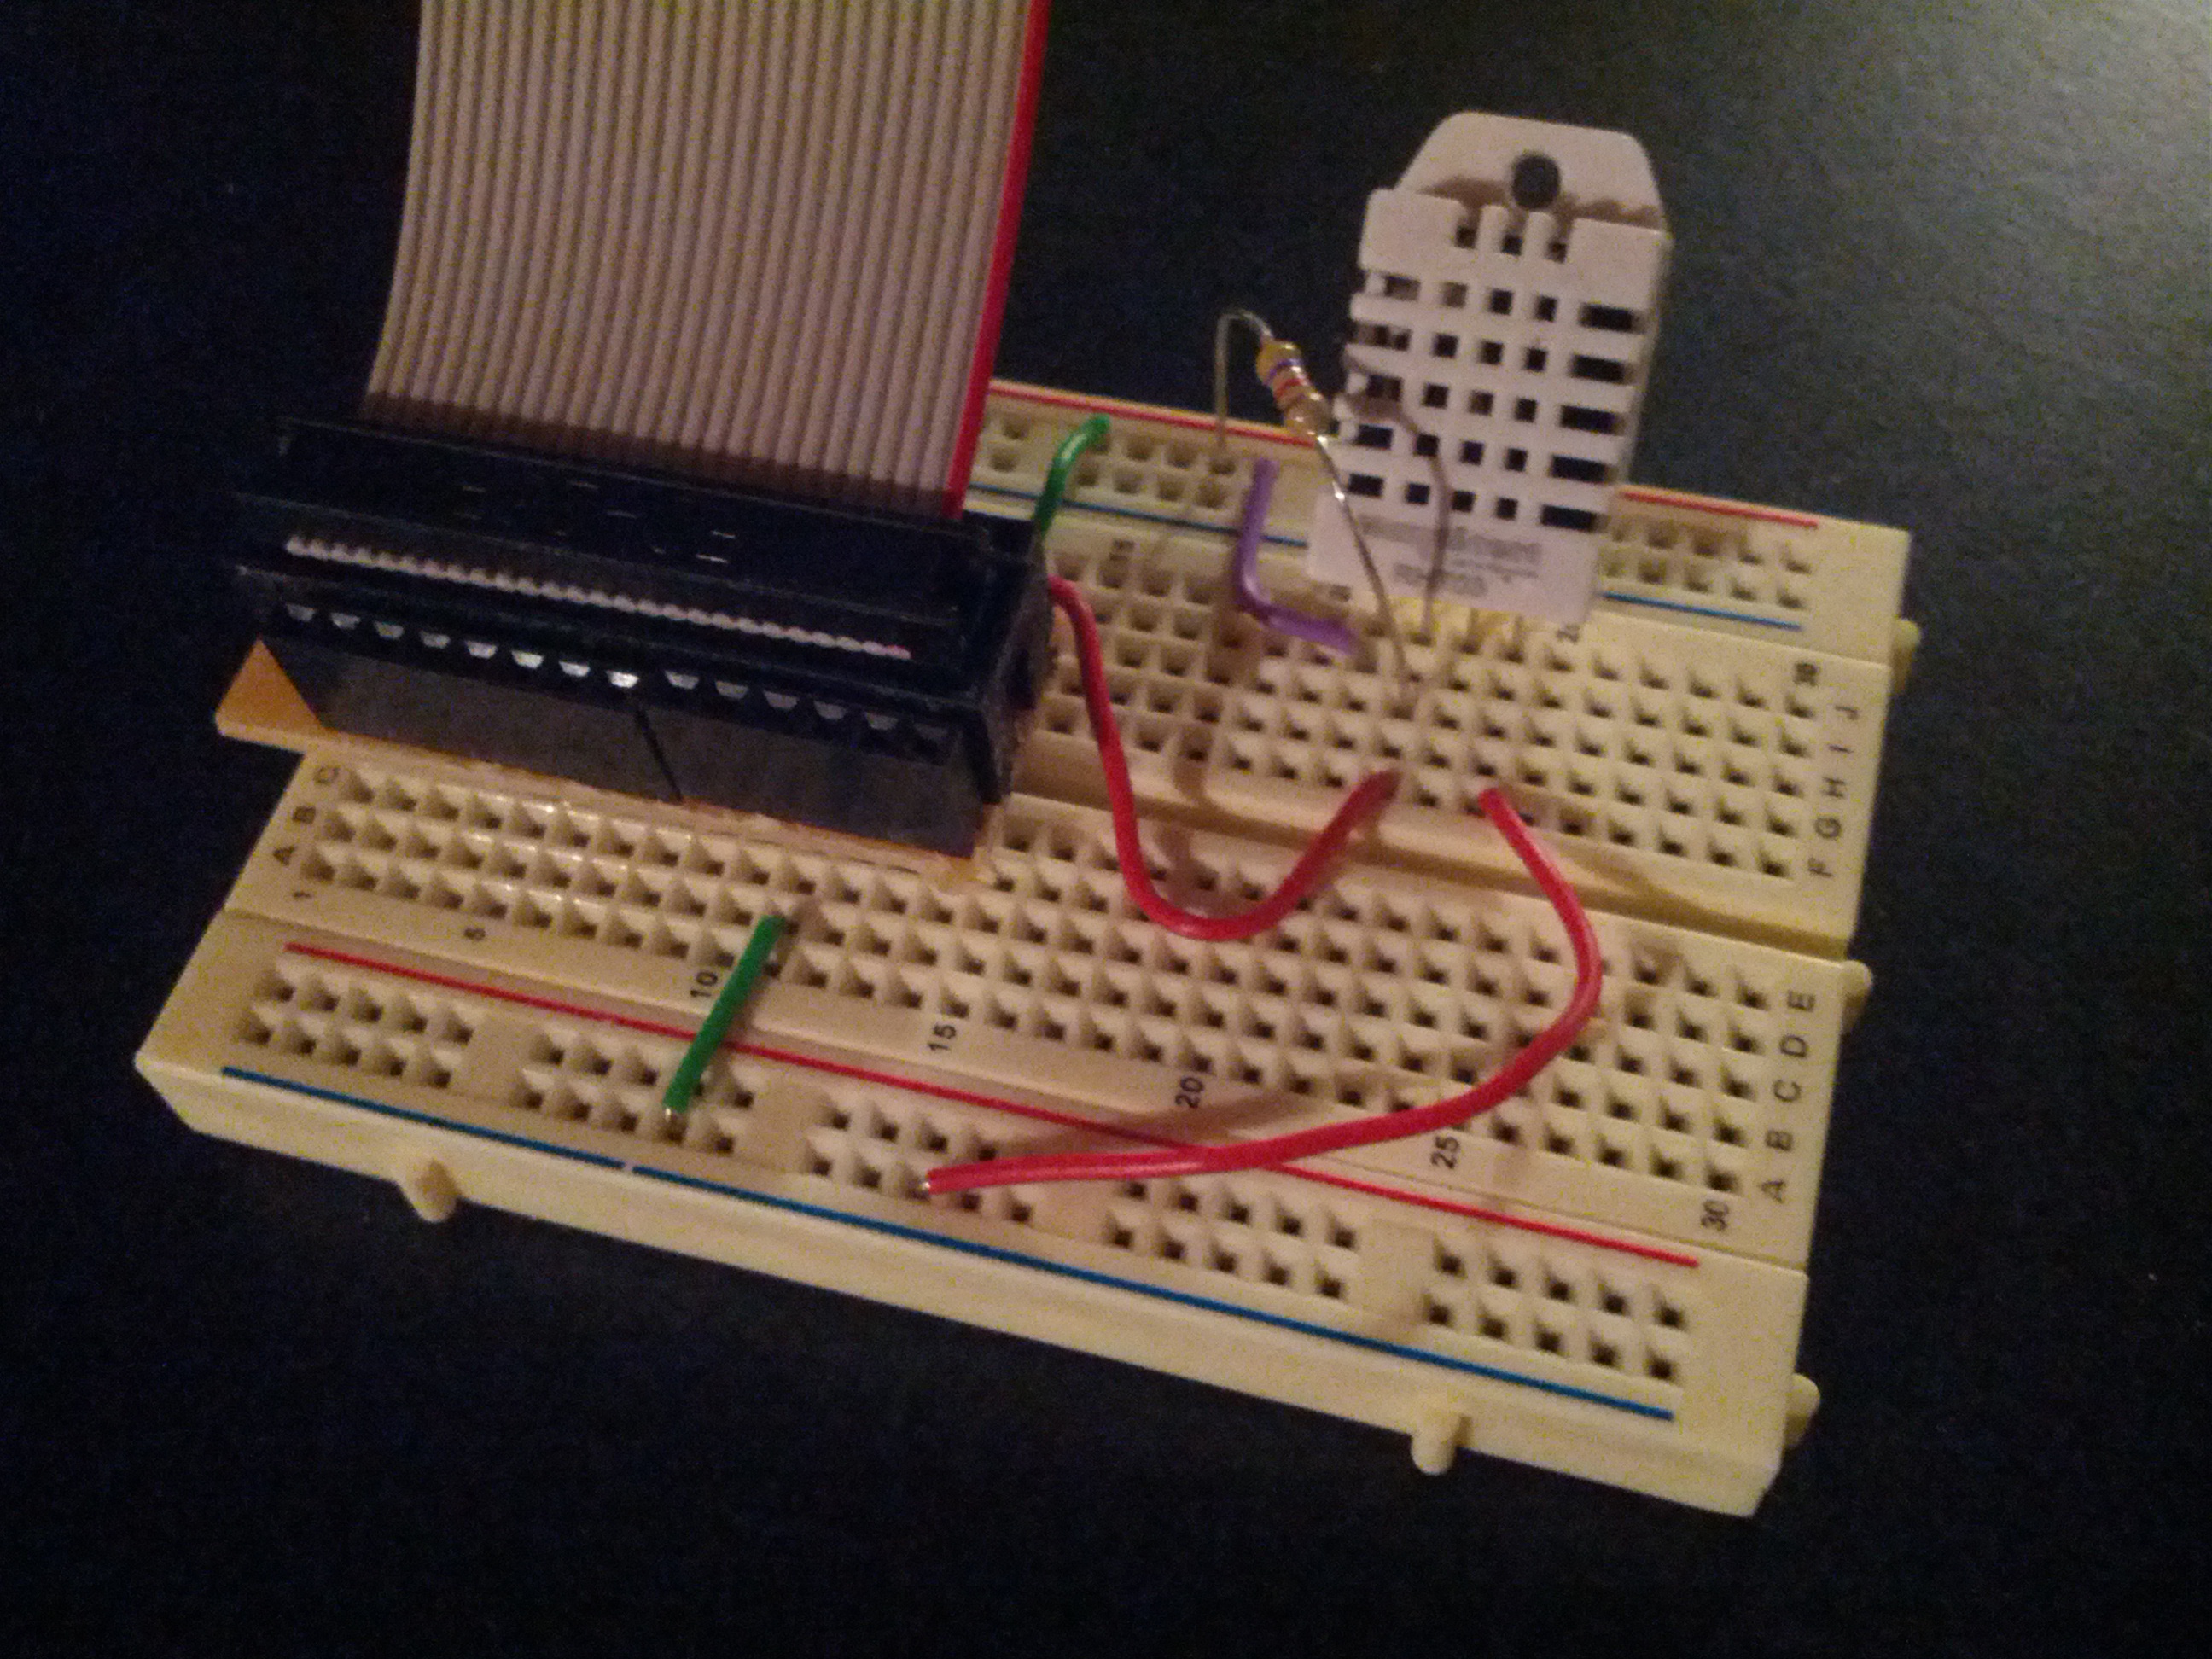
I did find that my RHT03 does not run with 3.3v, so I changed the power rail to 5V, and viola!
The next thing I looked at was the source code. I made one minor change and recompiled – I edited everywhere where I saw temperature in Centigrade and changed it to Fahrenheit.
So the next step was to make it easy to get to. I don’t want to log in to my Raspberry Pi via SSH terminal just to check the temperature. So I decided that it seems Node.JS is the way to go because I can very easily write a web server for it.
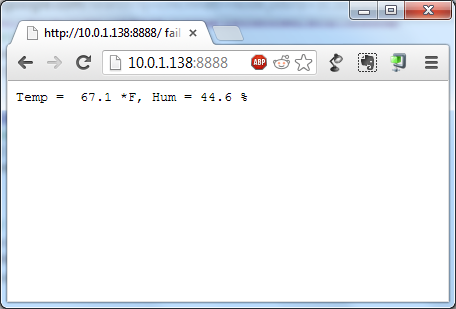
Nice and simple. And of course, the code:
-73-
UPDATE: I’ve had this running a few days, and realized that it seems Node.js does not like to update as fast as I would like. In fact, it doesn’t update until I restart the server… not sure what to do about that, but it drastically limits the usefulness of that tool as a solution in this situation.